Page 18 of 21
Re: '71 White Wagon
Posted: Tue Aug 12, 2014 8:37 pm
by ObnoxiousBlue
Clay, Gabriel, Justin Baughman, or the folks at
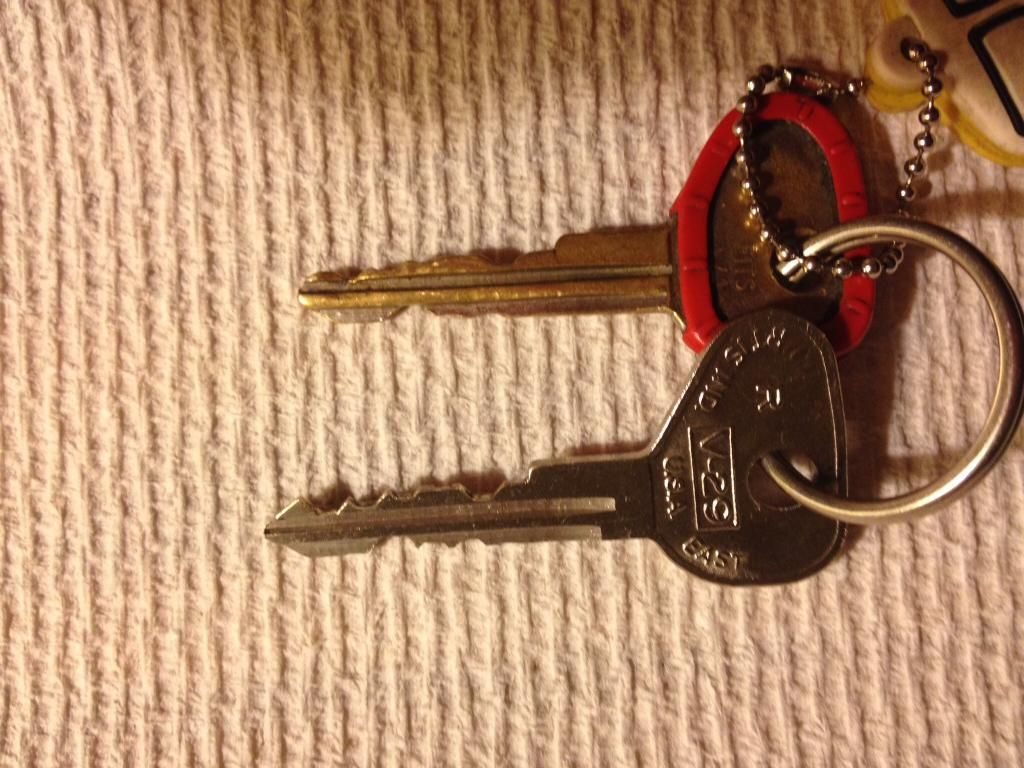
http://www.sidewinderkey.com can easily give you your key code if you scan (or take a real clear photo) of your key.
You might well find that even though the slider was stamped with a code, that it may not be correct to the core and the key you get back from Clay may be correct to the code on your handle but might not work squat.
My key works all the locks and ignition on my bus. Yet, each door and the hatch have entirely different numbers stamped on them.
I really think the best route, is since you know your key works on the ignition (and that's the toughest cylinder to access/replace) that you just plan on coding the doors and hatch to that key.
Ask one of the guys to reverse code the key, from there you can have the cores to each door coded to your current key.
Re: '71 White Wagon
Posted: Fri Aug 15, 2014 8:07 pm
by AoT
We'll I had some good luck with the keys that arrived in today's mail. The key locks and opens the slider, rear hatch and much to my surprise the key turns over the ignition. Didn't expect that to happen. The only key I have is so worn and twisted and ready to snap.
Just need to get the front door cylinders matched to the key.

Re: '71 White Wagon
Posted: Sun Aug 17, 2014 2:46 pm
by AoT
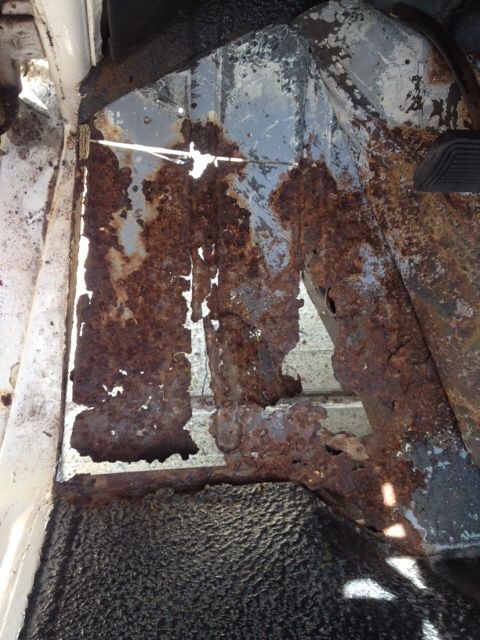
I have known for awhile that I had some issues with DS floor rotting away. I have been working on a plan to get something in place to solve the problem. This weekend I tackled it with some donated bus metal.
This is what was left of the floor after I lifted off the rubberized floor coat. That stuff was keeping the floor from dropping out.
I cut out all the useless metal and squared off as best I could.
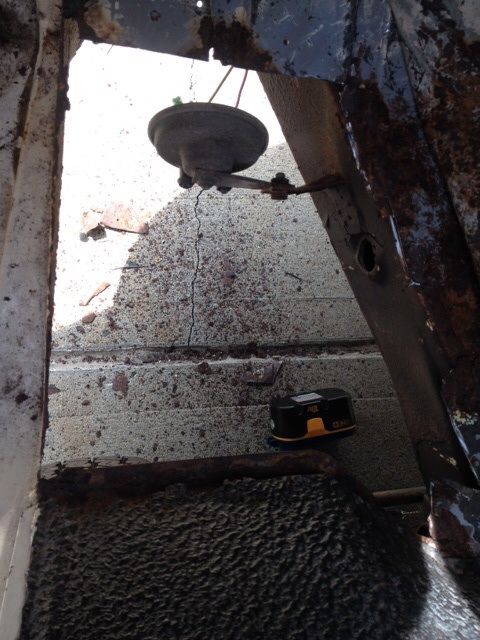
I cut the donor metal and right angled the left edge to hang over the frame for support. The right edge is resting on a support beam underneath.
After it was fitted and painted I used self tapping screws to attach to clean metal.

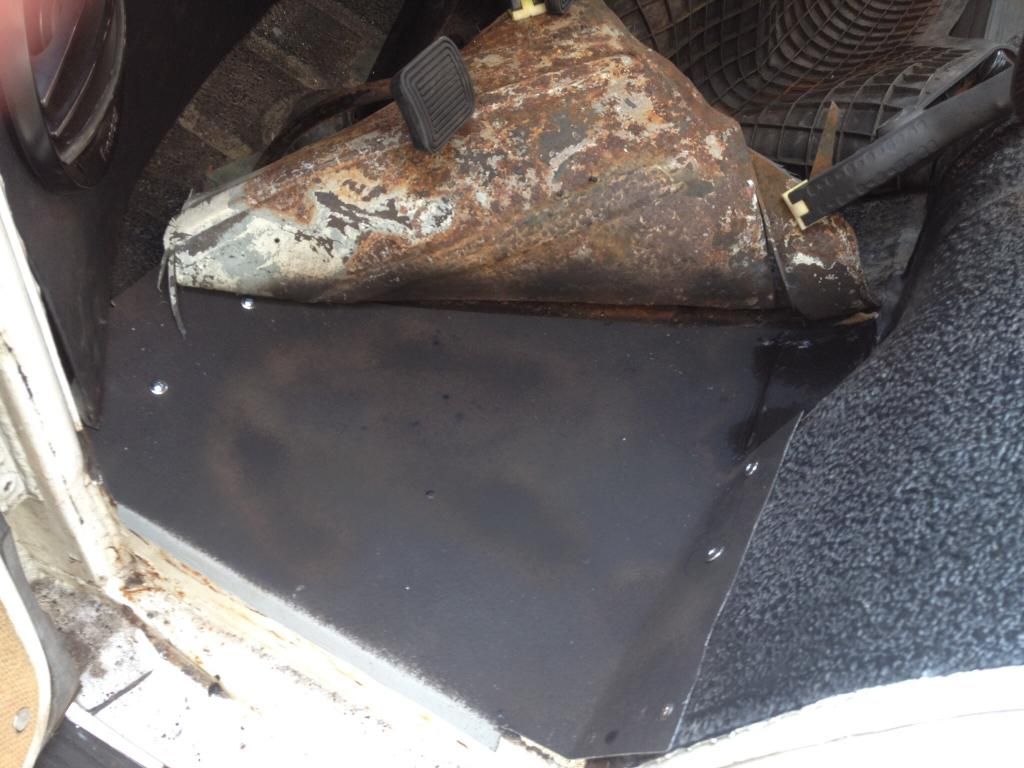
I caulked around the edges from underneath and once all the paint and caulk cure the mats will cover the repair.
How this gives me a few more miles with the bus. Now on to the body work!!
Re: '71 White Wagon
Posted: Sun Aug 17, 2014 3:13 pm
by ObnoxiousBlue
Aud, what kind of caulk did you use? Silicone caulk will hold moisture and speed up the rusting. Hopefully, you grabbed urethane, or a good seam sealer.
Re: '71 White Wagon
Posted: Sun Aug 17, 2014 7:37 pm
by Raj
very nice work Audrey..... this bus is very lucky to find you.
Re: '71 White Wagon
Posted: Sun Aug 24, 2014 8:05 pm
by AoT
After a long haul of the idle running way too high was finally able to get the problem isolated and fixed. I asked BusBQ for some help and after he took the carb out, cleaned it and re-installed the problem was still there. Any adjustments would not change the idle. He was pretty certain it was a vacuum leak but all the obvious places checked out. So not one to give up he starting clamping down on the hose from the carb back to the servo booster. This is a vacuum line that runs soft line hard line soft line up to the front of the bus. On the soft line section that feeds into the booster he could feel the air passing through the hose. After that section was replaced he was able to get the carb humming and on the ride into the city today it was sweet. I will be replacing the rear section to get rid of the old dried hose. Just throwing this out there in case it might help anyone!
Thanks for the carb lesson!!
Re: '71 White Wagon
Posted: Wed Aug 27, 2014 7:26 am
by AoT
Did a little more research on my brake servo hose. There is supposed to be a check valve in the line closer to the engine and neither section on the old line had one in place. this is to keep backfires and engine vapors from going back to the brake servo. I did replace the line with fuel line hose (will not crush) that I got at a marine supply shop but I will be ordering a check valve and installing that in the engine compartment.
Re: '71 White Wagon
Posted: Tue Sep 02, 2014 1:31 pm
by AoT
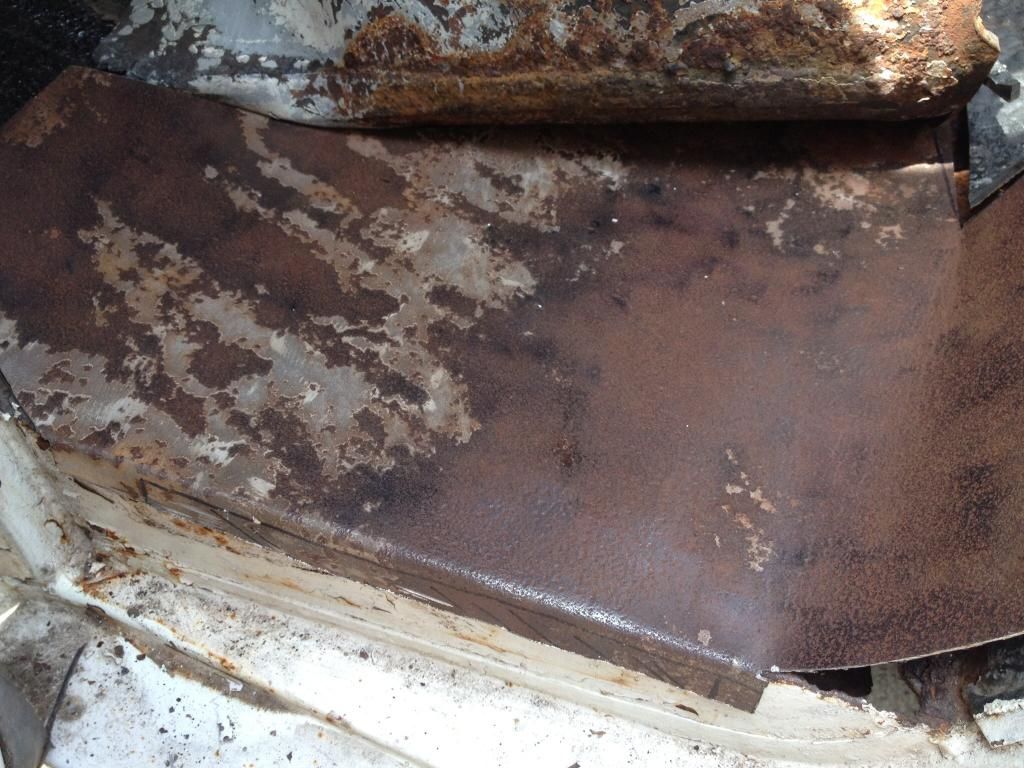
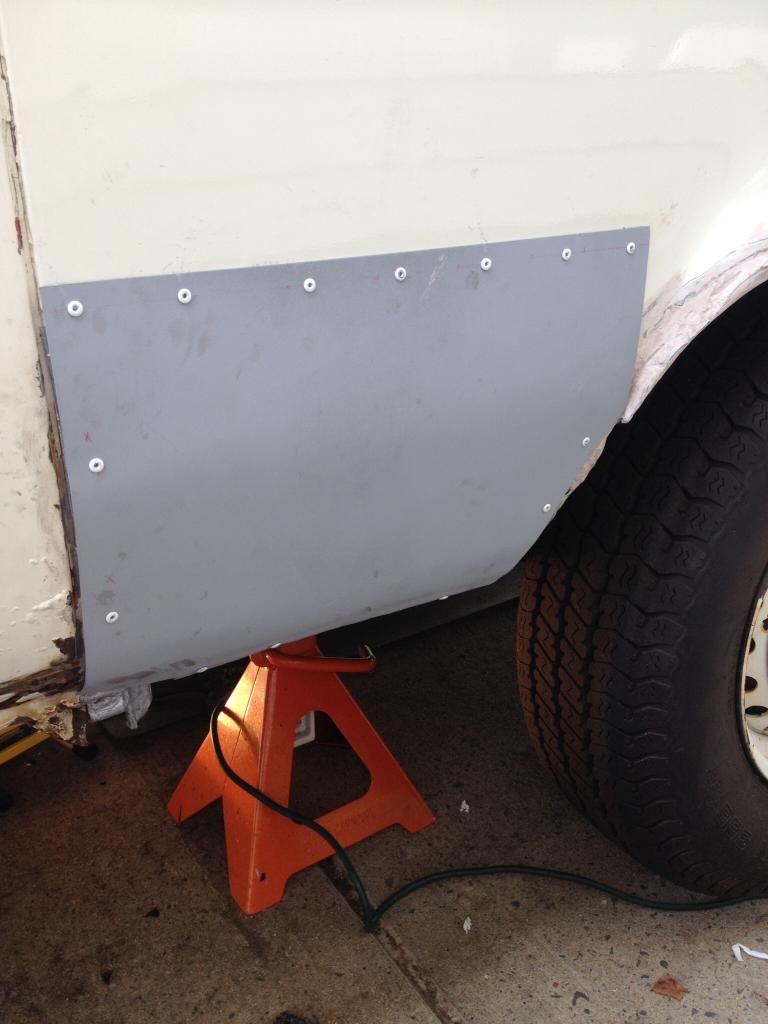
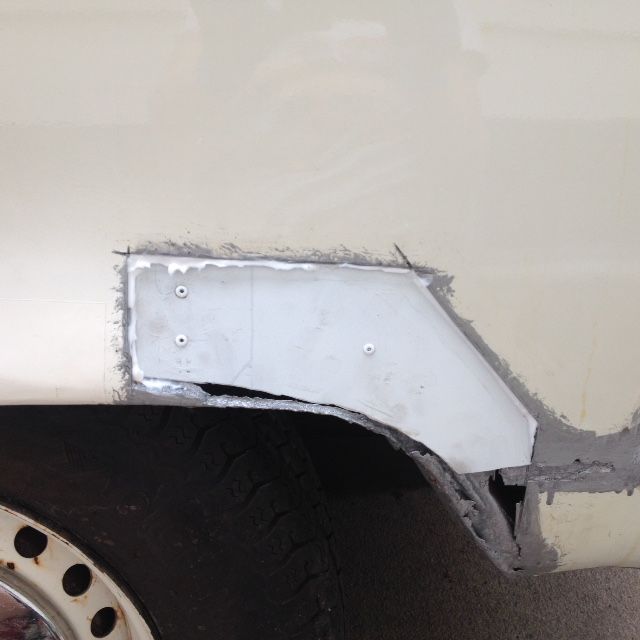
Working on repairing the wheel well panels.
What I had....
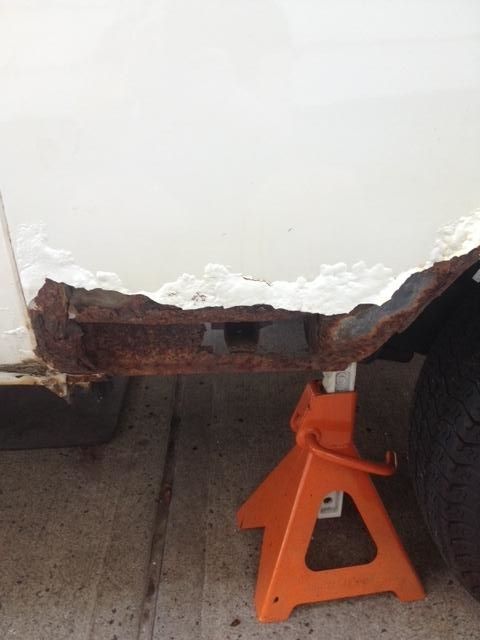
Wire wheeled the panel and not much left. All surfaces have been painted with POR 15 in silver.
Patch has been cut out. Rough fit at the moment. I am adding some support pieces behind the patch to use for the rivets. Was working with some Bondo yesterday and the mixture was setting before I got it on. Was way to hot.

Stay tuned for progress reports....My goal is just to make it look better than it was, so be forgiving!!
Re: '71 White Wagon
Posted: Tue Sep 02, 2014 3:43 pm
by Raj
Nice work Aud.... you already got the hard part done if you wanted to weld it. Might be a perfect time to try your hand at a little mig action!
Re: '71 White Wagon
Posted: Tue Sep 02, 2014 6:42 pm
by Tom
Looks good, did you get the sheet metal at Lowes ?
Re: '71 White Wagon
Posted: Wed Sep 03, 2014 6:12 am
by Big_kid
Upholstery, wiring, now body work, what's next?
Looks good!
Re: '71 White Wagon
Posted: Wed Sep 03, 2014 7:27 am
by AoT
Tom wrote:Looks good, did you get the sheet metal at Lowes ?
Yes, thanks for the heads up on this. Got two 12x24 sheets, 22 gauge.
More work planned tonight.
Re: '71 White Wagon
Posted: Wed Sep 03, 2014 11:46 am
by SUMTHING
movin' and grovin'...way to go !
Re: '71 White Wagon
Posted: Sun Sep 07, 2014 8:44 pm
by AoT
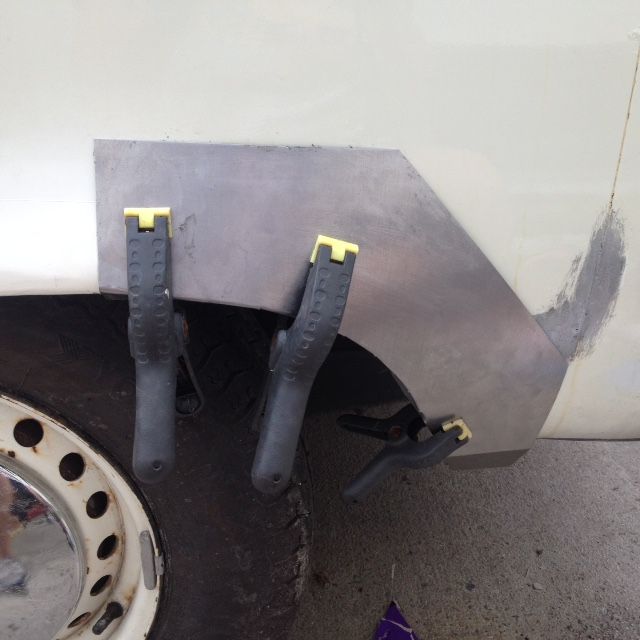
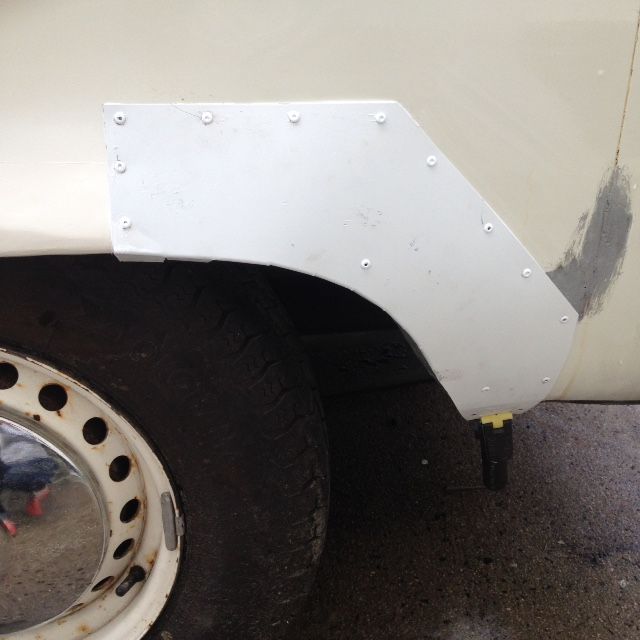
Have spent alot of time trying to get this panel finished. I had some issues with the first effort so went to plan B. I was on a road trip Fri/Saturday so I set the goal to get it attached today.
I constructed a bridge to cover the channel on the left and also give me a place to attach the rivets.
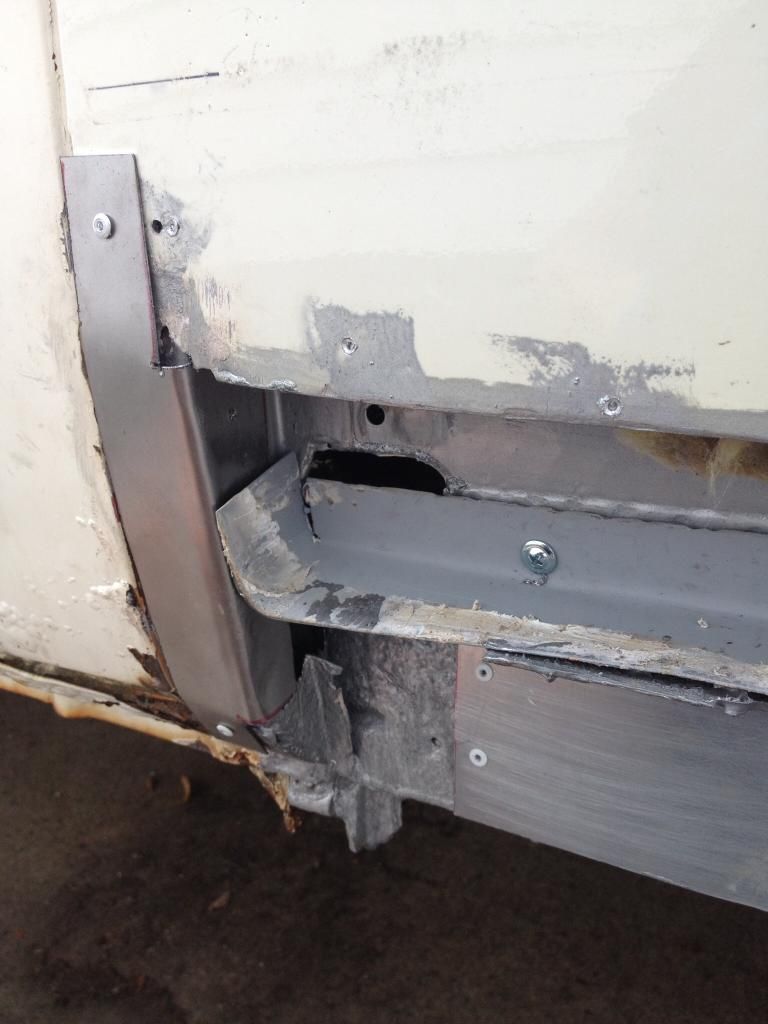
I riveted the panel along the top edge and made strips for the bottom edge that I secured to the rear of the rocker panel. I had fabricated a plate to make up for missing metal. Its in the photo above.
got the first layer of bondo on. want to seal up the edges to keep the water out.
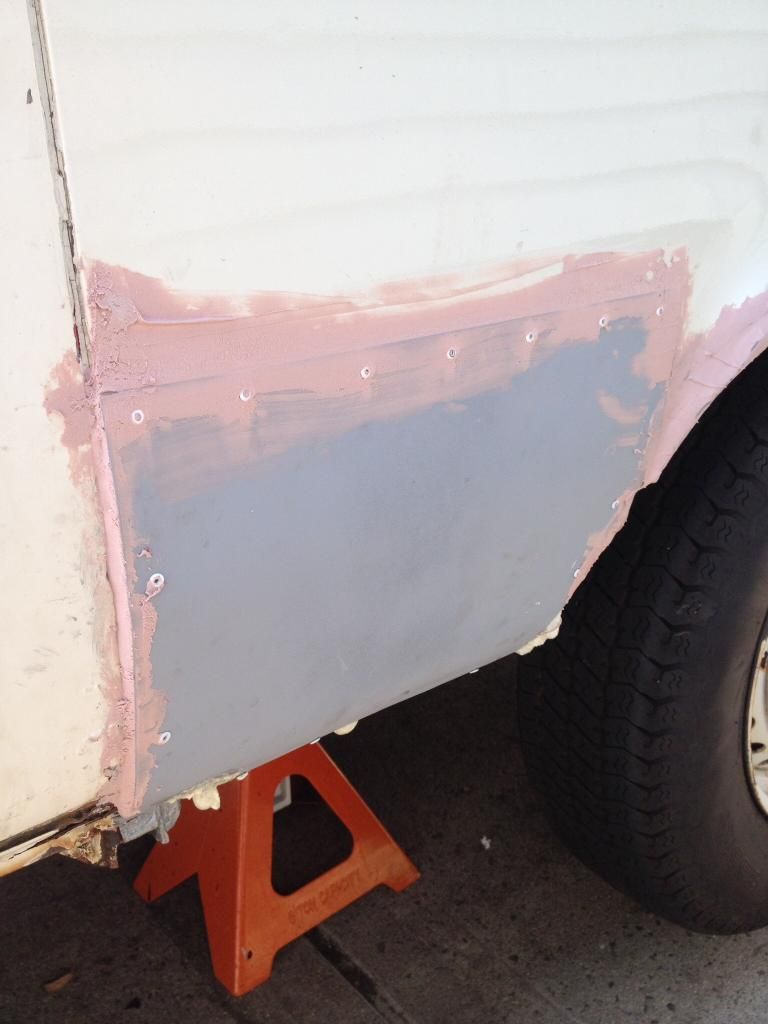
Its been a real learning curve and an ambitious effort so hopefully it will be an improvement. The bus is showing its age!! Have a more spots to repair so I hope they get easier.
Re: '71 White Wagon
Posted: Sat Sep 13, 2014 7:44 pm
by AoT
want to be able to get the bus in the garage this winter and the '67 has been on the driveway for a few years taking up valuable space and blocking access to the coveted dry garage. Room in my dad's garage opened up so i put dibs on the space.
I spent yesterday getting the '67 ready to roll. Needed a little coaxing and some elbow grease but saddled it up to the tow bar last night and today it rocked n rolled the journey east. It needs lots of love so i best hone my skills to tackle this beast.


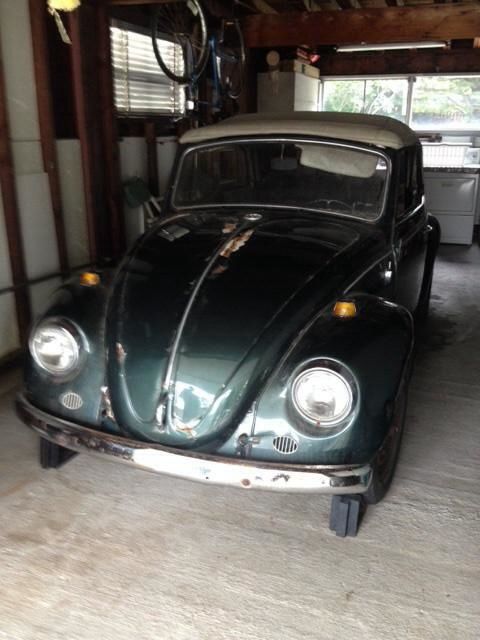
Once I get the bus in the garage the rest of the body work should be easier.
Re: '71 White Wagon
Posted: Sun Sep 14, 2014 9:32 am
by Big_kid
You have a 3rd VW? I thought *I* had it bad! CONGRATS!
Re: '71 White Wagon
Posted: Sun Sep 14, 2014 10:11 am
by AoT
Thanks Charlie. I was "given" the '67 by a VW guy that was moving and he thought after my start up experience with the White Wonder ('74 beetle) that I was ready for the challenge. This beauty needs a lot of work and I have not yet achieved that level of experience and so it will wait.
Curious, I uploaded the pics from a laptop but on my ipad the pics are displayed upside down. Anyone know why that happens or how to correct? thanks.
Re: '71 White Wagon
Posted: Sun Sep 14, 2014 2:19 pm
by Tom
I thought you hoisted the car onto the ceiling.
Re: '71 White Wagon
Posted: Mon Sep 15, 2014 7:00 am
by Raj
AoT wrote:
Curious, I uploaded the pics from a laptop but on my ipad the pics are displayed upside down. Anyone know why that happens or how to correct? thanks.
i think Mike mentioned that the upload functionality of the website was not working. I moved back to the old faithful.... Photobucket and the like.
Re: '71 White Wagon
Posted: Mon Sep 15, 2014 8:09 am
by ObnoxiousBlue
Those are hosted on photobucket.
The upload feature of the site is tied in with the gallery, which works but doesn't have any albums or permissions assigned to it. So, essentially the site doesn't know what to do with a photo, or where to put it when you try to upload a photo.
As for Audrey's pic, it's in photobucket upside-down. If you didn't intentionally do it, you likely had the flip or rotate button selected when you uploaded the pic.
Re: '71 White Wagon
Posted: Mon Sep 15, 2014 11:18 am
by AoT
ObnoxiousBlue wrote:Those are hosted on photobucket.
As for Audrey's pic, it's in photobucket upside-down. If you didn't intentionally do it, you likely had the flip or rotate button selected when you uploaded the pic.
the pics in my photobucket are upright and they display correctly on my laptop and work computer. They are only rotated on my ipad. No big deal, not a pressing issue!!
Re: '71 White Wagon
Posted: Mon Sep 15, 2014 12:05 pm
by ObnoxiousBlue
Fixed
Re: '71 White Wagon
Posted: Mon Sep 15, 2014 4:43 pm
by EDNCAROL
Audrey how far away from the computer are you sitting? Lol!
Re: '71 White Wagon
Posted: Tue Sep 30, 2014 8:19 pm
by AoT
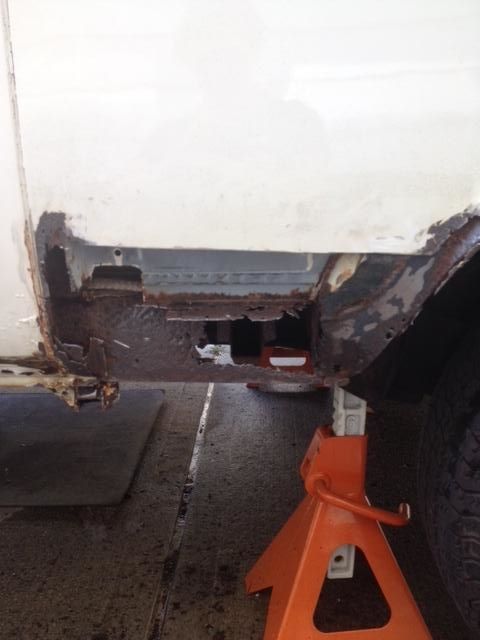
Moving forward on cutting out as much rust as I can I went to work on the DS rear rear well recently.
This is what was left after I wired wheeled it and cut back to clean metal on the outer skin. Gave it the POR 15 treatment
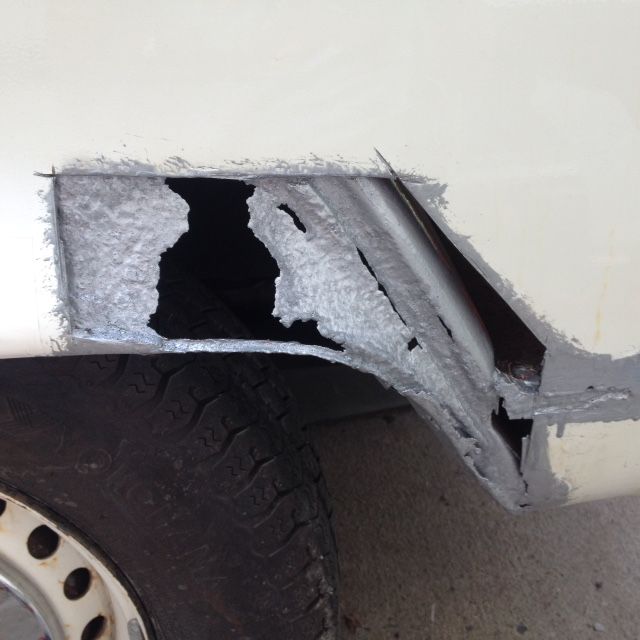
Interior panel was gone so cut a patch to bridge the pieces.
Cut the template and did a rough fit before the rivets go in.
Metal is primed and in place. Need some bondo around the edges and some sanding and then a coat of paint. Need to fine tune the tabs under the well rim.
I know my efforts are a little rough around the edges but my goal is to stop the rust from eating the bus. I think it looks better than gaping holes in metal and the rust dropping off in place. I was asked why I did not put the new panels under the original skin so that it was set back and I could add a layer of bondo to even it out. With the areas I was working it was hard or not accessible to get behind the metal to support it when the rivets were going in. This area had inner skins and when the metal was pressed to drill or rivet there was too much play. This is my first venture down this road and I am still learning but getting better. The front section took me about 10 days and lots of designs, this took two days and most of that was waiting for the POR 15 to dry.
Both rear side panels are not original to the bus and there is ALOT of bondo. Both fanned edges over the wheel wheels were made with bondo and this is where my major issues have been. It seems that water must have gotten under the bondo and started to lift causing the metal to rust from behind.
It looks great at 20 feet!! IMHO....
Re: '71 White Wagon
Posted: Tue Sep 30, 2014 9:21 pm
by BusBq Bill
The bus looks like it was built by Grumman now !
