Page 27 of 46

Re: Home away from Home, on wheels.

Posted: Mon Jan 21, 2013 8:56 pm
by EDNCAROL
Keep the front mounted spare. Think of it as a classic air bag.

Re: Home away from Home, on wheels.

Posted: Mon Jan 21, 2013 9:40 pm
by Glenn
shit can it and get a can of Fix-A-Flat

Re: Home away from Home, on wheels.

Posted: Mon Jan 21, 2013 10:18 pm
by EDNCAROL
Save it and you can have different tire covers made up. New look when ever you want it. Rainbow,Leprechaun, DVG show flyer,you get the idea.

Re: Home away from Home, on wheels.

Posted: Mon Jan 21, 2013 10:47 pm
by AoT
i go with logo! :P

Re: Home away from Home, on wheels.

Posted: Tue Jan 22, 2013 10:05 pm
by ObnoxiousBlue
Keeping the tire, I don't want to give up the interior storage. Added that I like the look, and I like the Roo. I thoug it over, and don't need change for the sake of change.

Found out that apparently when the dealer installed the tire carrier they put a small hole in the nose of buses behind the tire carrier, presumably to accommodate a tire valve extension so that the tire pressure could be checked without having to remove the tire from the bus. I was going to have it closed, but then it occurred to me that it's actually quite clever seeing as the sure that I just took off the bus was flat.

Looking for a new tire cover, not sure if I'm going to do a custom DVG cover, or a new "stock" JustKampers one ( the new version of my current cartoon one...)

Stopped in to see the bus today:
Image
Image
Image

Found where the rot was, where the small leak was coming in from and the new graft section from BusDepot will be here in the morning.

The bus should be back in my garage by the weekend, but the paint shop can't take the us again for a week.
So while its home, I'll remove the dash top, strip it down and Krylon it. Then, do the wiper refresh from Itinerant VW.

Re: Home away from Home, on wheels.

Posted: Wed Jan 23, 2013 10:11 am
by Raj
cool.... i love these action shots!

Re: Home away from Home, on wheels.

Posted: Wed Jan 23, 2013 6:30 pm
by ObnoxiousBlue
Got my BusDepot order today. The graft parts for my windshield section, as well as some wiper parts for my upcoming refresh.
Just thought I'd share,
The wiper arms currently offered by bus depot are nice... Very nice in fact.
But they look to be Brazilian Kombi parts. They don't have the "hook" on the end like the stock late bay arms, and they don't receive the same cap to cover the nut. They have an integrated, hinged cover. Which looks nice.
I'm still gonna use them, because they're infinitely nicer than my old faced paint cracked arms. Just, not familiar with how the wiper blade will affix now.

Image
Image
Image

Re: Home away from Home, on wheels.

Posted: Thu Jan 24, 2013 5:36 pm
by ObnoxiousBlue
Got the bus back today.
VERY happy.
I wish Garry was around when I needed the battery tray done.
He had done the beetle, back when that was the project. Not that I am disappointed with the work done on the battery tray. It looks great and seems solid. I just have a confidence in Garry that I didn't have in the new shop.

Audrey, you best be getting ready! Gonna get the bus nose painted then its windscreen time!
I want to paint the dash while I have easy access to the screws to get it out. I didn't realize that whatever jackass installed the gauges originally wired them THROUGH the speaker mesh in the top of the dash. So I'm going to mark the wires and pull them. I'll leave them disconnected for now. I'm half apt to just pull the gauges altogether. But this might be a good reason to reprioritize that M1 Stratomaster mod I mentioned earlier...

Image
Image

Re: Home away from Home, on wheels.

Posted: Fri Jan 25, 2013 7:49 pm
by ObnoxiousBlue
Assuming I were to remove my broken tach and oil pressure and oil temp wiring gauges, and leave the senders in place... Do I run any risk of damaging anything?
I don't know if these gauges are even accurate, and frankly I hate where they're placed. I'm on the fence of doing a 300$ gauge mod, or just installing a clock.

Can ijust remove everything back to the senders, leaving them in place? I assume, even though the gauge mod I found uses readily available senders, that I would need to buy new ones to really be confident in their readings when I do the install. That might be soon, but it might get pushed off. Don't really need the gauges.

Re: Home away from Home, on wheels.

Posted: Mon Jan 28, 2013 2:17 pm
by ObnoxiousBlue
I was happy with my progress on my bus today. It is scheduled to go to the paint shop on this coming Wednesday, so I took my only day off, to cater to a few projects that are best mitigated with the windscreen out.

I started with disconnecting the battery...

Then started to investigate exactly where all the mounting bolts hold on the dash top. I removed my already ripping glove box for easier access. I plan to replace it with a new plastic glove box while I have the dash apart.
I was able to break free the screws along the dash top near the window opening very easily. Getting to the bolts was also easy, with the exception of the one that holds the lever/s bracket in place also.
Image

Getting the dash off meant cutting some wires that the PO had routed through the speaker grill to a set of gauges on top of the dash. I don't believe these were accurate as they never seemed to fluctuate too much. So this was as good a time as any to pull them out all the way. I removed the wires from the bus going all the way back to the engine. I left the senders in place for obvious reason, but plan to do the M1 Stratomaster gauge pod install at some point in the not to distant future. My tach also came out. It shorted out about two years ago and was nonoperational. Until Im ready to install the new gauges, Ill look for a block off plate.
Image
Image


Also while inside, I removed the wiper system, I wiped it down, and hit the joints with some PB blaster. I was suprised, that they look to be in really good shape, and there is no play in it. So I suspect it has been replaced at some point before now.

I also was tired of seeing this mess of wires hanging from under my dash. Again, a PO had piggy backed wire off of wire off of wire from the #12 fuse. Since these piggy backs both went to aux sockets in the dash, I removed it all the way back to the main line off the fuse block, and routed it back to the gauge pod where it was supposed to go. I used a spade connector with heat shrink to keep it insulated. I tested it, and once confident, I reconnected the battery. The lights are MUCH brighter now.
Image
Image

Image

I'm going to call over to see how much it will be to powder coat the dash top. I think flat black is best, and will keep the glare down.

Re: Home away from Home, on wheels.

Posted: Mon Jan 28, 2013 3:03 pm
by Raj
great move handling this while the shield is pulled. Some jobs are just better handled when done in unison with others.

very nice work on this bus this winter.

Re: Home away from Home, on wheels.

Posted: Mon Jan 28, 2013 3:28 pm
by ObnoxiousBlue
Thanks!
There are a few things I had wanted to accomplish under the dash, like clean up my wiring, and give my wipers some attention, as well as paint the dash top. Since the window had to come out to repair the rot, before that too became a serious issue I figured now was the time.

I had planned to use Amskeptic's Wiper Refesh but it appears that my issue wasnt so much int he wiper motor or the connections as it was that the grommets that hold the rack through the nose were dry rotted and loose. This was causing the wipers to 'skip' or jump around on the windscreen. I already have new grommets, but am soaking the working joints of the wiper motor, connecting rod, and the wiper shafts in PB Blaster, then I'll lube them up with a little oil like the book suggests.

I also bought new wiper arms from Bus Depot. I was a bit surprised because they are Brazilian Kombi arms. Theyre real nice quality, but I dont like that they are stamped with the manufacturers name on the outside surface it is small but still irksome. My originals were wearing out where the rivet holds the arm to the base. The hole was wearing into an oval and they were loose.

Re: Home away from Home, on wheels.

Posted: Mon Jan 28, 2013 10:52 pm
by ObnoxiousBlue
Just hiding this here so I can find it easier later.
http://www.ratwell.com/technical/FAQ.html

Re: Home away from Home, on wheels.

Posted: Sat Feb 02, 2013 4:48 pm
by ObnoxiousBlue
I had today off! First "non personal" Saturday off since July 4th!
We have a new on call rotation at work, that while it means one weekend every 5 weeks I'm on call and tied to the office , the following weekend I get three days off!

Today, I took care of some stuff around the house, and relaxed. Yesterday I had to drive to Albany, pick something up and turn back around. Was a long time in the seat.

Got my stuff set for tomorrow's projects.
I'm going to disassemble, clean, lube and reassemble my bus' wiper rack. Also, I will clean out 35 years of dust from the vent tubes while they're out of the bus.

The dash is down at ReNu powdercoating. I have to say, his prices have gone up. $150 for the dash top seemed high to me. He also quoted $85/wheel. When my sprints were supposed to be $50/wheel in two tone. I could've hit it with Krylon, but this thing was a bitch to get out. I don't want to have to do it again, with the dash it. Powder will hold up better.

New windscreen is on its way too.

Hopefully, body pics Monday.

Image
Image

Re: Home away from Home, on wheels.

Posted: Sat Feb 02, 2013 5:35 pm
by Glenn
ReNu "F"'d up my alloy wheels and have letting him try to fix them 3 times I took them to Action.

There were 5 layers of powder paint on them and Action had to farm them out to another company to strip since it was so thick. Renu gave me a $50 off coin which I gave away. They cost me $400 in the $250 they charged and the $150 to remove what they did. Then i had to pay Action to paint them.... and they came out perfect the 1st time.

Re: Home away from Home, on wheels.

Posted: Sat Feb 02, 2013 5:43 pm
by ObnoxiousBlue
Well, here's to hoping my dash comes back ok.

Guess I won't send anything else to him.

Frankly, Action came in a bit cheaper, but I chose ReNu because he's a block away from the crematory, and I go there a few times a week so it was just convenient.
Now I'm nervous.

Re: Home away from Home, on wheels.

Posted: Sat Feb 02, 2013 5:58 pm
by Glenn
The did my engine tins back in 2006 and they came out fine. But I used Action last year and they were done 3 days later..... and perfect.

Re: Home away from Home, on wheels.

Posted: Sun Feb 03, 2013 4:18 pm
by ObnoxiousBlue
My post from TheSamba...

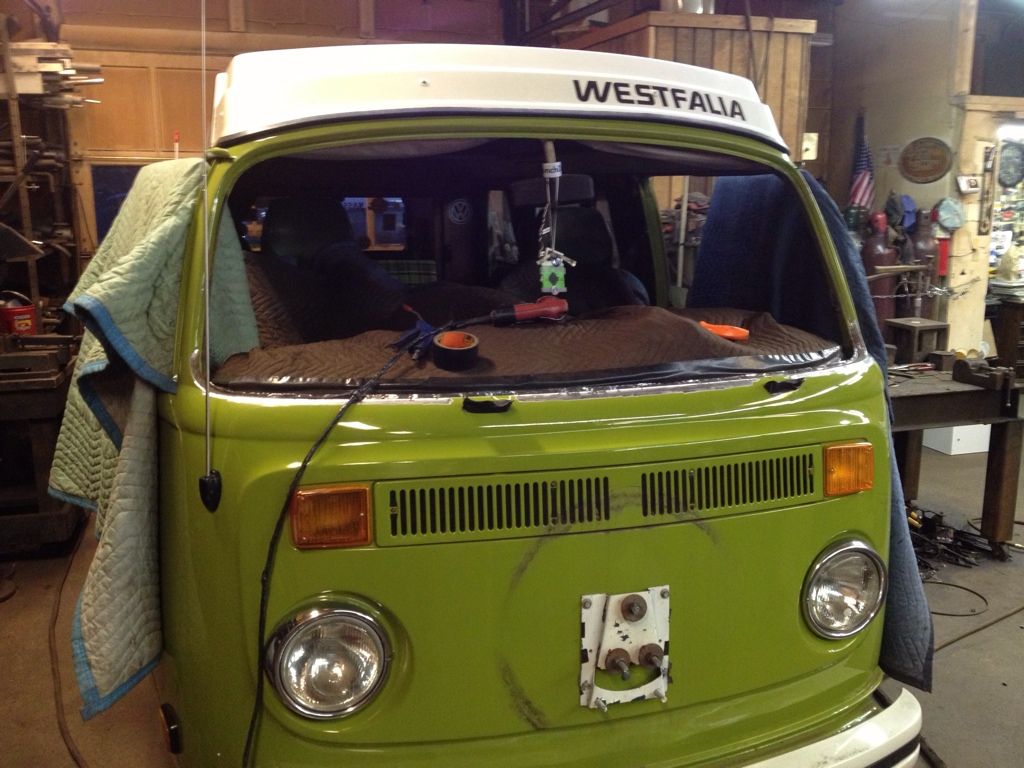
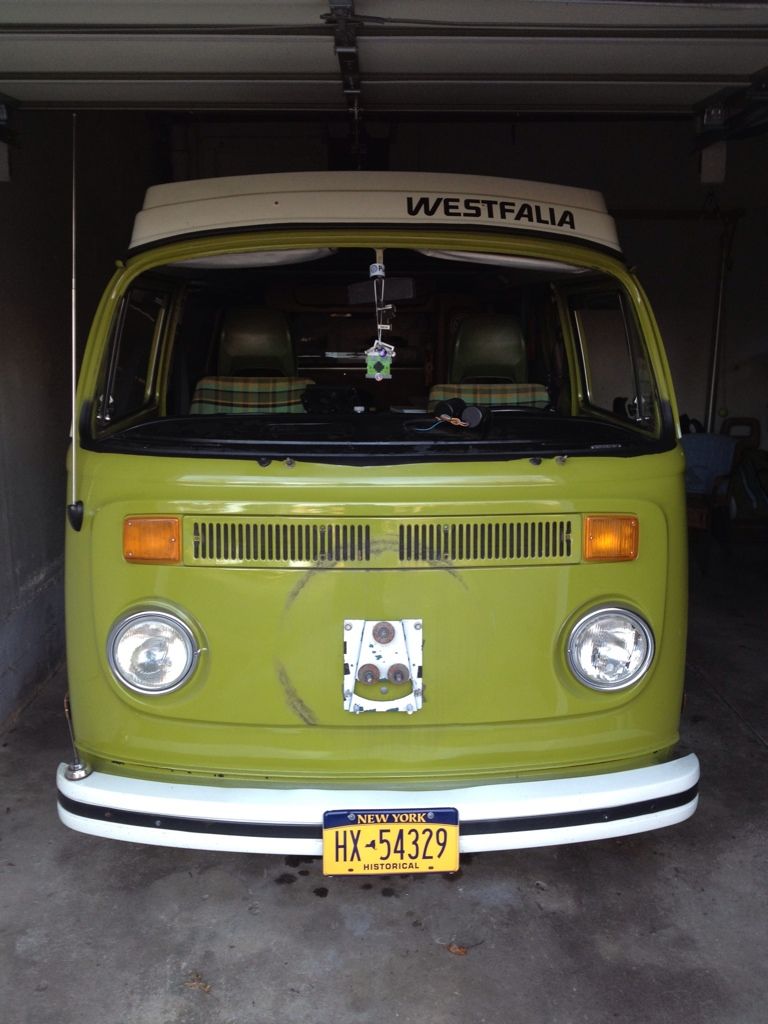
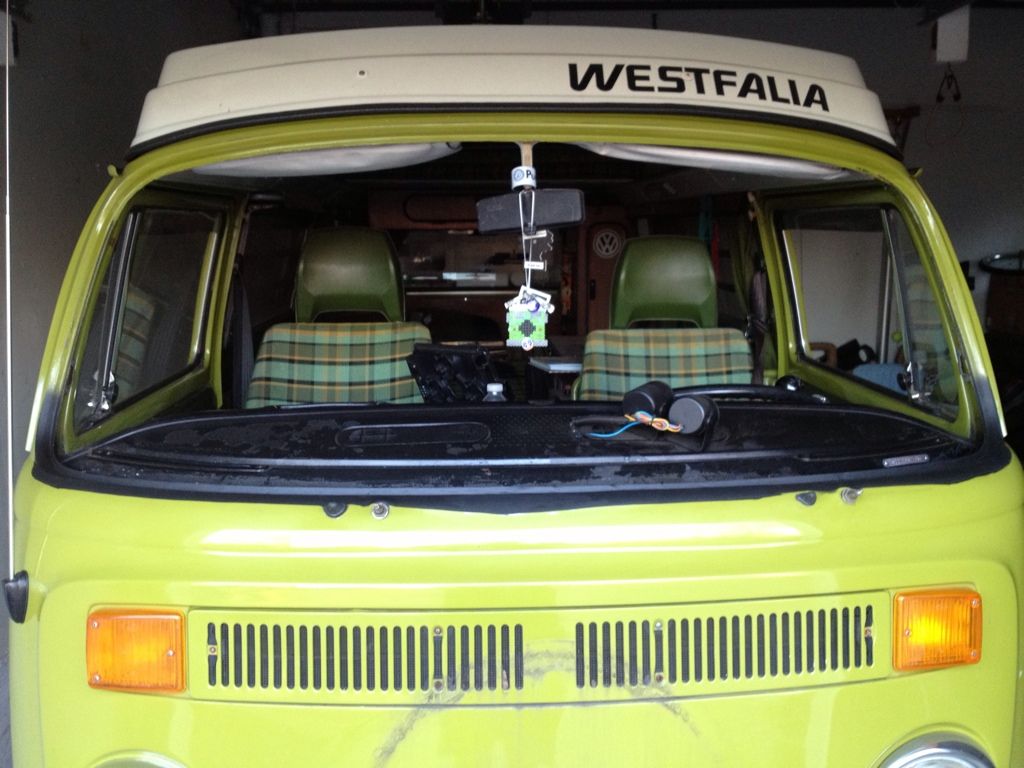
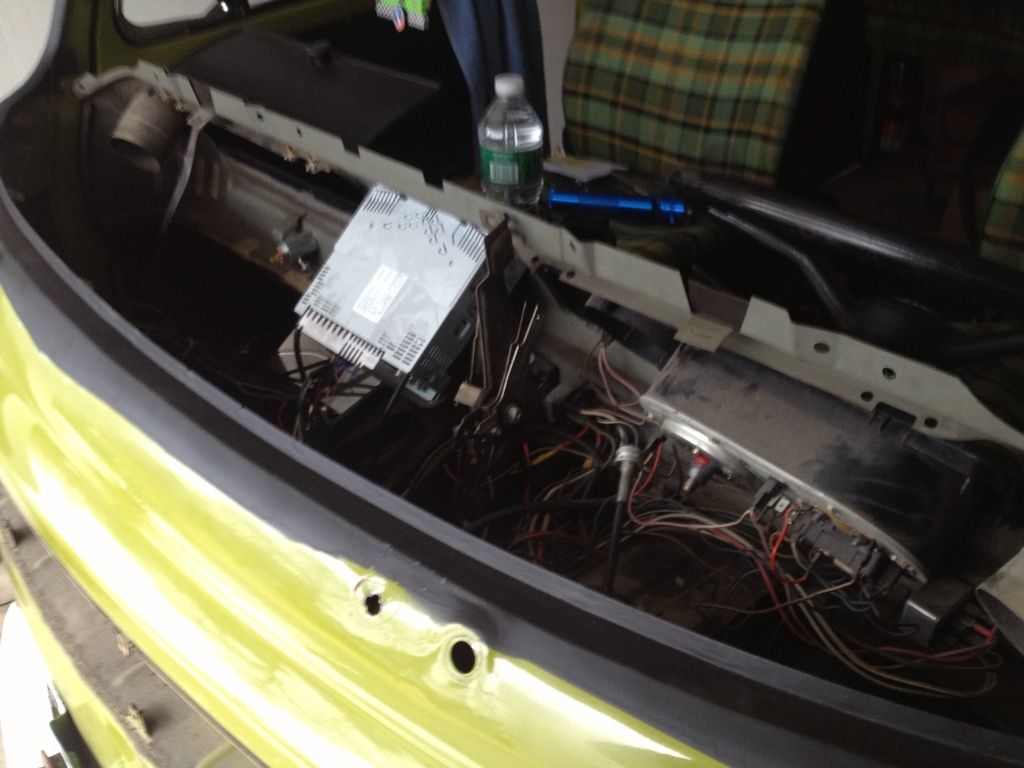
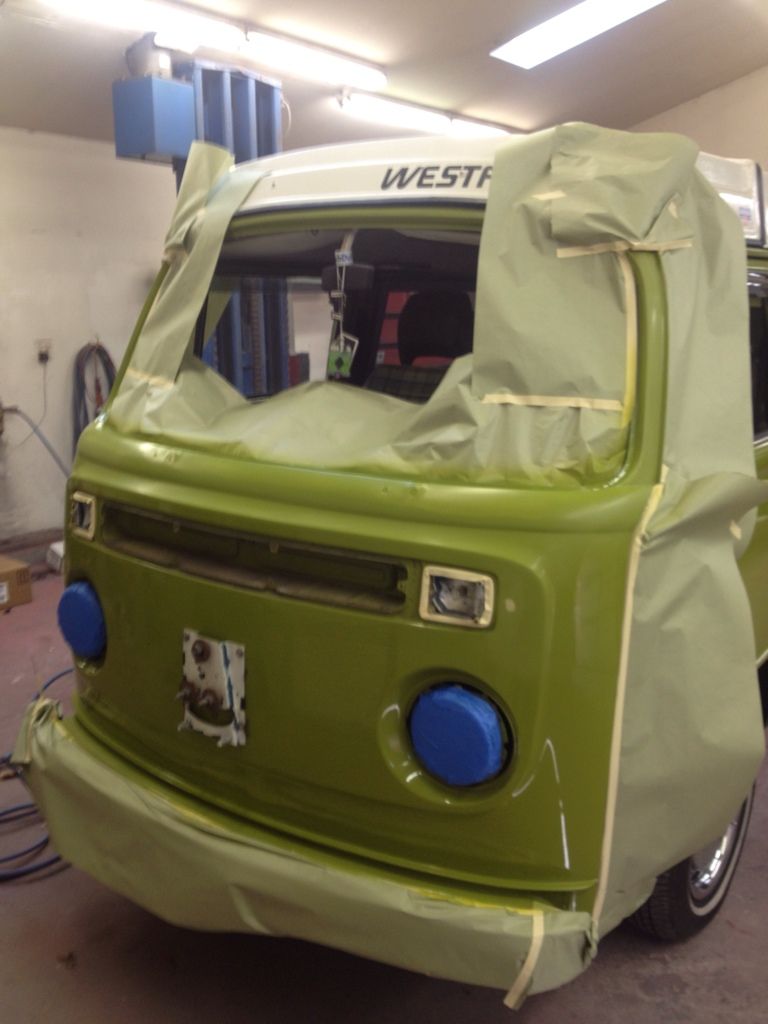
Ok, so with my bus' dash apart for some paint work, and a new windshield I decided to take on my wiper's for PM. I think it went really well, but there are a few small issues that I came across so hopefully you guys can help me out!

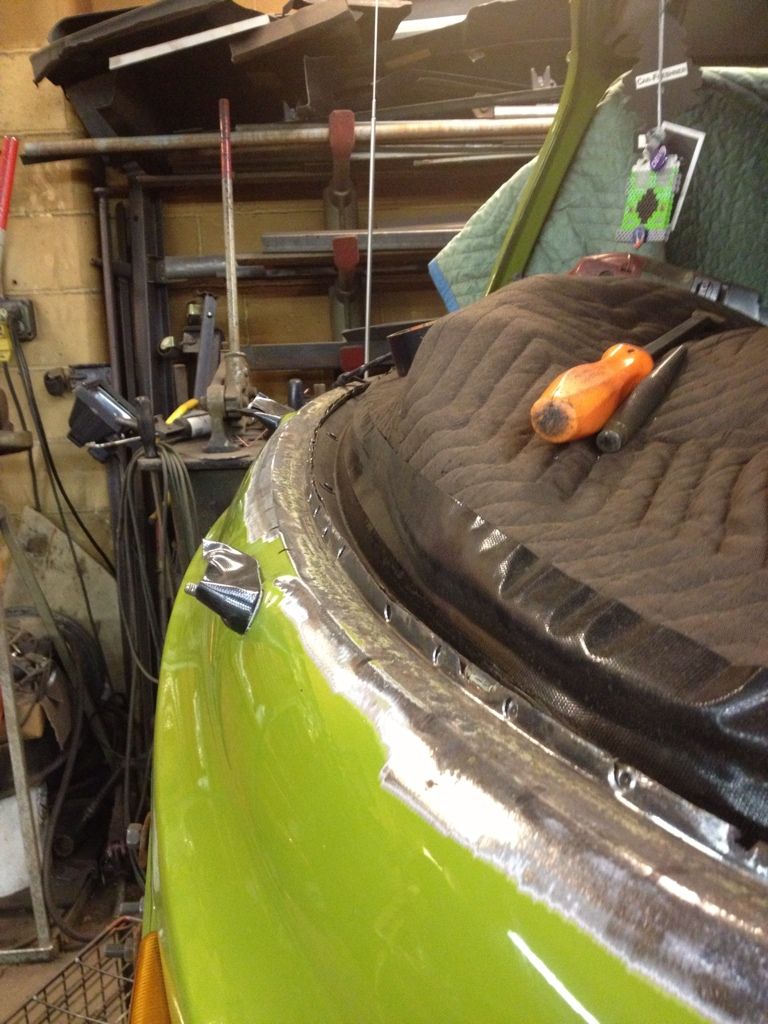
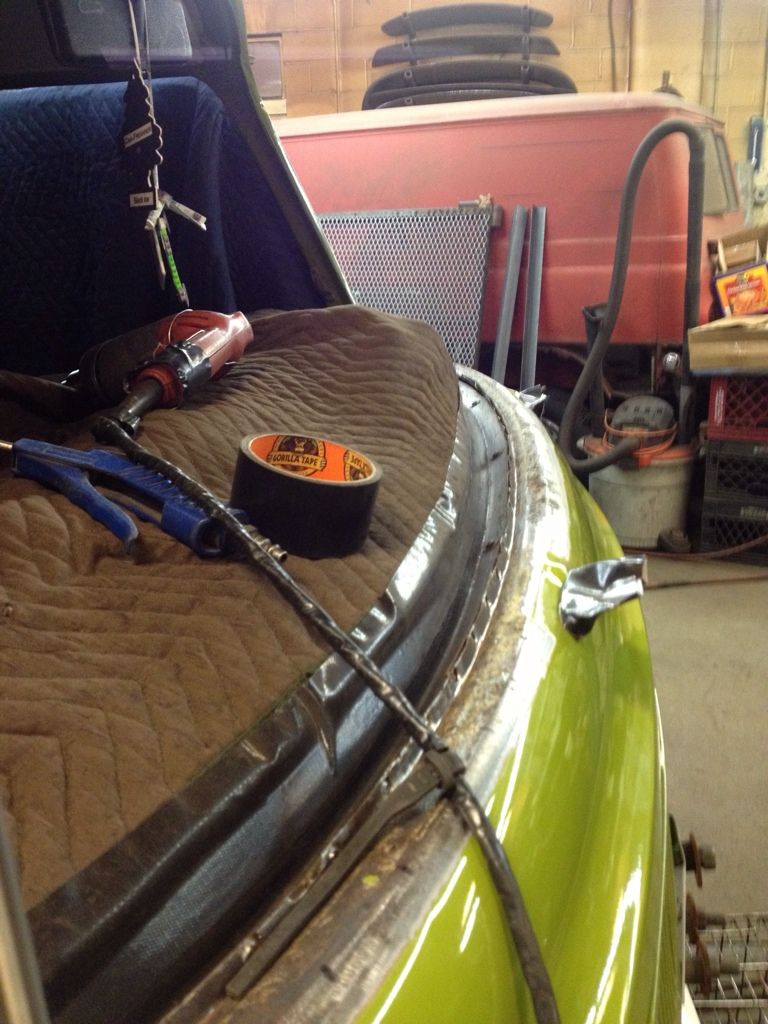
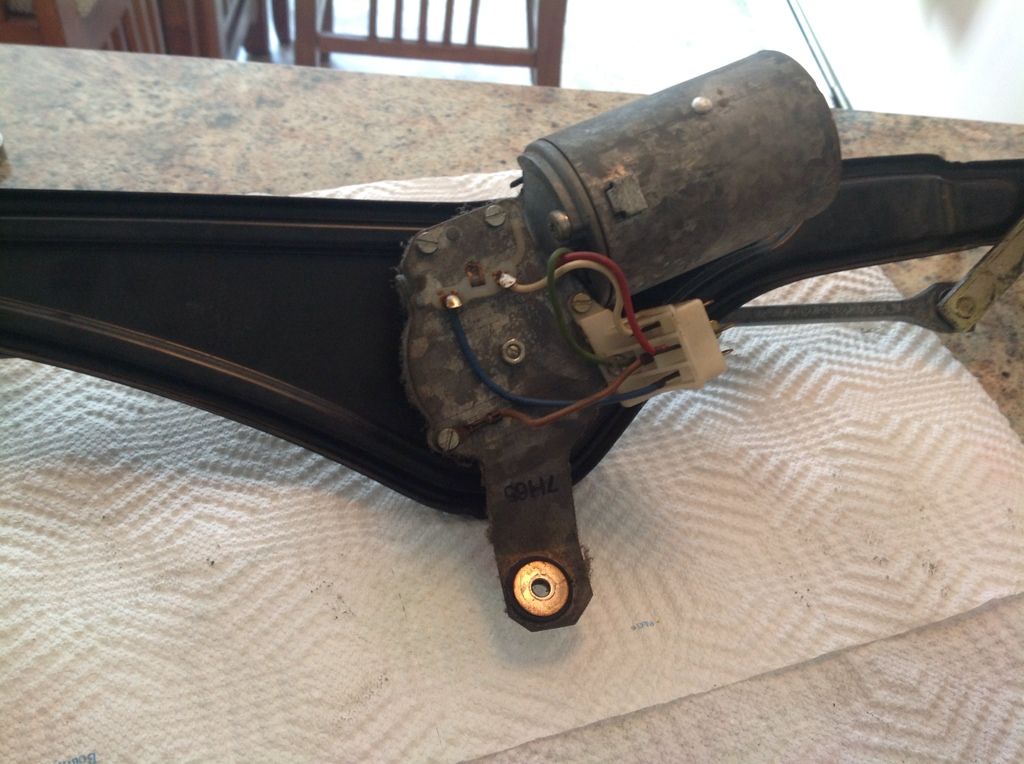
The rack was already out of my bus from last weekend. So getting started was easy
Image

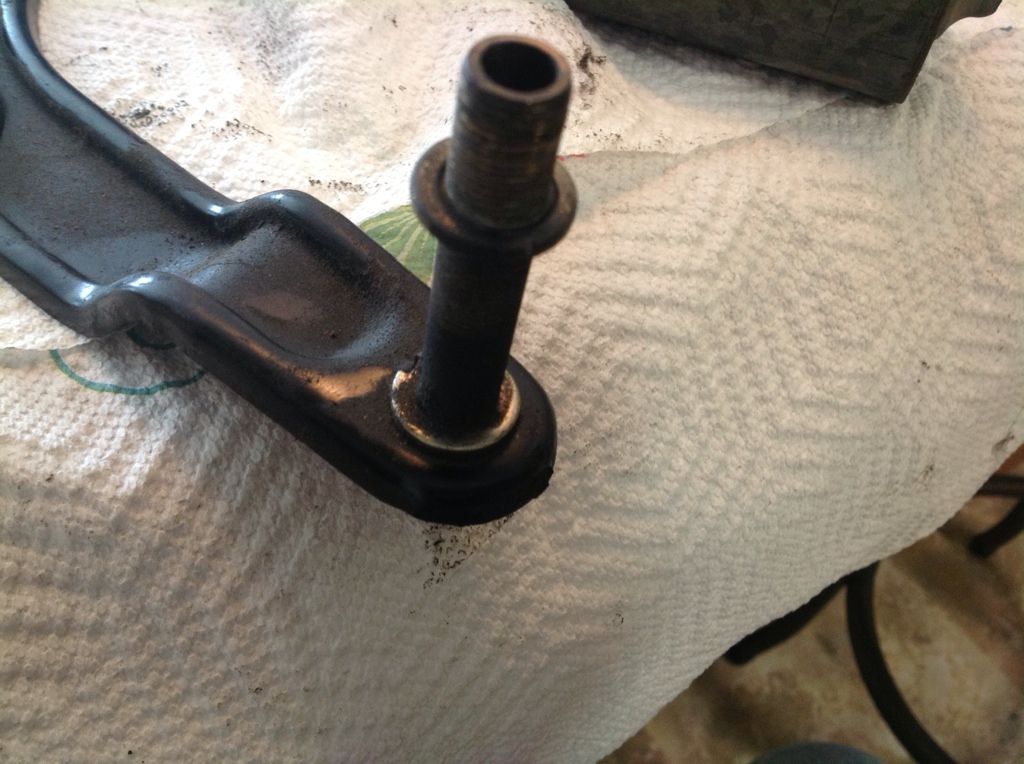
I wiped off the dust bunnies and massive chunks of grease that had made a home under the dash and quickly found the C clips. From my recent undertaking of the slider, I had really thought these C clips would be a nightmare to get off. But I used two small screwdrivers and they slid off much easier than I anticipated.
Image

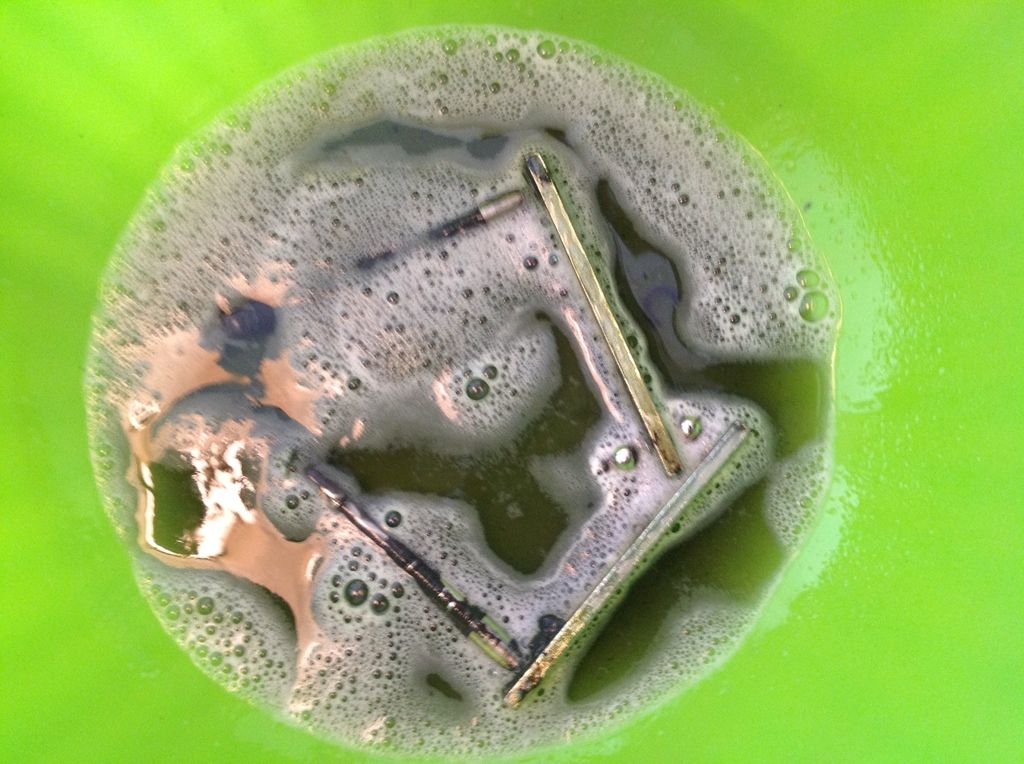
The shaft's were coated in caked on grease. So these went into a tub of degreaser while I moved on with the rest of the project
Image
Image

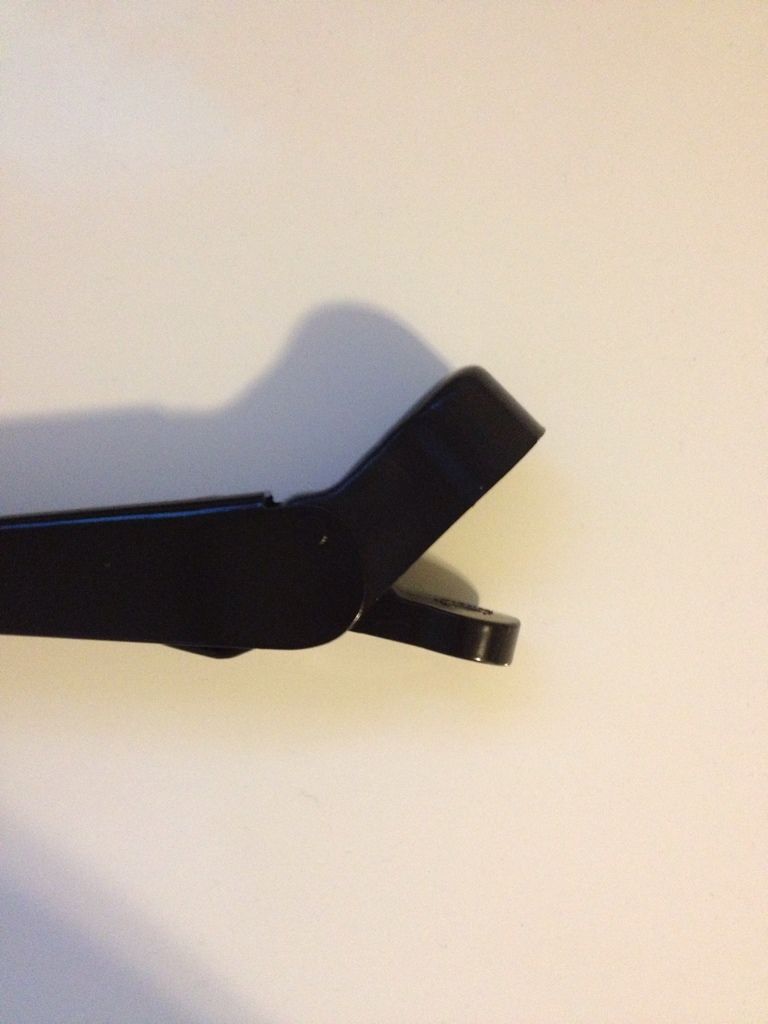
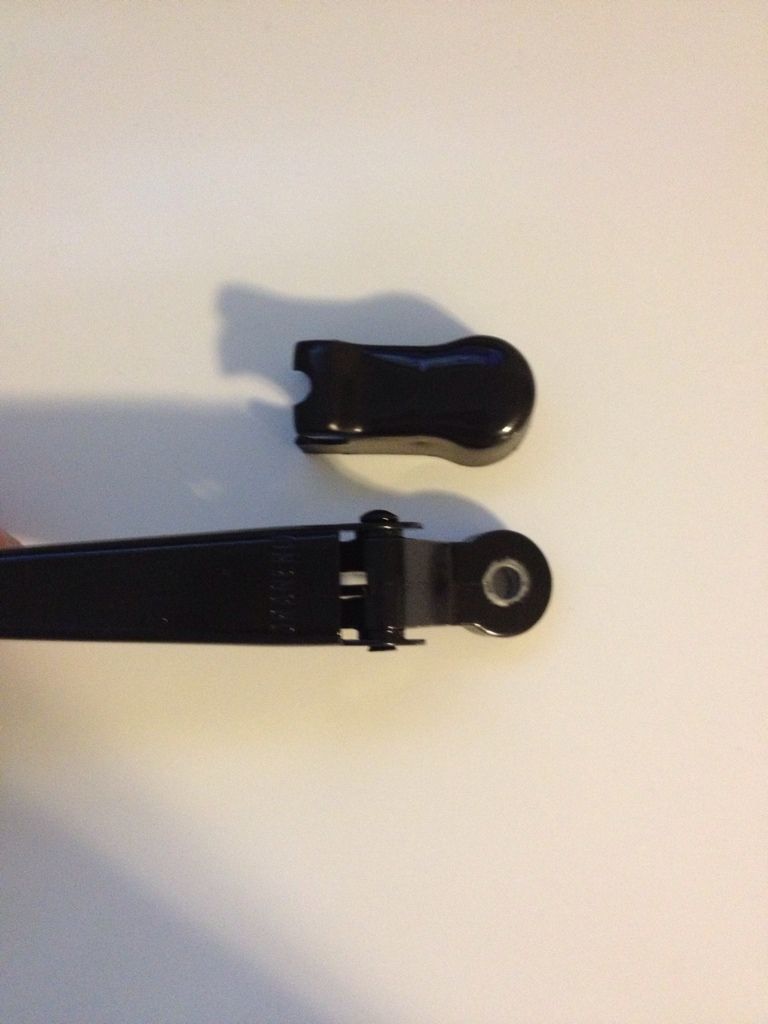
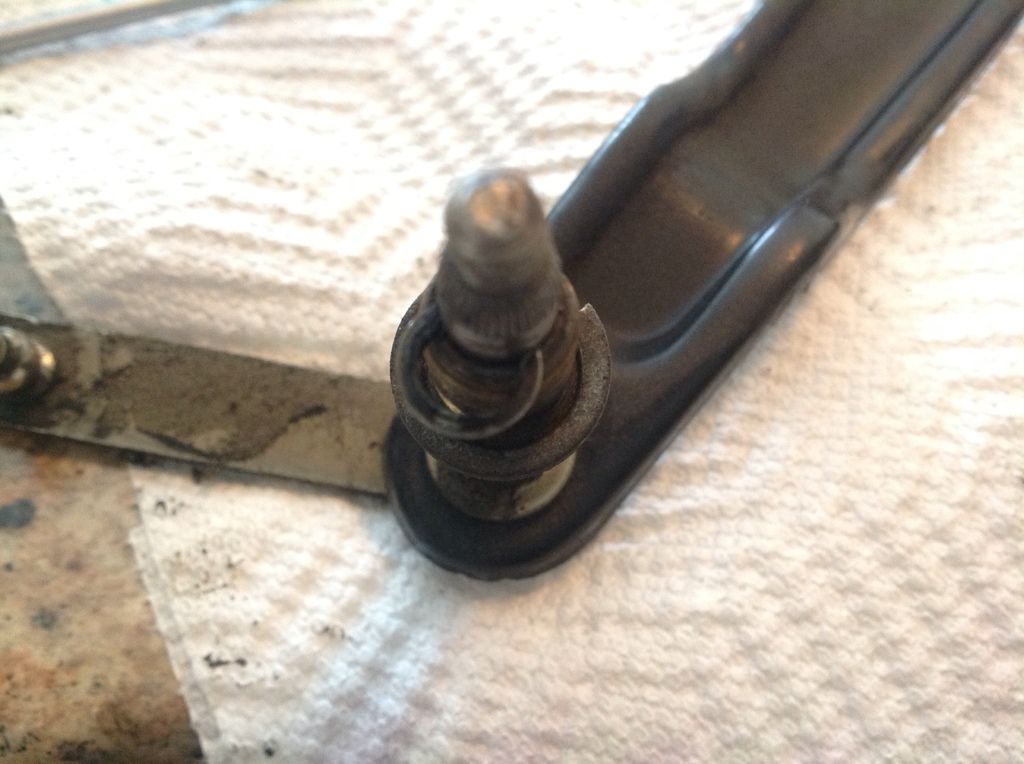
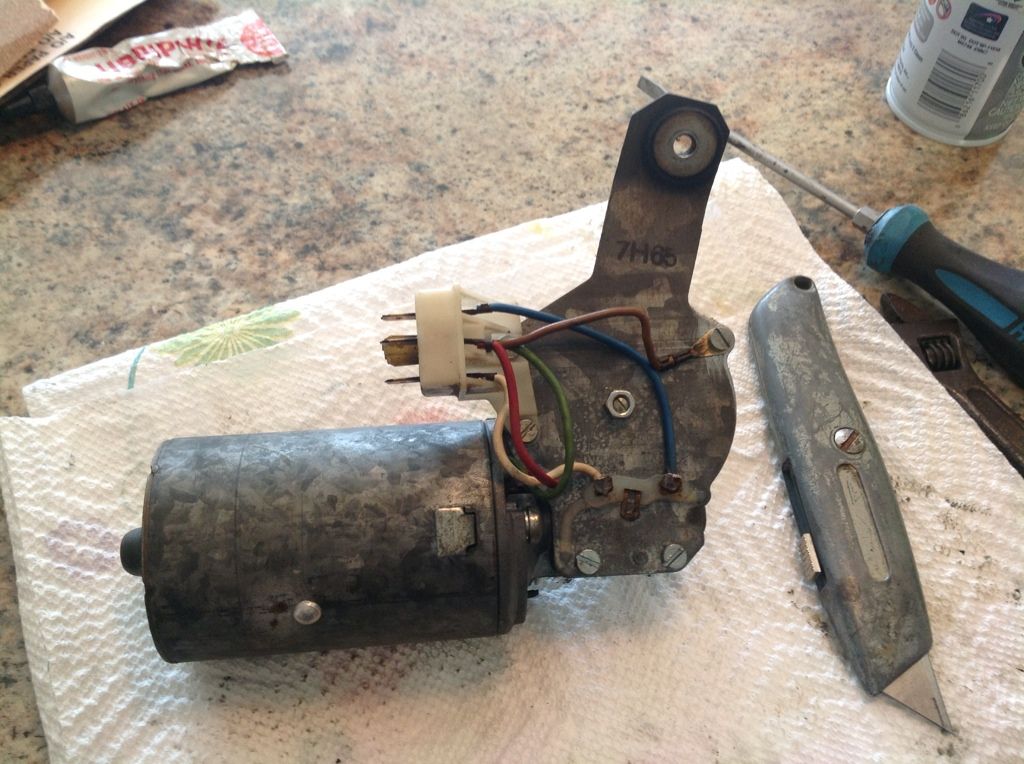
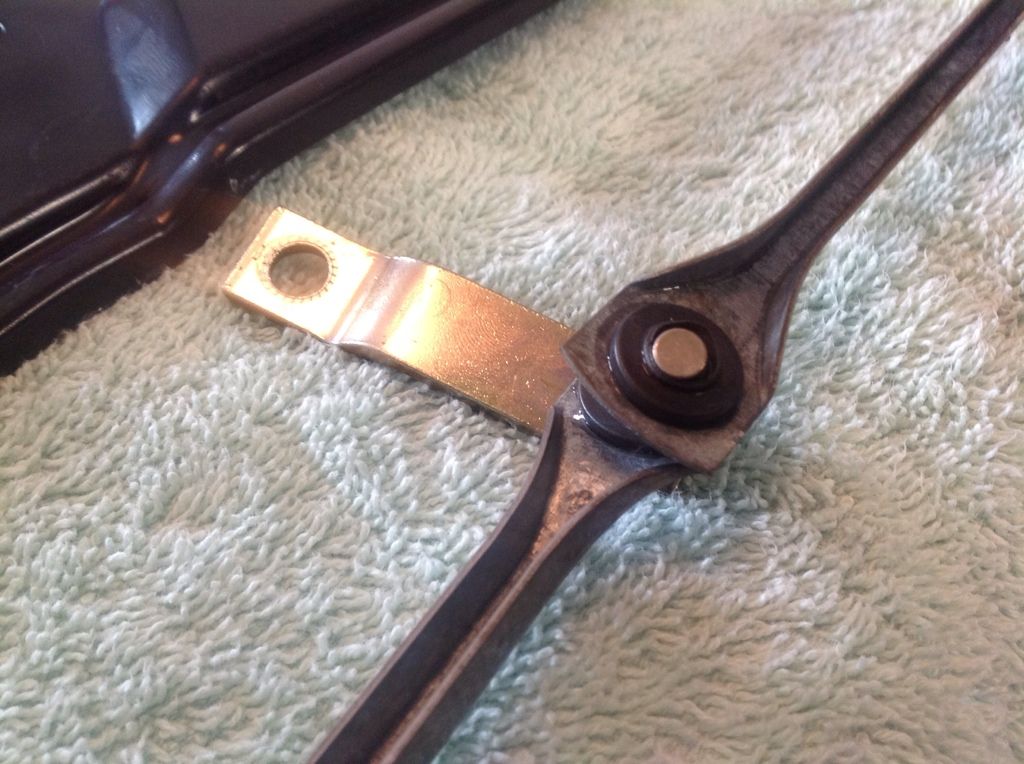
The drive lever came off simple, but it wasn't a 13mm as told. It was a 10. It looks to have been stock so maybe this is a difference between early/late bays. With the nut off, the lever was actually held in place with caked on grease. I used the flat edge of my screwdriver to gently help it up. I used care to make sure I didn't bend anything.

From there, I removed the three bolts that held the motor to the rack.
Image

I remove the center nut, and gently loosened the perimeter screws, I say gently because I was trying to make sure the cover didn't fall off potentially tearing the paper gasket inside.

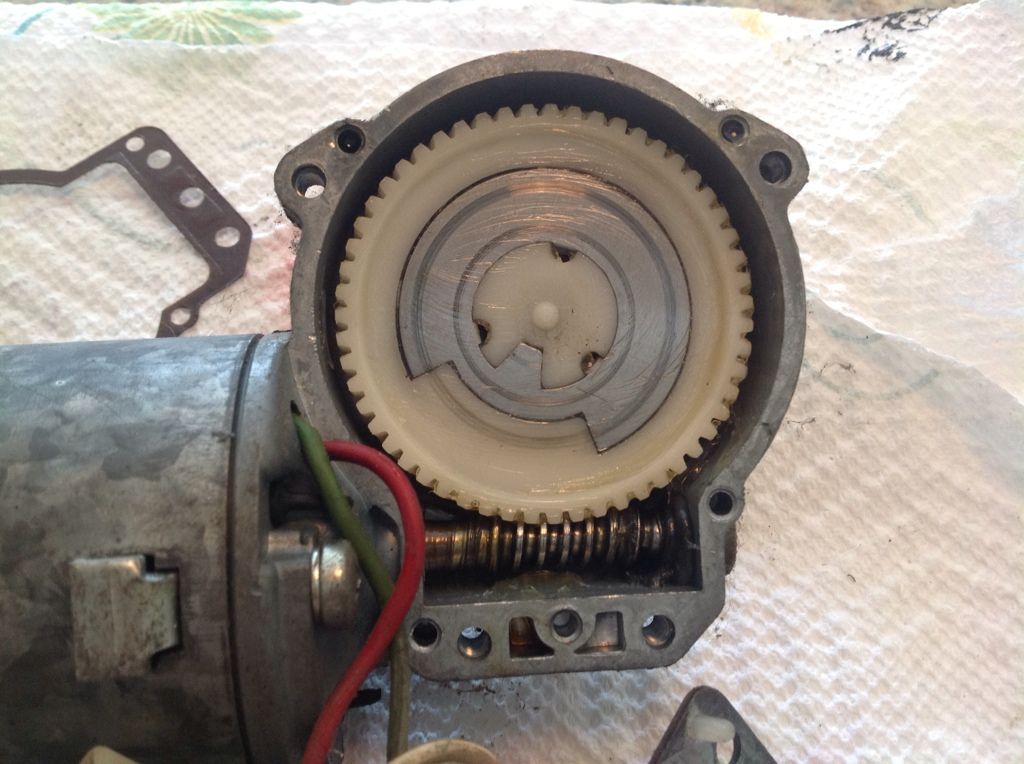
This is what I found inside.
Image

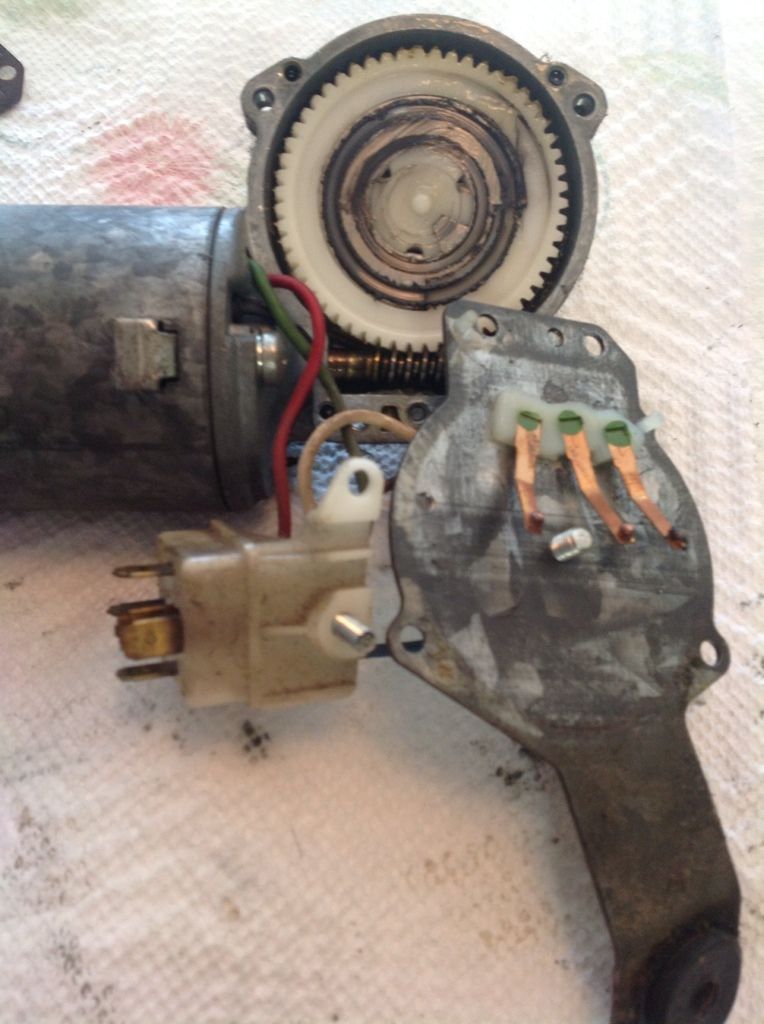
I didn't know if the faint black tinge to the lubricant was ok, so I wiped it off and used some that had pooled in the underside of the plastic gear. This is the "record" and the copper fingers that Colin mentioned in the original write up.
Here it is with a new coat of grease.
Image

I used the blade of my razor to gently clean off old grease from the copper fingers. Then I took a second to see exactly how the innards worked. I gently laid the paper gasket back in place, and put the cover back on over the gearbox. I use a piece of sandpaper to scuff up the ground and it'ts contact to the case. I replaced all the screws and moved on to the motor.

I didn't listen to the instructions, mostly because I thought I understood what was going on. Needless to say I made more work for myself. But I removed the case from the motor. The magnet inside made the commutator pull from the gear. (Note, I ignorantly skipped the part where I replaced the drive lever to keep the gear, and subsequently armature from moving DON'T DO IT MY WAY!)

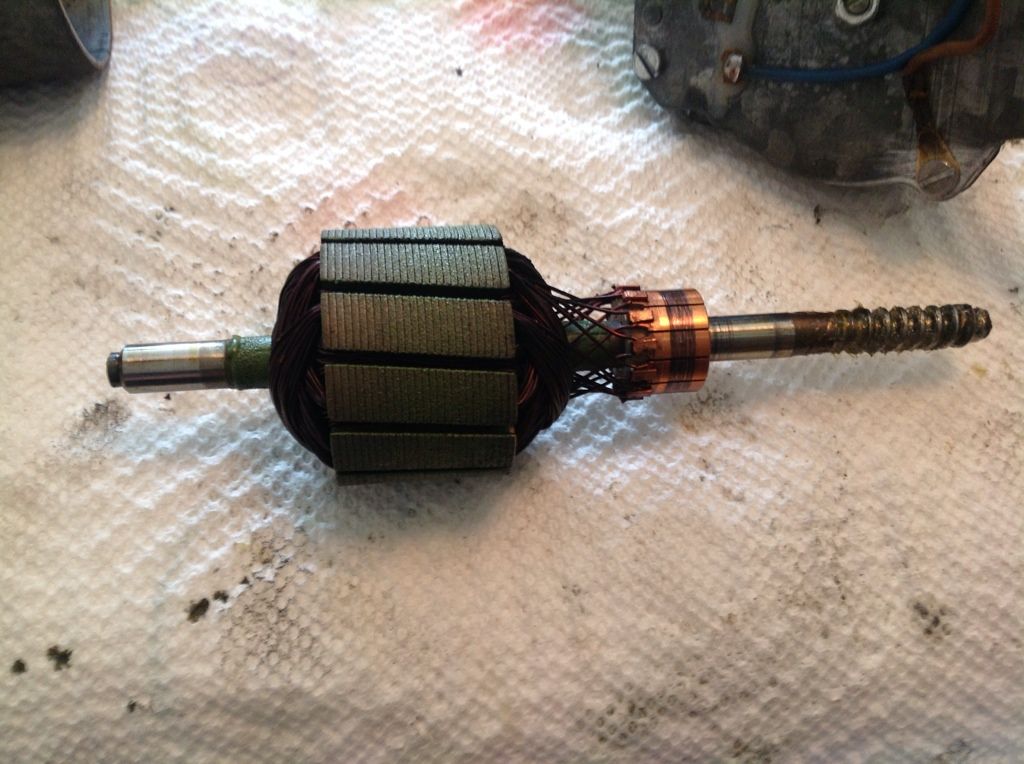
Here's the armature. (I think that's what this part is!)
Image

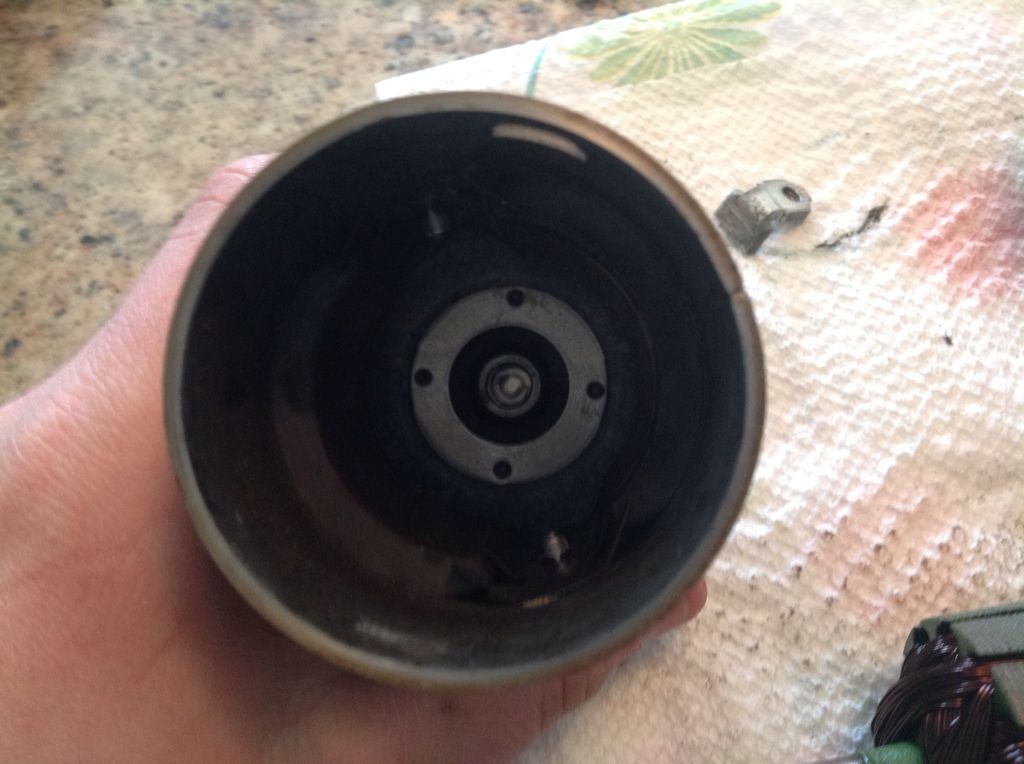
The inside of the motor case, without the armature, check out those magnets!
Image

It was at this point that I started to realize how things really worked. I had always thought the motor worked one way, then reversed to make wipers move left, and right. Man! I was wrong! Its cool to see, the armature spins, and that turns the worm roller at the end that interlocks with the white plastic gear. that gear drives the arm on the back which spins. The two opposing arms move the shafts, which are connected to the wipers themselves. NIFTY!

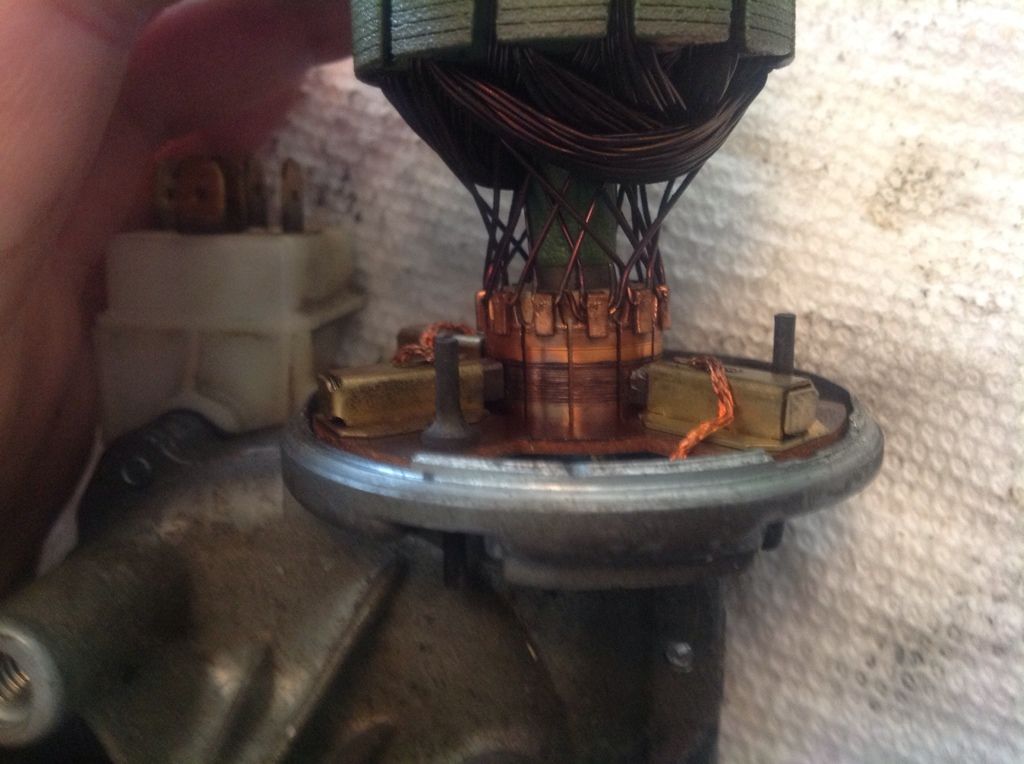
Now, I will also mention that it was just at this point where the springs and brushes came out. I had read about this in the instructions, but didn't realize at what point to expect it.

I cleaned everything, oiled, and began to reassemble. It was a bit of a trick to get the springs and brushes back in place. But I tricked my mom into inserting the armature while I held the brushes.
Image

Also, while you're here... I had noticed it was a bit tricky to get the armature to seat 'square' there is a bit of play while the roller seats properly with the gear.
I was hesitant and didn't understand what was happening so I wound up taking off the gearbox cover again to see... Thats when I realized why the armature wasnt sitting square at first. I gave it a gentle spin and it worked into place with the gear.

It took two tries to get the motor case back over the armature without moving the armature or dislodging the brushes again. I also found that there is a small "cone like" (shaped almost like the Apollo Capsule) insert that sits at the base of the armature, it seems to act as a centering key that has one rounded edge which mates in the nipple at the end of the motor case. I dropped this piece, thankfully I saw where it went on the floor and after looking around I made the best guess as to where it fit on the motor.
Image

I lined the case screws and their tabs up, and locked it all down.

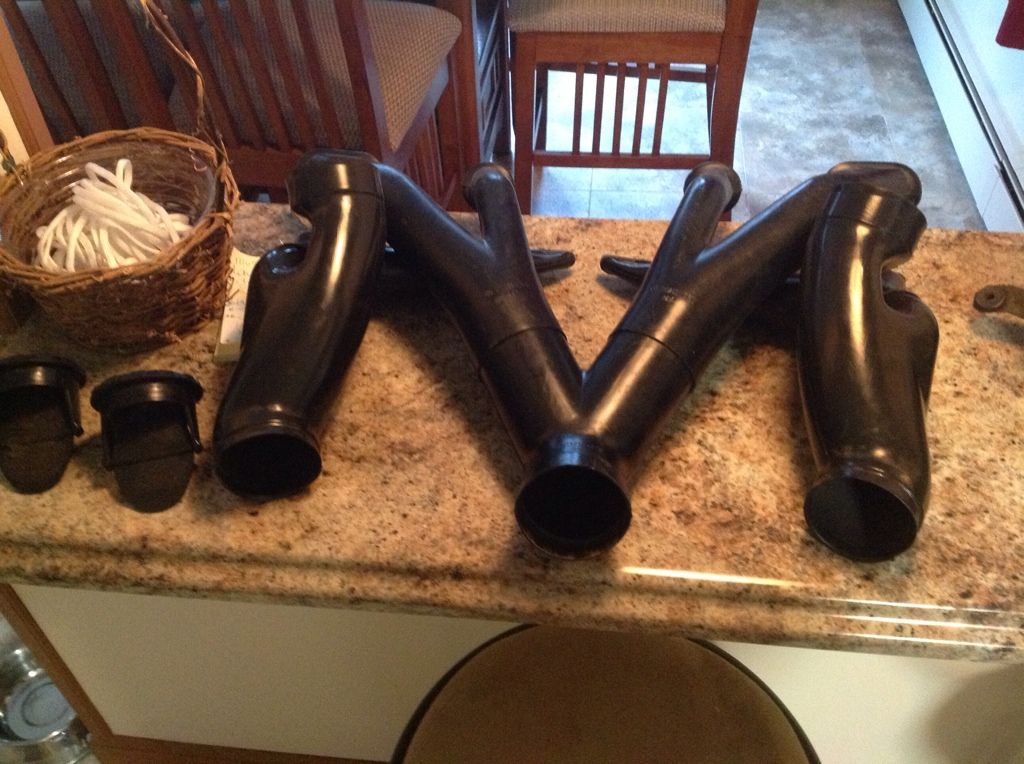
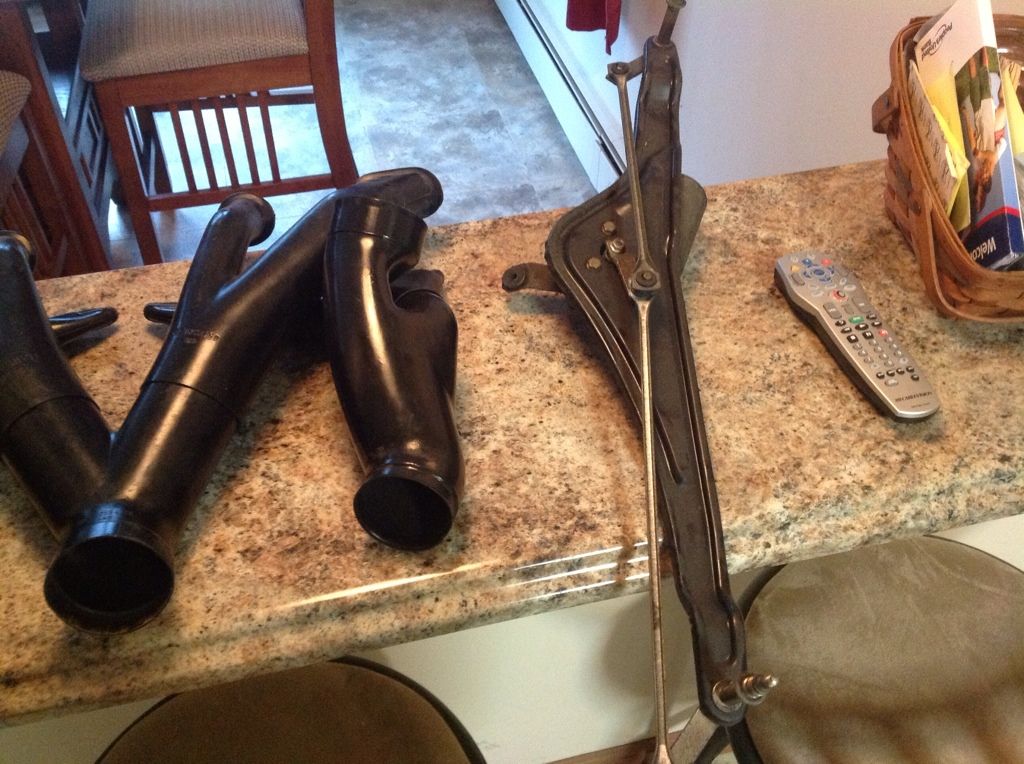
Then I cleaned all the parts
Image
Image
Image
Image
Image

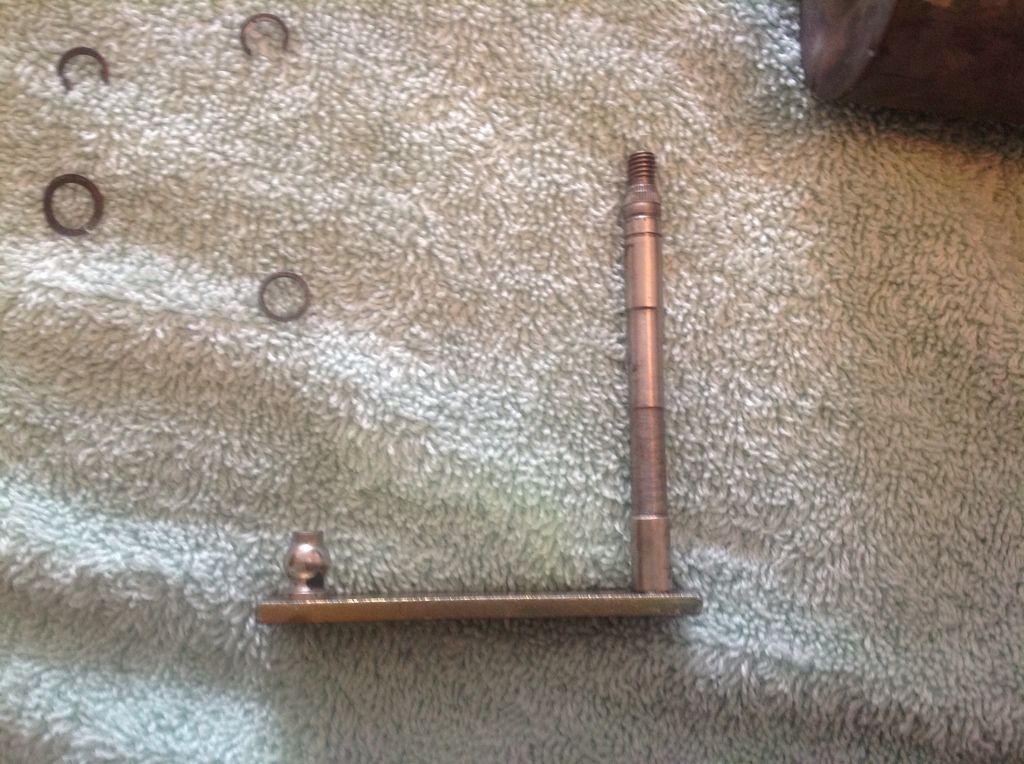
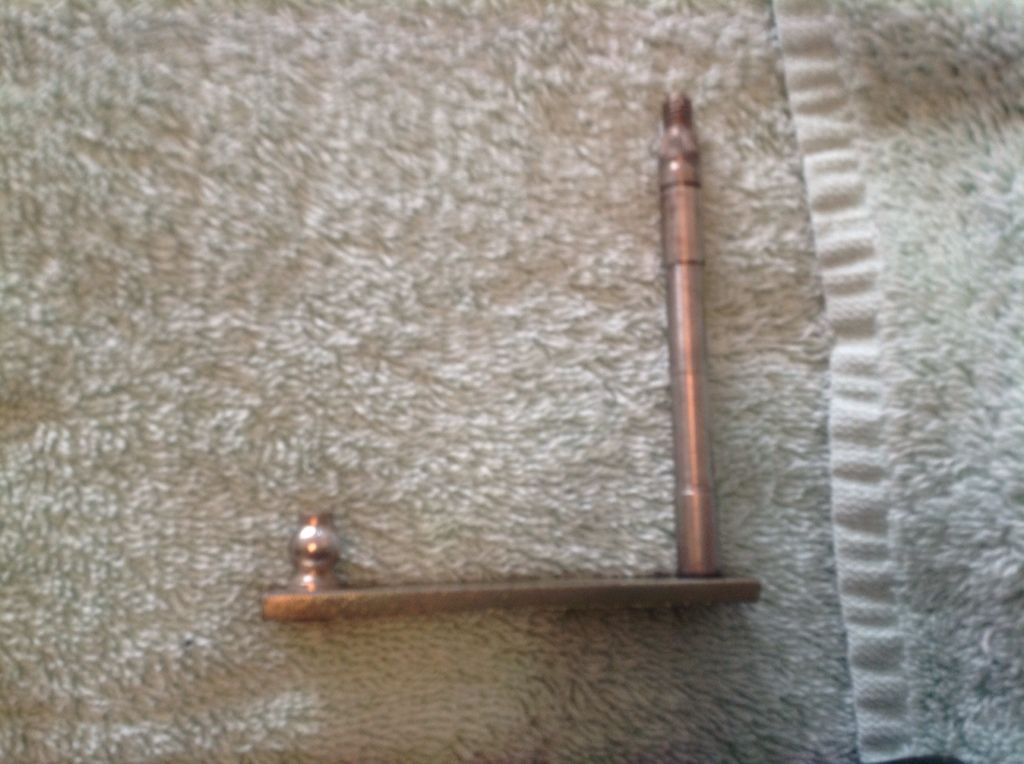
I'm missing some of the wavy washers. Where can I get a set and what size are they?

And, am I correct in my placement of the little "cone"?

Re: Home away from Home, on wheels.

Posted: Mon Feb 04, 2013 6:00 pm
by ObnoxiousBlue
Progress pics as of this morning.
Bus should be coming home Weds evening.

Image
Image
Image

He's doing a feather blend around the base of the windscreen and clearing the whole thing. Similarly, another blend around the base of the rear window and yet more clear.
They've been great with color match so far, but he says any gradient in the colors will be less noticeable with a blend, over a clear line between panels. This was the dust coat, and is literally the first shot of color the car got.

Also, need to find a source for "wavy washers" the kind with the convex shape to them for my wiper rebuild. I need two different sizes, so if anyone knows any local places I can walk into so I can find the matches in size let me know!

Re: Home away from Home, on wheels.

Posted: Mon Feb 04, 2013 6:31 pm
by Raj
Wow..... It looks freaking awesome!

As for the washers, did you try ace hardware? I have good luck there with there hardware selection.

Re: Home away from Home, on wheels.

Posted: Mon Feb 04, 2013 6:57 pm
by ObnoxiousBlue
No, I actually hadn't thought of ACE. But there is a relatively new one near me, I'll check there tomorrow.

I'm also a bit saddened to find that I don't think I will be able to run the tires I want. I think it'll lift the bus just a hint more than I can afford on my approach into my garage, which I currently clear by about 3/4" at the door and about 2" at the lift motor.

Re: Home away from Home, on wheels.

Posted: Mon Feb 04, 2013 8:41 pm
by EDNCAROL
Mike try Karps first. If your having a hard time finding them try Mars on Main St in Bay Shore they've been around a long time and still have a lot of old stuff.

Re: Home away from Home, on wheels.

Posted: Mon Feb 04, 2013 8:51 pm
by ObnoxiousBlue
Does Karps carry that sort of stuff?

Re: Home away from Home, on wheels.

Posted: Mon Feb 04, 2013 10:25 pm
by EDNCAROL
I don't know for sure but it's close to you.

Re: Home away from Home, on wheels.

Posted: Tue Feb 05, 2013 7:44 am
by Big_kid
I can't say for sure up there, but down here Lowes has a much better selection of hardware/nuts & bolts in the little drawers than Home Depot does.

There must be a commercial hardware supplier on the Island somewhere, unless the entire Happaugue industrial park closed down? There's GOT to be a place like this up there:
http://www.facebook.com/pages/Tidewater ... 1828679355

If you can't find anything up there, get dimensions & contact Tidewater Fasteners. I'll pick up & ship if need be.