Page 28 of 46
Re: Home away from Home, on wheels.
Posted: Tue Feb 05, 2013 9:37 am
by Raj
Big_kid wrote:I can't say for sure up there, but down here Lowes has a much better selection of hardware/nuts & bolts in the little drawers than Home Depot does.
x2. By us too. HS has more house related hardware like deck fasteners, galvanized stuff etc.
But I still stand true to Ace. They even had the correct metric countersunk bolts that I needed when I did the wifes rear rotors on her truck. They have these sunk bolts that were so rusty, i needed to drill them out, and retap. Luckily, Ace had them in stock and her truck was back on duty in no time.
Another good place is Mcmaster carr. One a year or so I replenish my stock of new hardware and buy by stuff from them. Nothing like have all new hardware on hand when wrenching on these old cars. The website even supplies the CAD drawing so you can see the taper, shelf, head height etc. They even have black anodized stuff on hand. Just an idea!
Re: Home away from Home, on wheels.
Posted: Tue Feb 05, 2013 12:19 pm
by MrBreeze
EDNCAROL wrote:Mike try Karps first. If your having a hard time finding them try Mars on Main St in Bay Shore they've been around a long time and still have a lot of old stuff.
"If you can't find it on Earth, you'll find it on Mars"
Re: Home away from Home, on wheels.
Posted: Tue Feb 05, 2013 7:02 pm
by ObnoxiousBlue
We don't have a Lowes that close to my house. The nearest Lowes is in Lake Grove, and while its only a 20 minute ride, thats a bit too far for just a washer. I even looked at Home Depot, and Pep Boys. When I asked the kid at Pep Boys where the hardware was, showing him my spring washer, he told me that the washer was "broken" and I should really buy a new set of flat ones. I shook my head and found the hardware section on my own.
Today, I took the old ones to work and polished them up. Never mind asking why we have a polishing wheel at a funeral home

Needless to say they really won't be seen anyway but I wanted to get off the crud that had coated the flat surfaces of it.
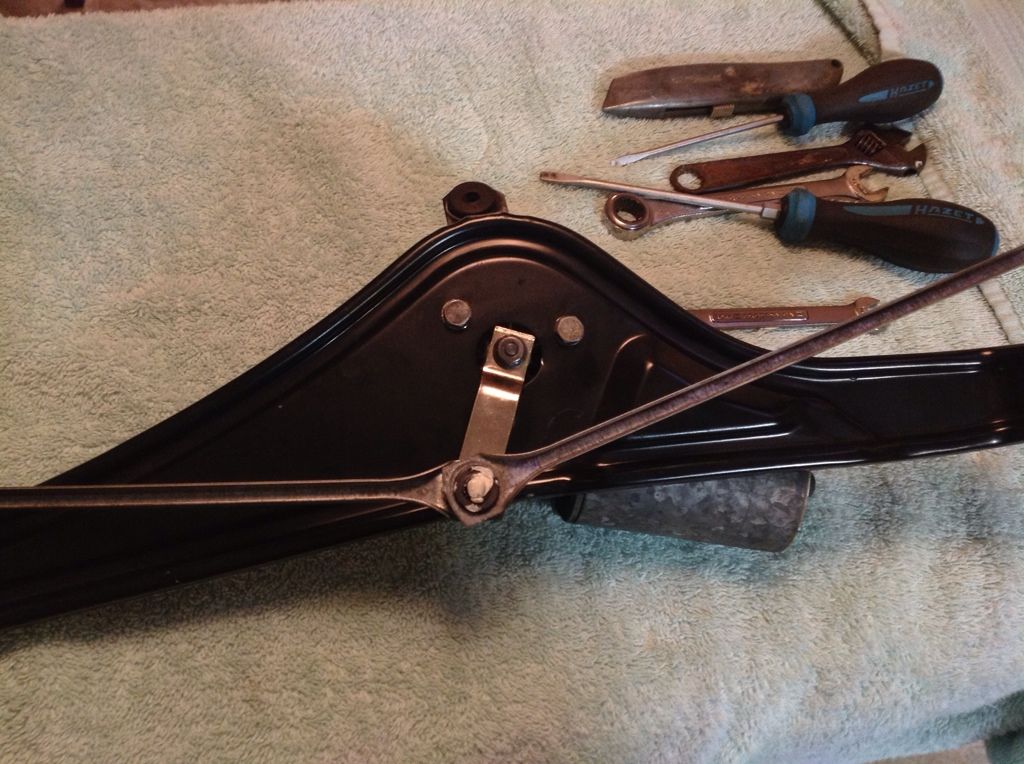
So, I reassembled the wiper unit while having dinner. As suggested, I used the "run off" oil from the tub of white lithium grease. After the working surfaces were wiped with the oil I put a finger-tip worth of grease on the shafts, and the joints of the connecting rods and bushings. Before mounting the motor back to the rack, I worked the wipers back and forth a bit and it became very clear how these things work! I may be simple, but it was nifty.
Then, I mounted the motor, connected the drive lever and voila!
Drivers side shaft
Here is one of the spring washers, they act like mini shock absorbers!

The drive lever
Passenger side shaft

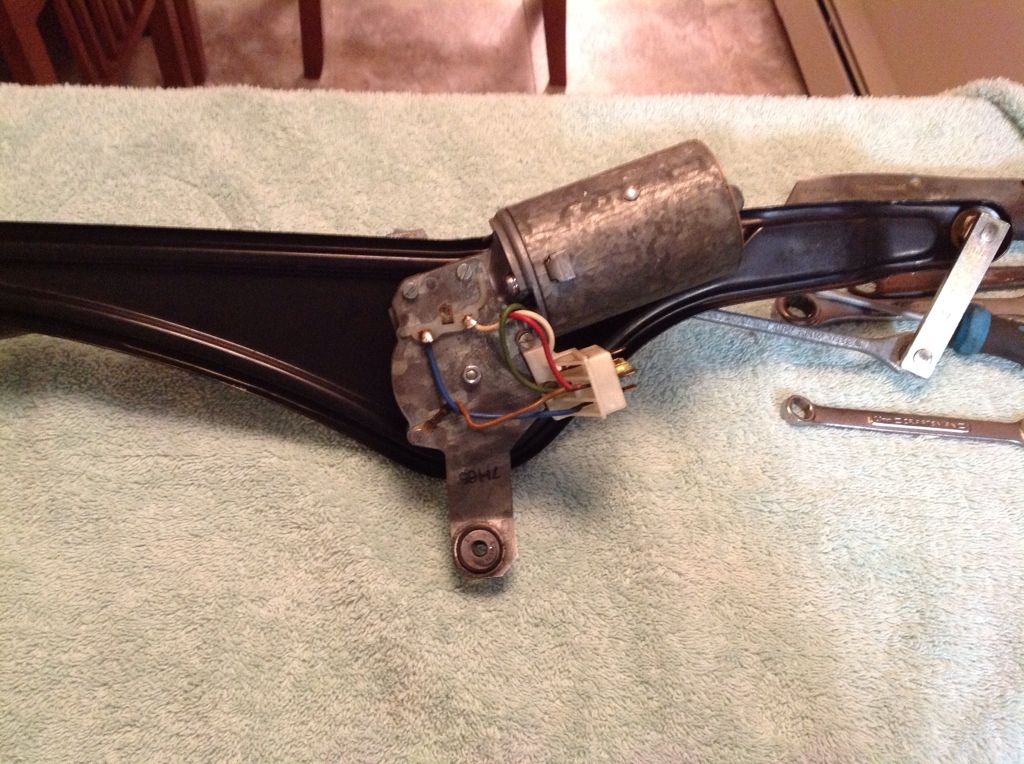
Motor
My rubber mounting bushing on the bottom was very pliable, I replaced all the others and this will all go into the bus in a few days.
I am a bit nervous about the motor. This was my first attempt at cleaning and adjusting things. My biggest fear again is that the silly little "Apollo 13" shaped thing is in the wrong place, or should have been lubricated. We'll see! I'll be sure to plug the motor in and let it run a few times as well as let it "park" before I reinstall the dash and close everything up.
Re: Home away from Home, on wheels.
Posted: Tue Feb 05, 2013 7:19 pm
by Big_kid
You took your time, you were careful, you made sure everything was clean and assembled properly. You'll be fine.
Re: Home away from Home, on wheels.
Posted: Wed Feb 06, 2013 6:36 pm
by ObnoxiousBlue
Ok, so now that it's home safe... The long story.
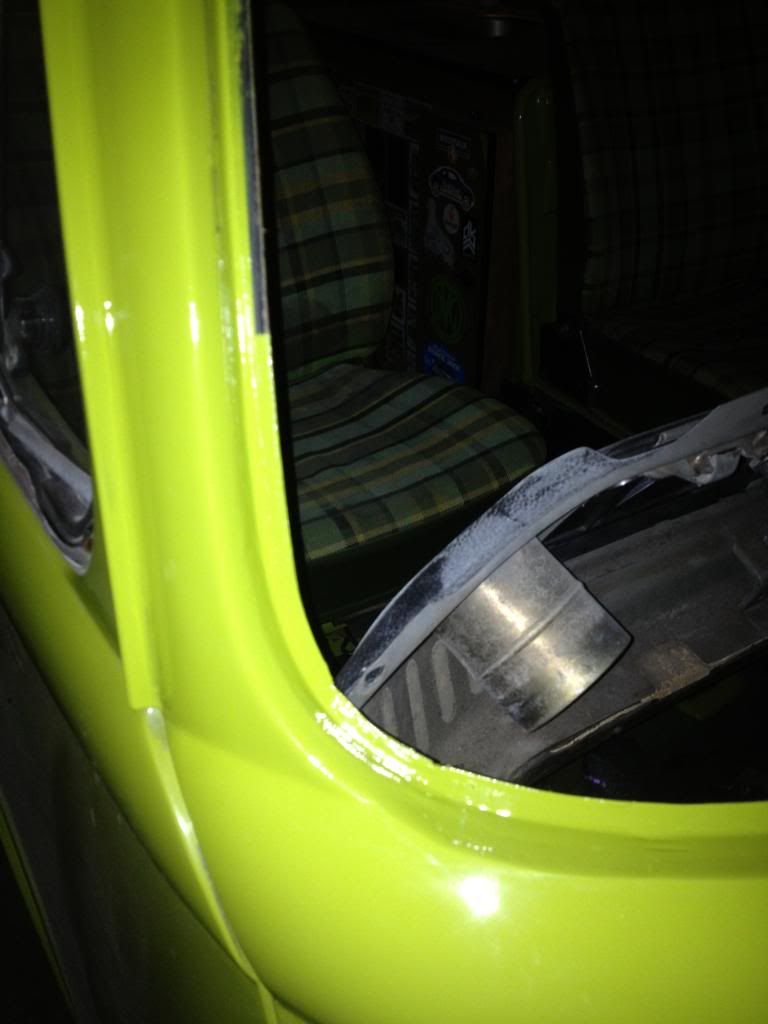
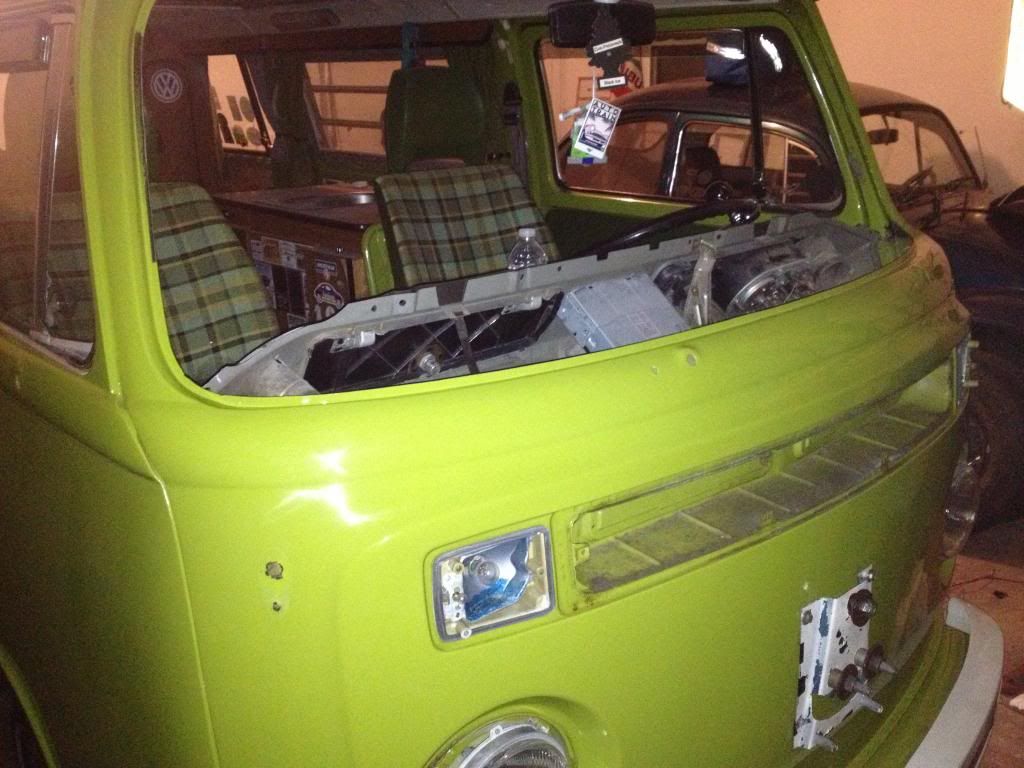
I took the advice of a friend originally and had sent the bus to a shop in Ronko for the battery tray, dog leg and rear fender. While I was generally happy with the work, even though the welds on the dog leg were a bit messy for my OCD the color match was fantastic.
I had brought the bus back for the issues around the glass. That same day I had gotten a call from the shop, and got that "butterfly feeling" and instantly went back to get the bus.
I found out later the next day that my suspicion was right and that my friend's family had found that the shop owner had a bit of a prescription drug issue.
I washed my hands of the first shop, and did what I should've done originally.
I brought the bus back to Gary at Masterweld. He had been the one to replace Reise's frame head, forward beam, and chassis support rail. He had the bus in that day, and out three days later.
On the word of another friend, I called a guy who restores cars from his garage. Jim Busterna. He is in Greenlawn, just off Pulaski. He took the bus, and did a color blend around the repairs at the front and rear windscreens. His work, puts all work this far to shame. He is a VERY talented individual and I have to say this was by far the best experience I have had with any body man.
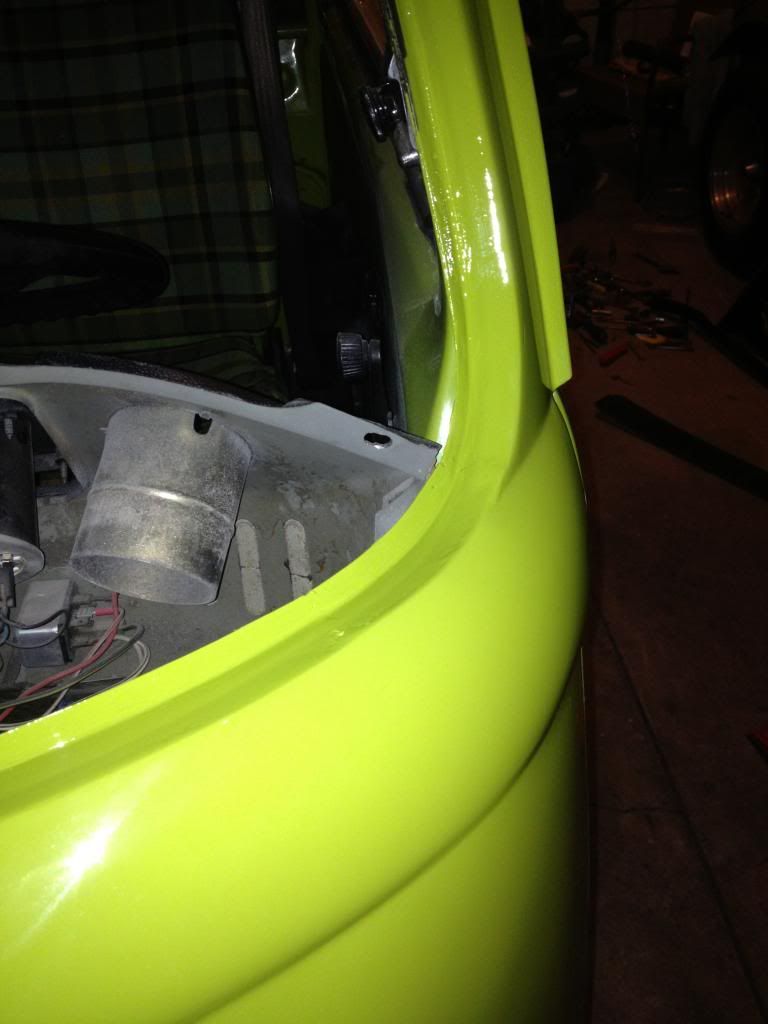
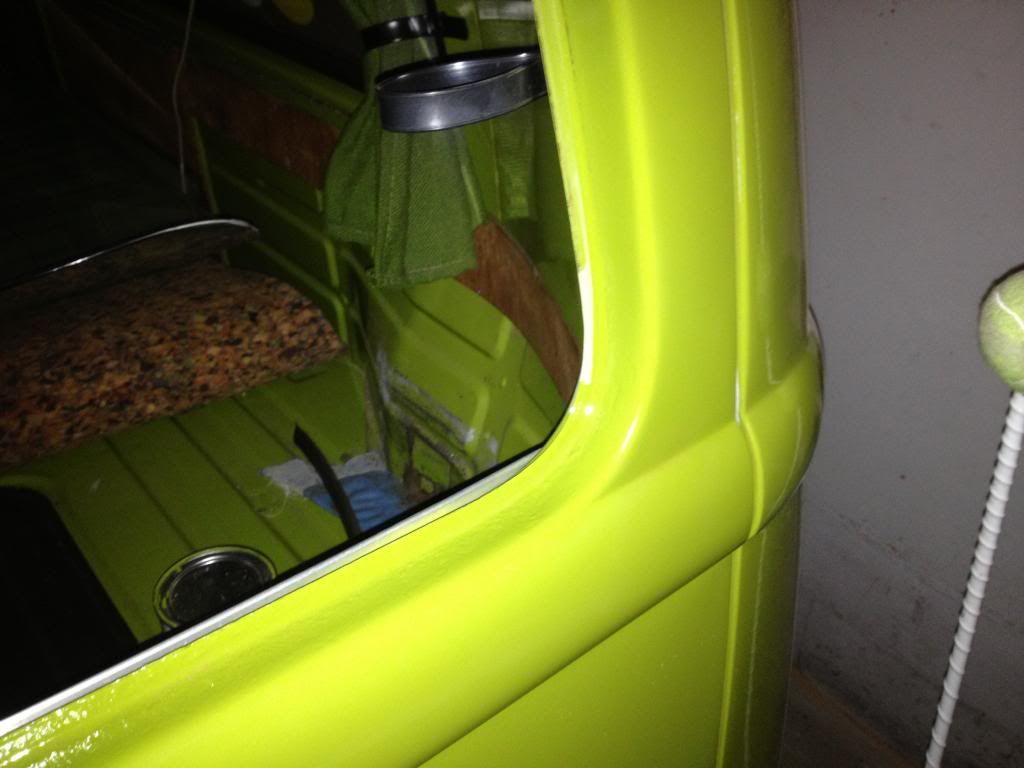
Here's a few pics, bear in mind it was dark. I'll take a few more in the daylight.
Once it was settled in the garage, I brought out the wiper motor I just rehabbed. I plugged it in, turned the wipers on and it started up! I was happy as I thought I fudged it up reassembling the brushes and the armature inside.
Dashboard should be ready by now at ReNu. Hope to grab that tomorrow. I have to order a few small pieces (vent clips, heater inserts, and glove box et al) from Bus Depot. Hopefully, I'll get to start putting things back together by this sunday. Might also do the
front marker mod also while I have easy access to my underdash.
Up next...
New windscreen
New windscreen and rear window seals
Late Bay Dash Clock
New kick panels and door panels
Vanagon seats are down at Tijuana for a facelift, though we
may go with the stock seats instead. More on that later.
Maybe a new Retrosound Model 1 or Model 2 radio.
Re: Home away from Home, on wheels.
Posted: Thu Feb 07, 2013 9:09 am
by Brown
Mike,
This is going to be a show piece when you are done with it. Great work so far!
Re: Home away from Home, on wheels.
Posted: Thu Feb 07, 2013 8:25 pm
by ObnoxiousBlue
Dashboard is back, while I'm mostly happy. I am a bit peeved that he missed a small (pin-head-sized) spot when he sandblasted. It's along the edge under the window and I doubt anyone will notice because of where it is, but it tweeked my OCD. On the while, I'm happy. Wasn't the cleanest job underneath either but no one will see that.
I will concede however, that I probably will go to Action next time.
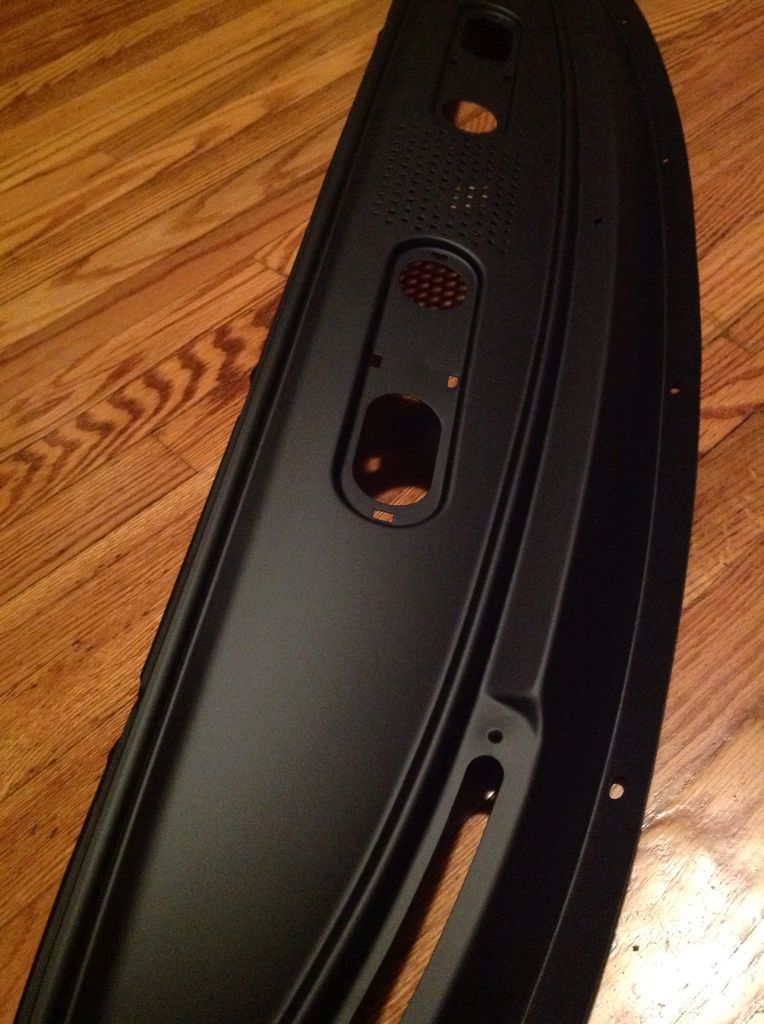
Be jealous of my flawless Schwinn in the background...
Today's parts order:
New dash top vents 3-5 week back order
Re: Home away from Home, on wheels.
Posted: Fri Feb 08, 2013 11:25 am
by Raj
wow. that dash looks gorgeous!
ps.... I hope you voiced your opinion on the blem.
Re: Home away from Home, on wheels.
Posted: Sat Feb 09, 2013 9:35 am
by ObnoxiousBlue
Well, was hoping to get some done on the bus today. But that won't happen...
Re: Home away from Home, on wheels.
Posted: Sat Feb 09, 2013 12:22 pm
by AoT
ObnoxiousBlue wrote:Well, was hoping to get some done on the bus today. But that won't happen...
No garage space?
Re: Home away from Home, on wheels.
Posted: Sat Feb 09, 2013 1:30 pm
by ObnoxiousBlue
Plenty of space... But there's a drift 3/4 way up the garage doors, and I'm not sure my heater can keep up with it being THIS cold. Lol
We closed the funeral home today, and routed the phones to my cell phone and home phone. So I've been fielding calls on my new 3 day weekend. It's great being "the new guy" lol I don't mind though because he pays well. Given, hopefully I can get in the garage in the next few days. Next week is a big bill week... So big work resumes in 2 weeks.
Re: Home away from Home, on wheels.
Posted: Sun Feb 10, 2013 5:12 pm
by ObnoxiousBlue
Made it into the garage today to start putting the nose back together.
New windshield washer hoses... I'll sort through the washer bottle and aftermarket pump later.
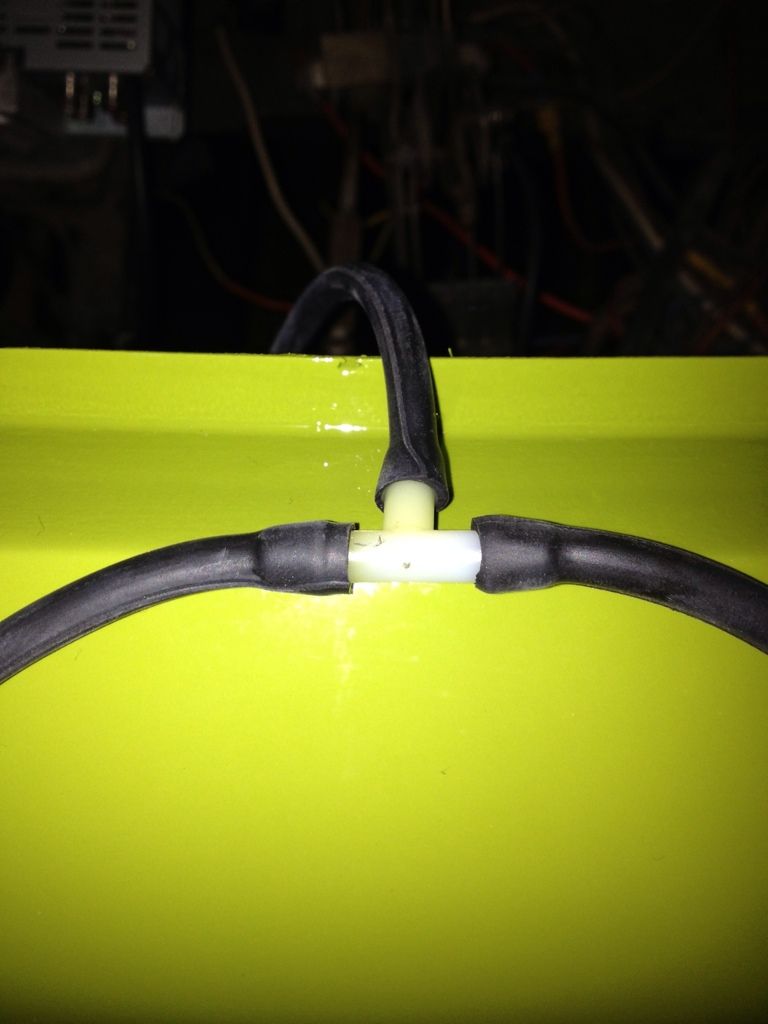
I connected the T first, then fed the lengths of hose through the retaining clips on the inside of the nose, then out the front skin before I cut them to length. I left 2" for working space and used a bit of simple green as a lubricant to help slide the hose over the new washer nozzles. Then, I pressed them into place.
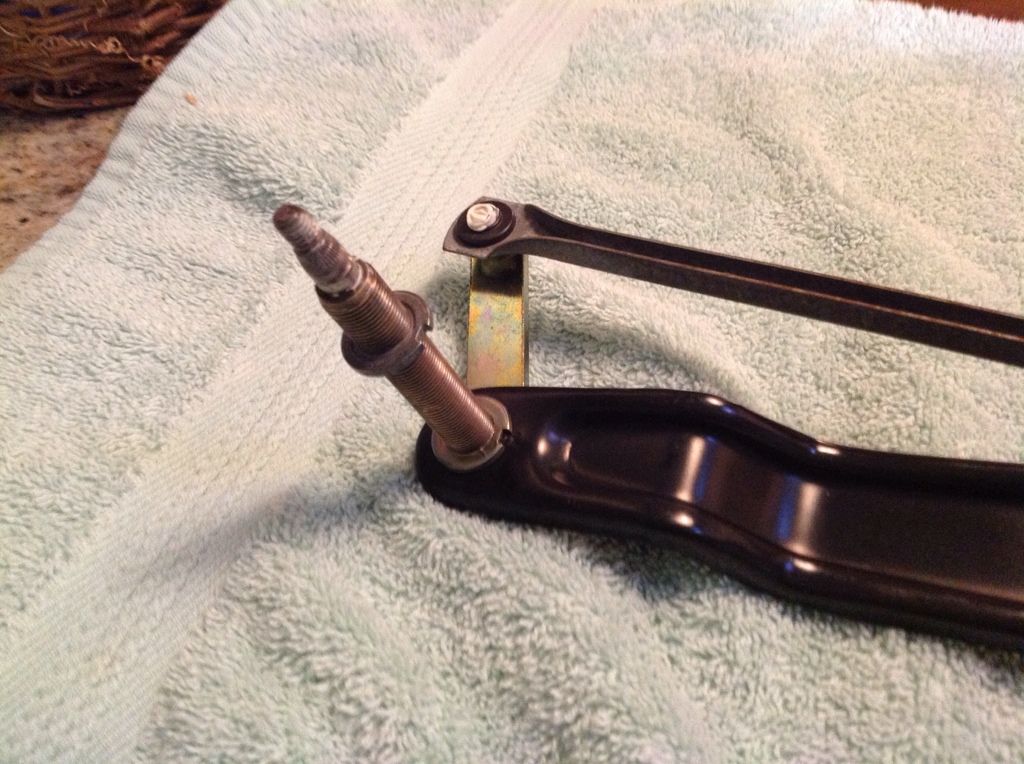
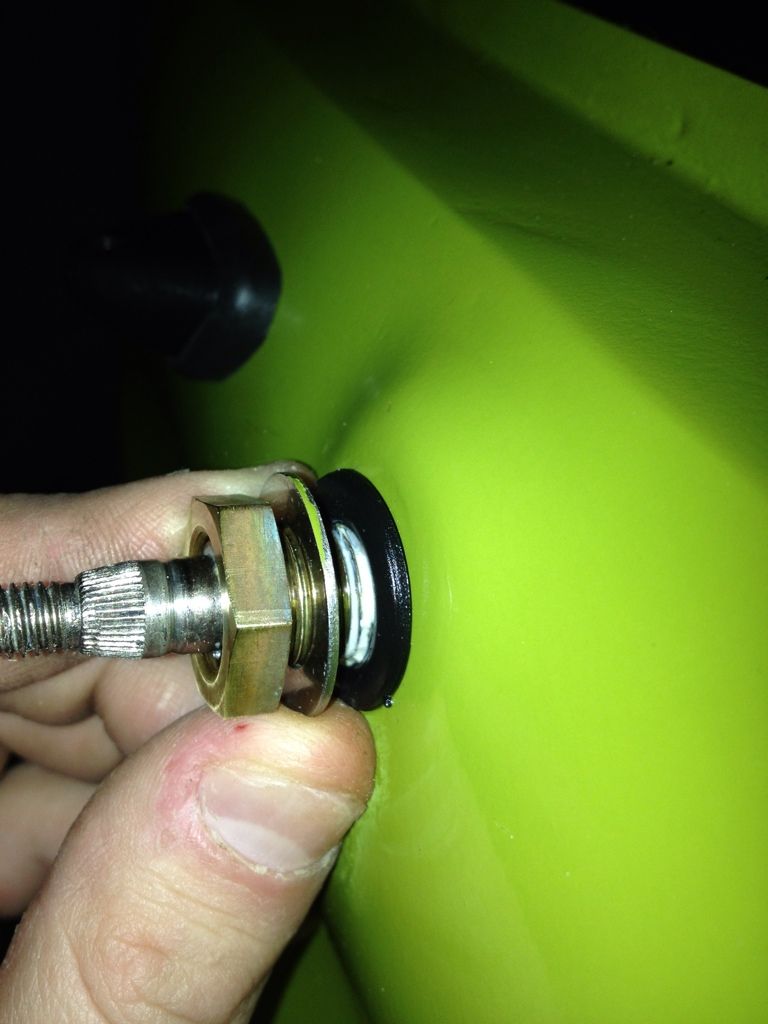
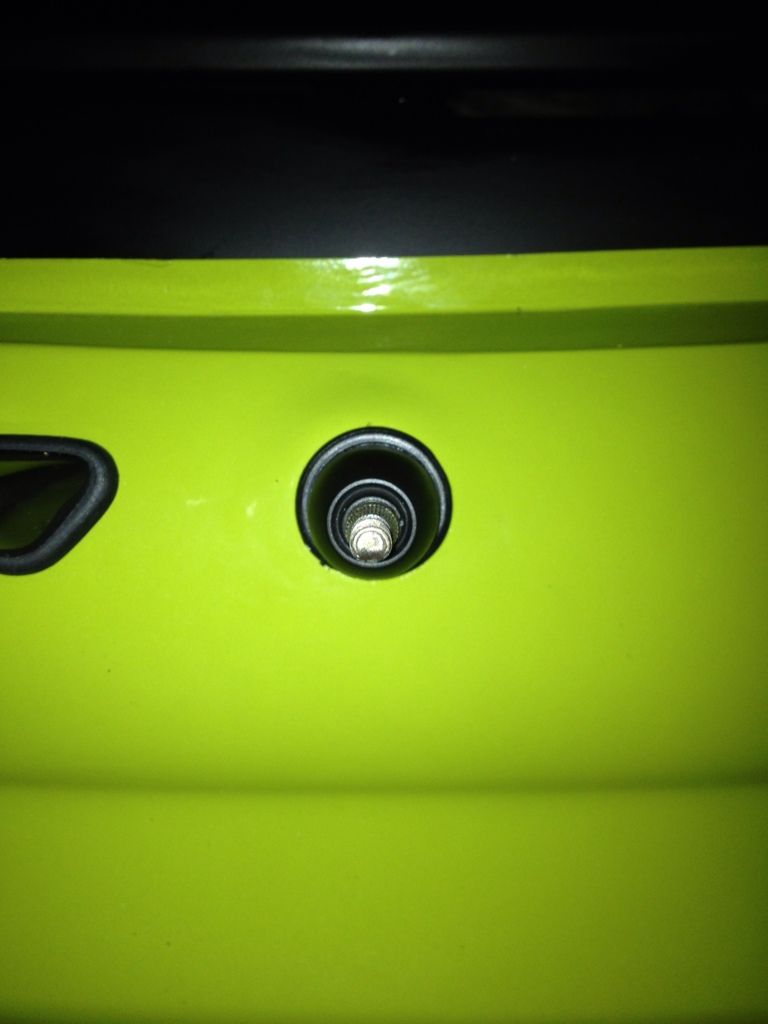
I put the new wiper shaft grommets in too
With the grommet in place, I placed the wiper rack, put a bit of grease to help the shafts through grommet and installed the washers and shaft nut. What's cool about these, that I didn't notice; the washer is absolutely a must have because even with the shaft in place, there is still a bit of wiggle room. The grommet crushes as the nut forces down the washer thus sealing the opening.
Short videos of the wiper actually working!
Video 1
Video 2
I took a short break, because leaning in the dash was hurting my back lol.
So I installed the turn signal lenses, and new seals as well as a new plastic screen behind the front grill. I used a bit of compound and wax to clean off some old stains from the tire and used new stainless steel screws. I kind of wanted to paint them green to match. But I don't think I can paint on stainless.
Next up, I installed the plastic ducting, and cleaned up the dash, installed the top padding to the metal plate, then both of those to the dash and screwed it all down with fresh new hardware.
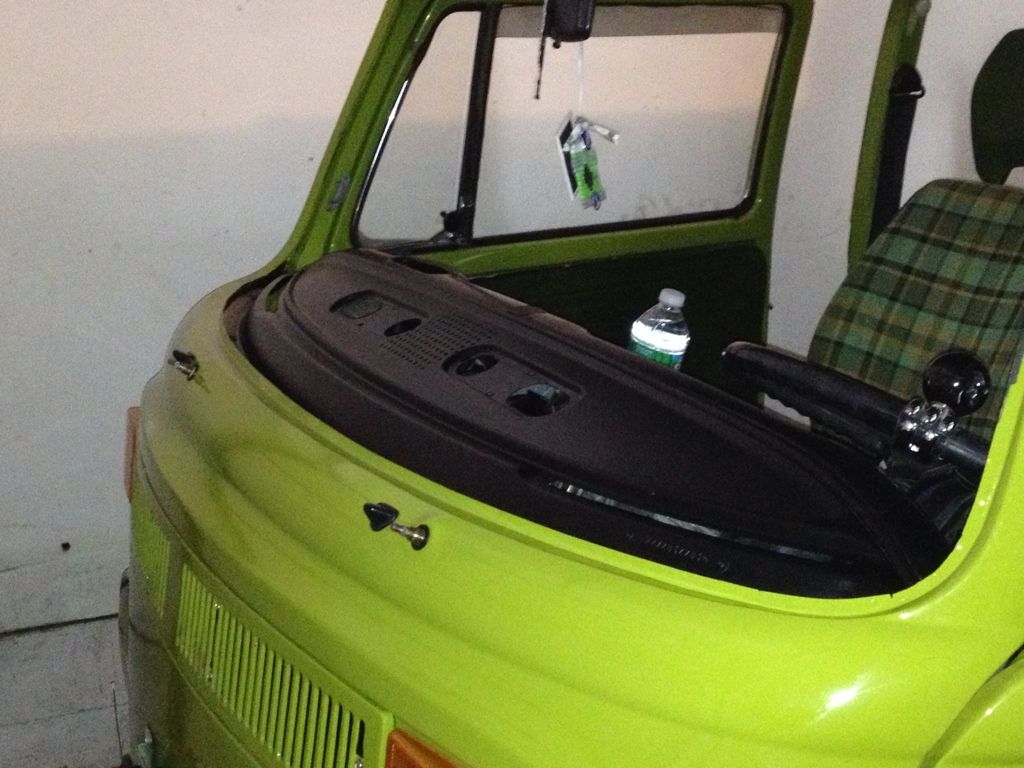
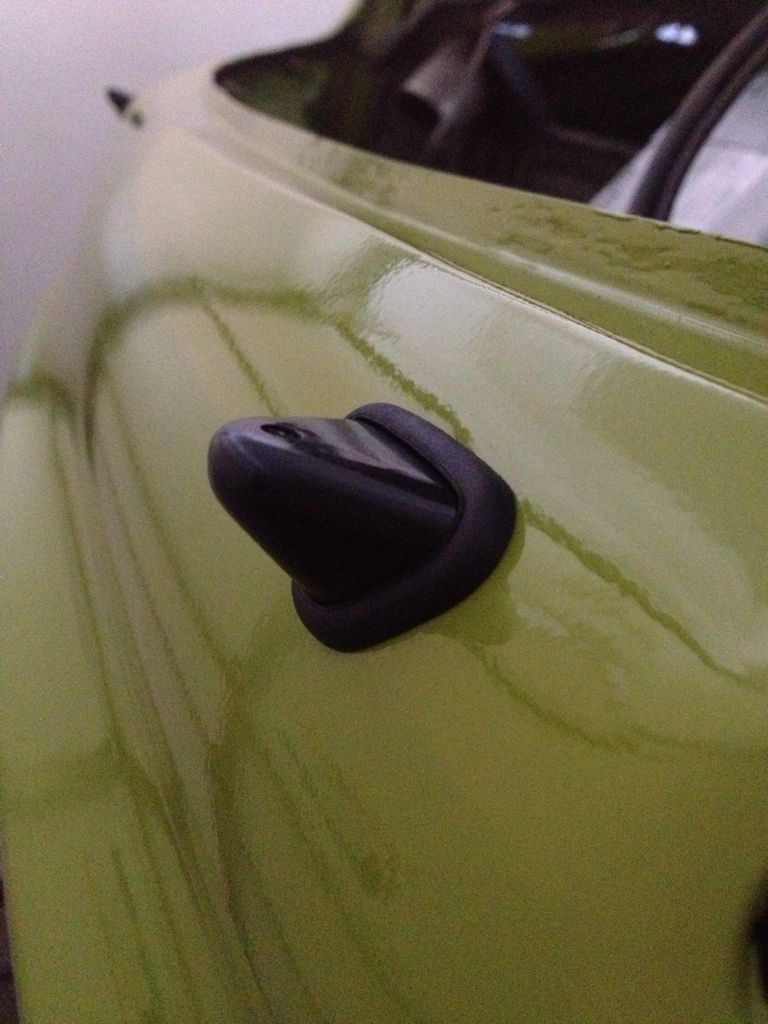
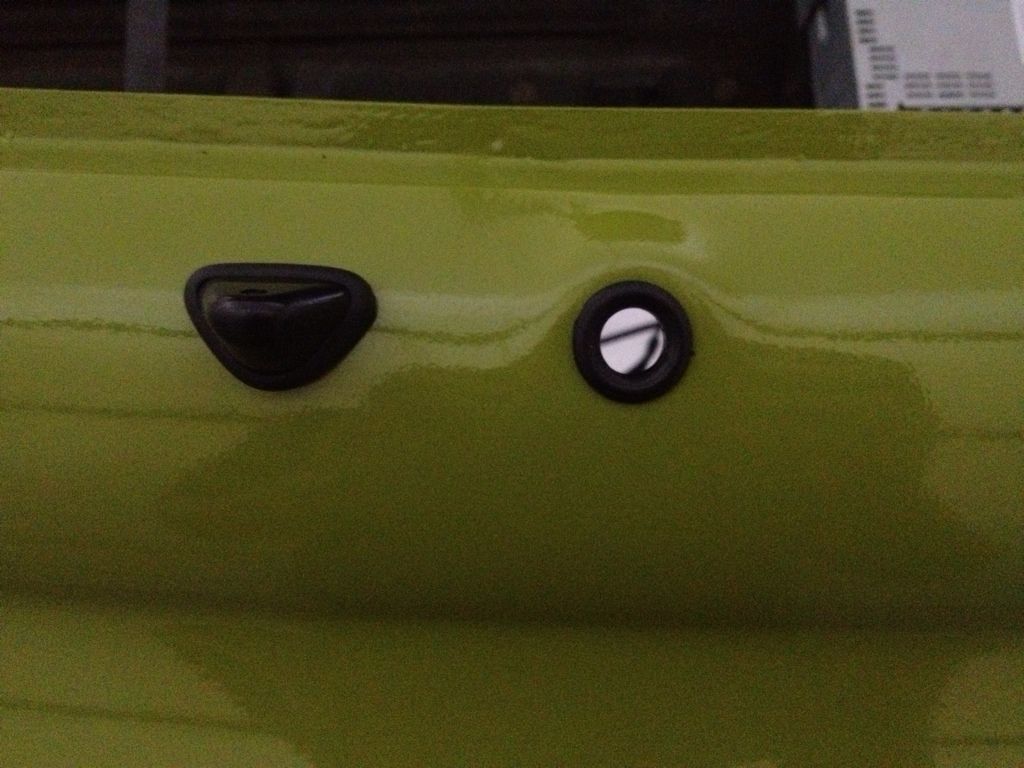
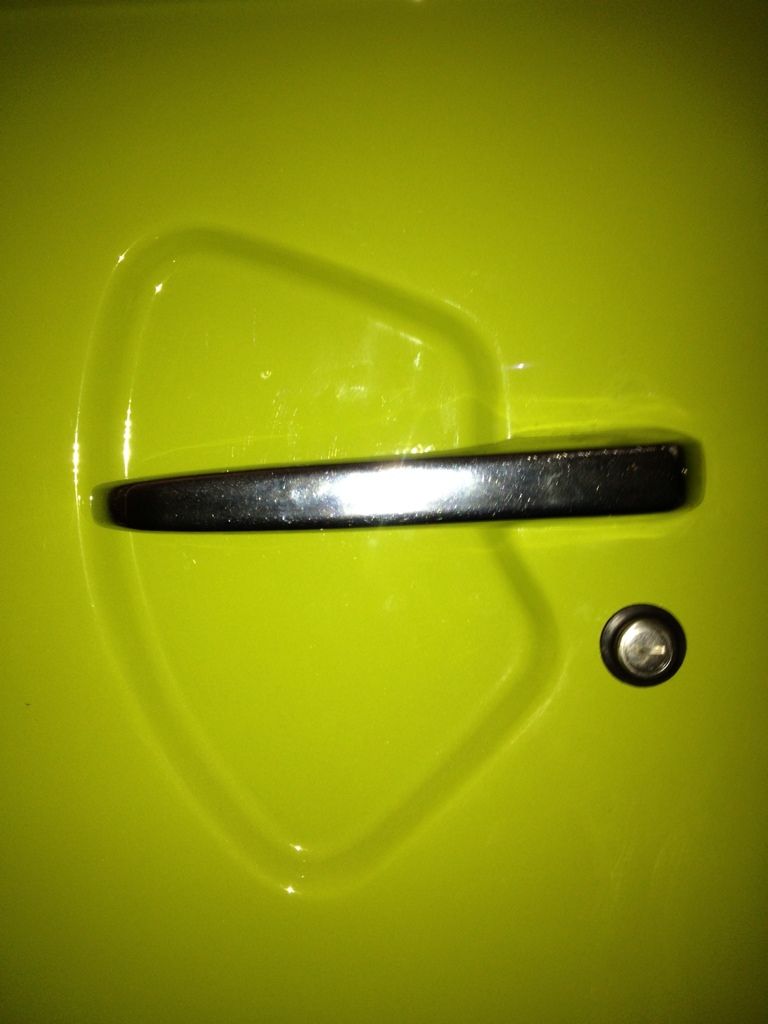
Also, put on my long-missing door lock seal, and a new plastic sleeve for the handle.
Went to put on my new mirrors, but I've never been satisfied with how these things mount on the door. The arm that holds the mirror is threaded to go into the mirror bung in the door. There is also a nut that is supposed to be tightened down to rest against the body of the car. But both are standard threaded. So as soon as the arm loosens off the bung so too does the nut. One would think that there would be a better way to secure these.

Got a new set of body side reflectors that I had planned to install too... But one arrived broken, or poorly manufactured. So I held off.
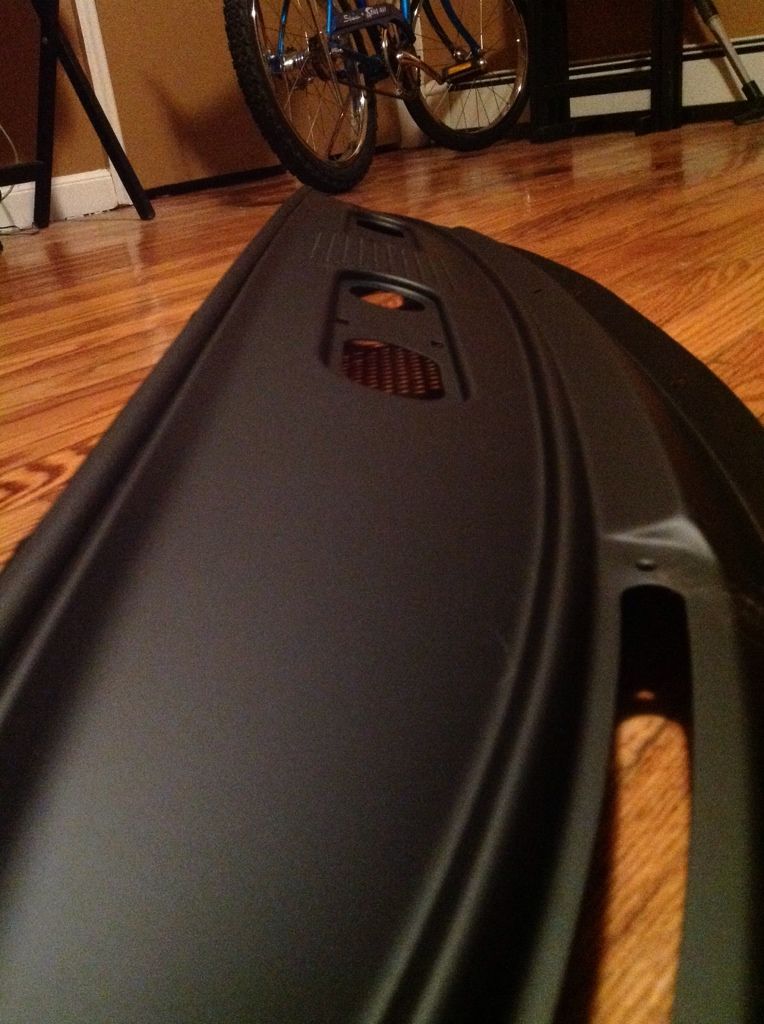
New DVG tire cover is in the works too

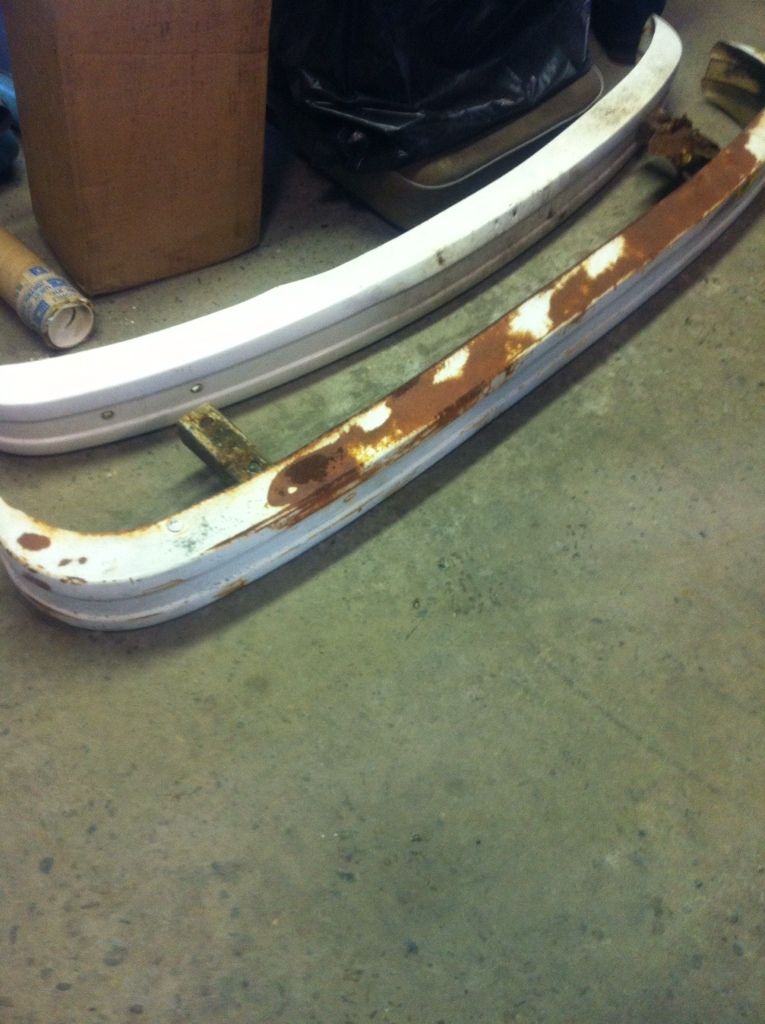
And, my "show score of the day" courtesy of Raj...
A new bumper for the back of the bus.
Yes it has a small wave but it looks far less creased than my current bumper.
Going to blast it and powder it with the rest of the bumpers.
Re: Home away from Home, on wheels.
Posted: Sun Feb 10, 2013 9:00 pm
by williamblanda
Everything's looking great, Mike.
Re: Home away from Home, on wheels.
Posted: Sun Feb 10, 2013 9:29 pm
by jhicken
You bus is looking fantastic Mike, Vicki's bus is in the shop getting painted and a lot of your assembly is going to help me out quite a bit when I get it back.
-jeffrey
Re: Home away from Home, on wheels.
Posted: Sun Feb 10, 2013 9:38 pm
by ObnoxiousBlue
Thanks Will and Jeff!
Jeff, I've been taking TONS of pictures so reach out if you need anything. I can't wait to see the bus come back. I hope you're sticking with the stock Bright Orange and Mexico Beige... I love that combo.
Re: Home away from Home, on wheels.
Posted: Sun Feb 10, 2013 10:44 pm
by Raj
Re: Home away from Home, on wheels.
Posted: Sun Feb 10, 2013 10:51 pm
by ObnoxiousBlue
Thanks Raj! I think it's a much better start than trying to use my current bumper.
I'll bring it by Masterweld. Garry was planning on making a relief cut heating, stretching, and welding my waves shut. It'll be much easier to work one wave instead of all mine.
Re: Home away from Home, on wheels.
Posted: Sun Feb 10, 2013 10:53 pm
by Raj
I think you will be pleasantly surprised with this one Mike.
Re: Home away from Home, on wheels.
Posted: Sun Feb 10, 2013 11:03 pm
by EDNCAROL
I'm amazed at how much fits on one page.

Re: Home away from Home, on wheels.
Posted: Mon Feb 11, 2013 12:58 pm
by ObnoxiousBlue
One of my new reflectors arrived chipped from Bus Depot. Called, and they sent a new one out today no questions asked. Nice.
Re: Home away from Home, on wheels.
Posted: Tue Feb 12, 2013 8:38 am
by gotboost79
I really can't wait to see this. Your bus was pretty damn mint to begin with, nice to see it being prepared for Pebble Beach.
Re: Home away from Home, on wheels.
Posted: Tue Feb 12, 2013 5:52 pm
by ObnoxiousBlue
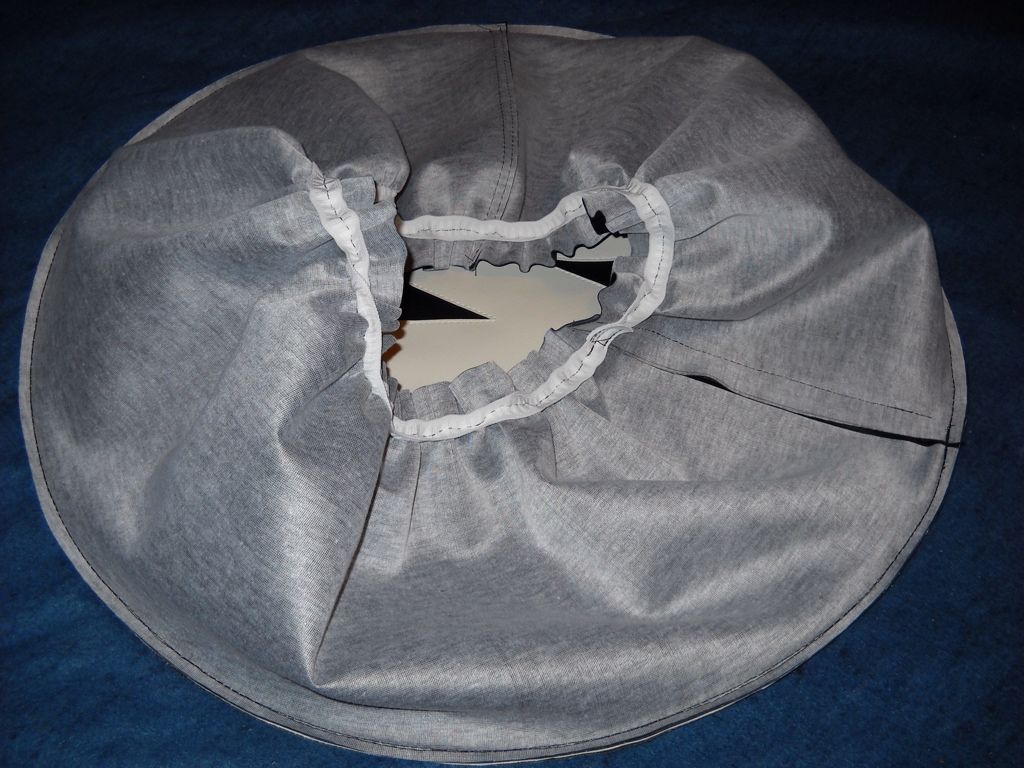
New tire cover... for a steal might I add... from a shop on ETSY.
The black will be the background for the white DVG logo.
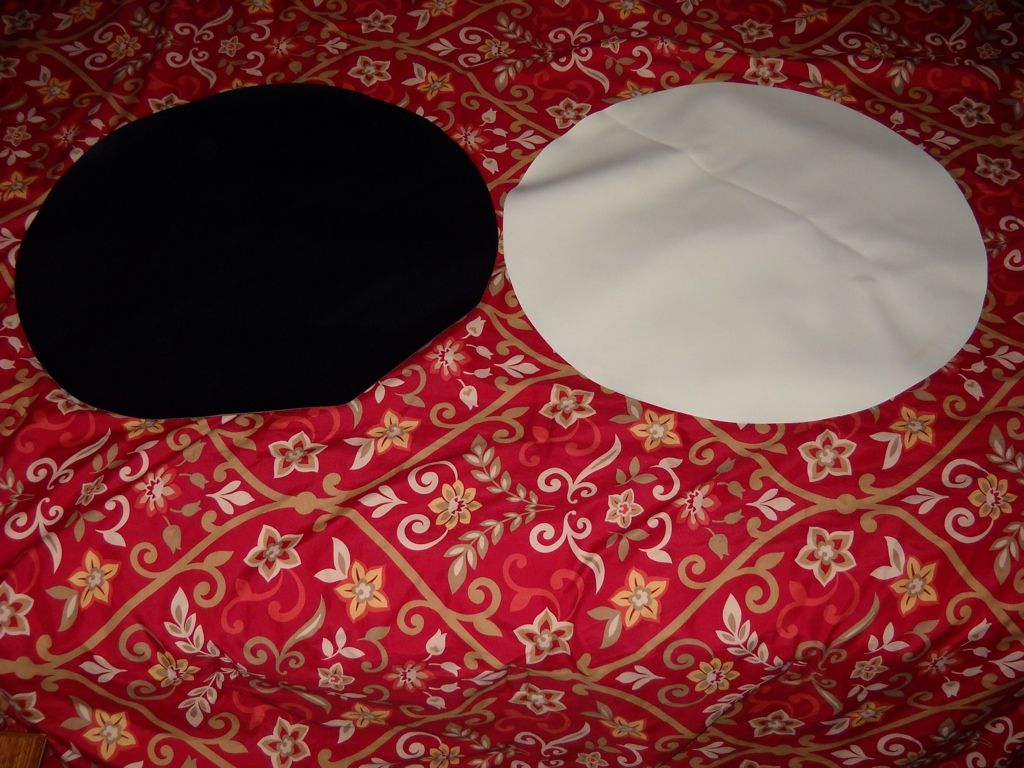
The white logo, overlayed on the black. Stiched in place on all edges.

Black piping around the edging.

Detail of the stitching

The "treads"
The face

Elastics on the rear
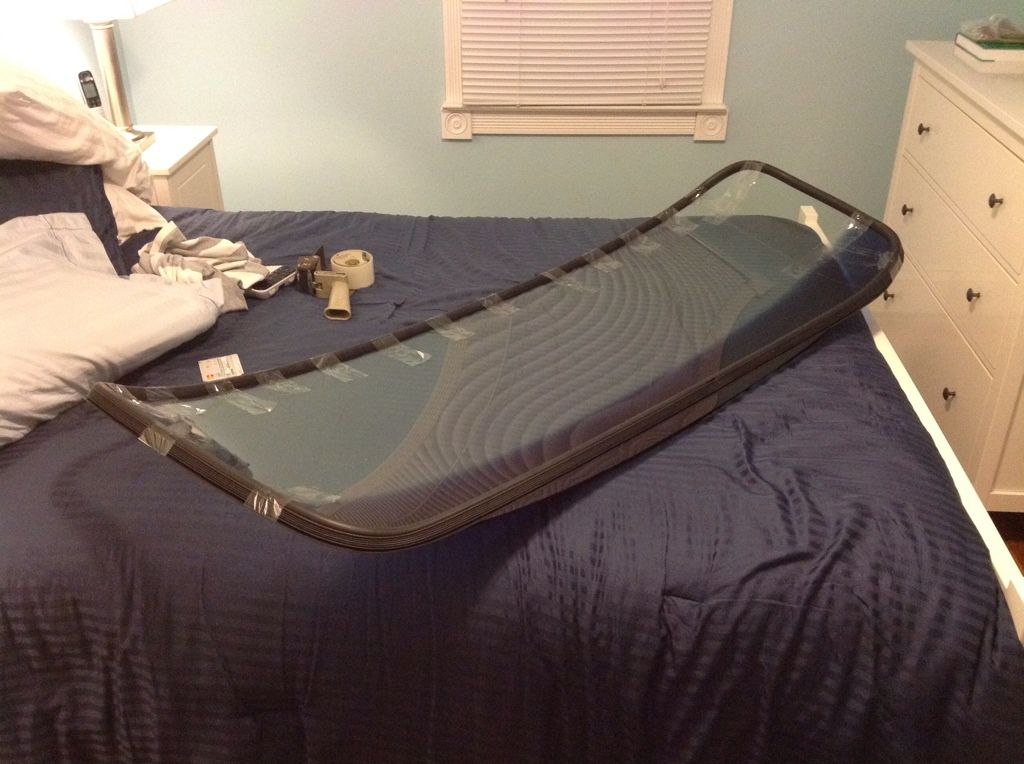
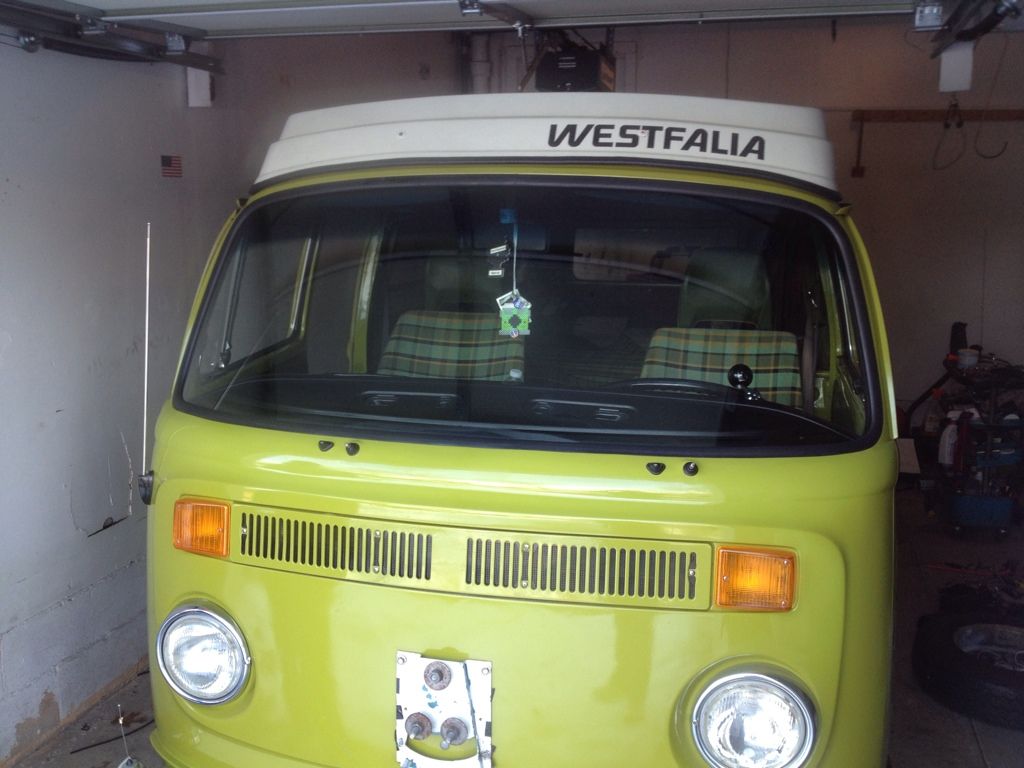
Also, picked up the new windscreen. Came home yesterday, and got the seal installed around it, and the roping in the seal. Hoping to get the window in over the next day or so.
Re: Home away from Home, on wheels.
Posted: Sun Feb 17, 2013 4:19 pm
by ObnoxiousBlue
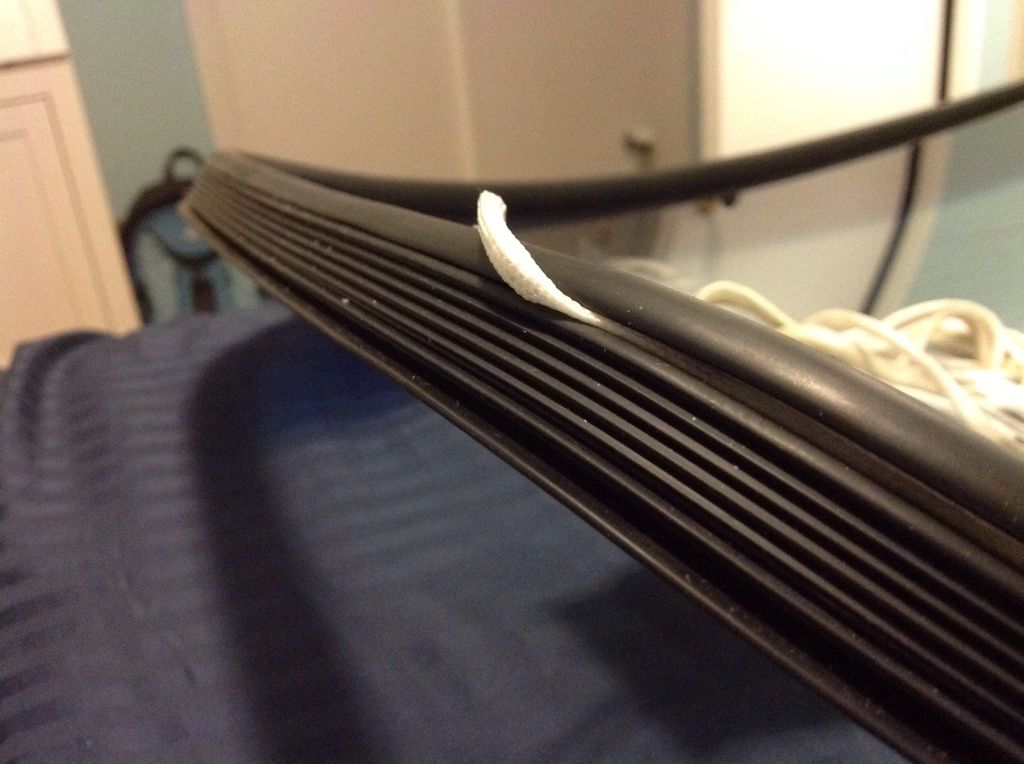
The new windshield is in. Use some simple green as a lubricant and pulled the rope through.
We found the trick to getting it seated, especially on a big window like this; is to use gentle pressure from the palm of your hand to "smack" the window into it's seat as the person on the inside slowly pulls the rope. The second "pass" with the rope helps the inside to seat well, in any spots where the rubber may have rolled under itself.
Re: Home away from Home, on wheels.
Posted: Sun Feb 17, 2013 4:29 pm
by Tom
Looks great Mike, I may use your shop next winter as I have the same paint bubbles and a leak on the drivers side corner. Looks like they nailed it with the color match.
Re: Home away from Home, on wheels.
Posted: Sun Feb 17, 2013 7:01 pm
by ObnoxiousBlue
He was dead on with the color Tom. You wouldn't know if I didn't tell you... But the whole nose was actually not repainted. It's a feather job. I can't even tell where the new meets old. The metal work was done by Gary at MasterWeld 2662140 he's around the corner from me. The paint work was done by Jim Busterna. I'll bring his card next time I see you.