Home away from Home, on wheels.
Forum rules
This forum is specifically intended for you to post generic questions related to a repair.
If your question is specific to a project, or your VW please post in your VW's Garage Space.
This forum is specifically intended for you to post generic questions related to a repair.
If your question is specific to a project, or your VW please post in your VW's Garage Space.
-
AoT
- Posts: 1029
- Joined: Fri Oct 17, 2008 8:09 pm
- First Name: Audrey
- Vehicle Year: 1974
- Model: Beetle
- Location: Ready for a road trip....
Re: Home away from Home, on wheels.
Peabody is looking hot. You have done such great things for the make-over, it is well worth the effort and funds. Nice job!
Keep working at it and it gets done!!
-
ObnoxiousBlue

- Site Admin
- Posts: 1422
- Joined: Tue Sep 09, 2008 5:23 pm
- First Name: Mike
- Vehicle Year: 1964
- Model: Beetle
- Location: Above ground...
- Contact:
Re: Home away from Home, on wheels.
Home from work early, out to do the rear window! Pics later!
-
ObnoxiousBlue
- Site Admin
- Posts: 1422
- Joined: Tue Sep 09, 2008 5:23 pm
- First Name: Mike
- Vehicle Year: 1964
- Model: Beetle
- Location: Above ground...
- Contact:
Re: Home away from Home, on wheels.
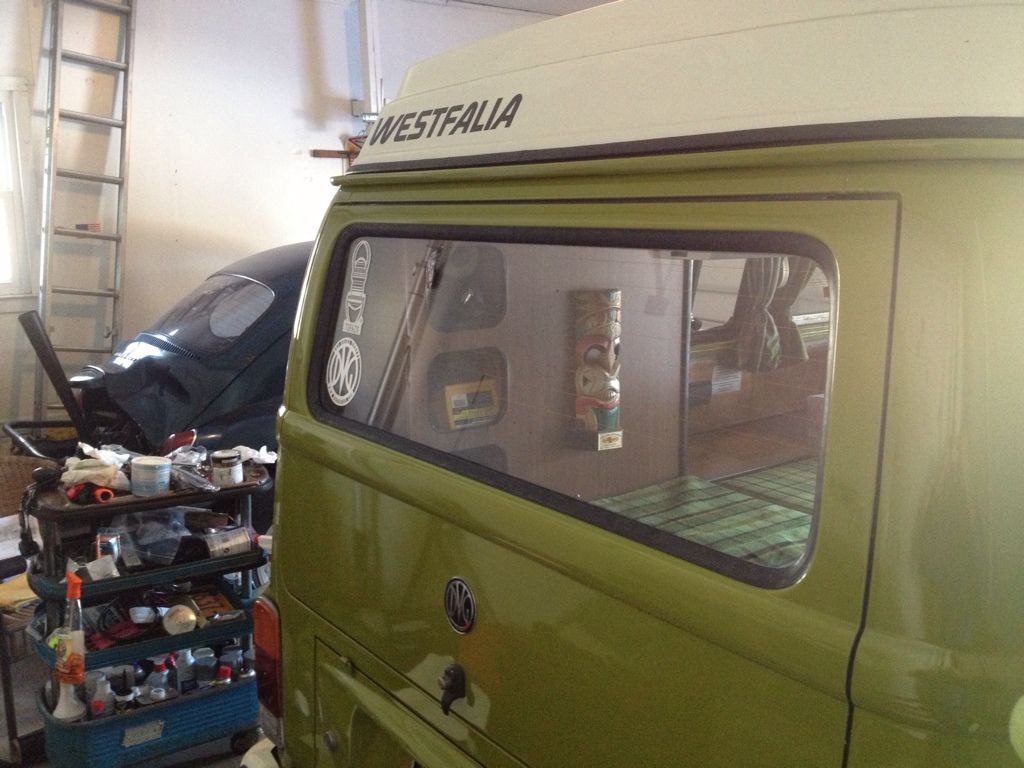
Was time to loose some of the decals that have been on the windows for however many years. I liked them, and in some ways still do. But I think they were making the bus look like crap, or at least like it was trying to hard to be a "hippy bus" which is not the look I want. Many were from places I had been, my college decals too. I want to showcase the bus, and not detract from it with too many decals. The memories will remain, the decals didn't need to anymore.
I took the back window, and spayed it down with simple green. I used a flat blade/scraper to remove not only most of the decals, but also the grime that had built up on the defroster element (which likely hasn't worked in years) as well as the grime around the edges that had become entombed between the glass and the old seal
This window is still available new, with the defrost element. I decided that the only real benefit to a new window would be the defrost, which I've not once reached for since I bought the bus. So the "must have"/benefit factor just didn't warrant the $100 expenditure. This window looks very good with no scratches so it wasn't a very difficult decision.
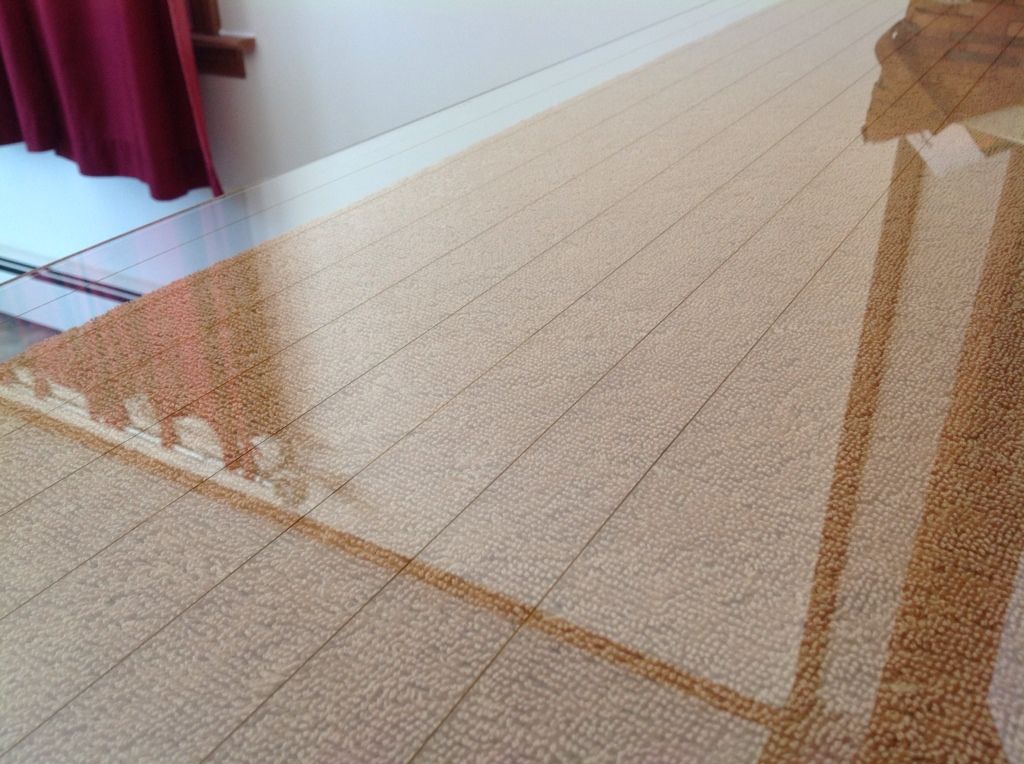
I do notice that there is a bit of a ghost image (not glue) but staining of the window where some of the decals once were. A google search and the Honda CIVIC forum said to try alcohol, stripper on a rag, or citrus. I'll post about which works.
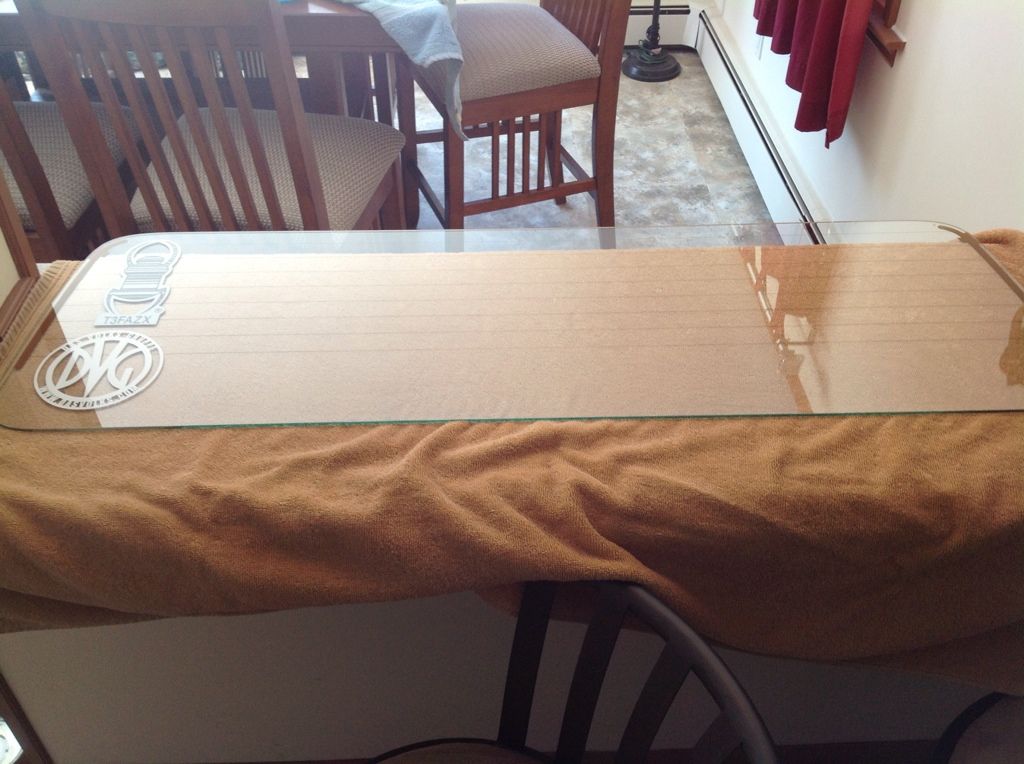
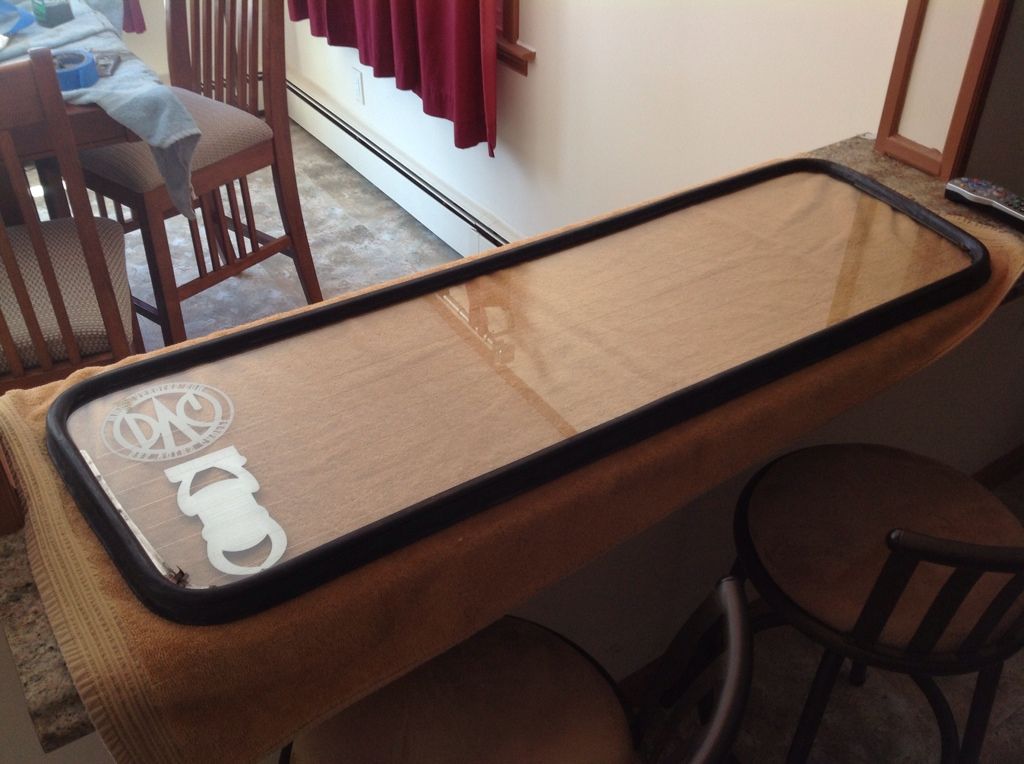
Seal placed over the window
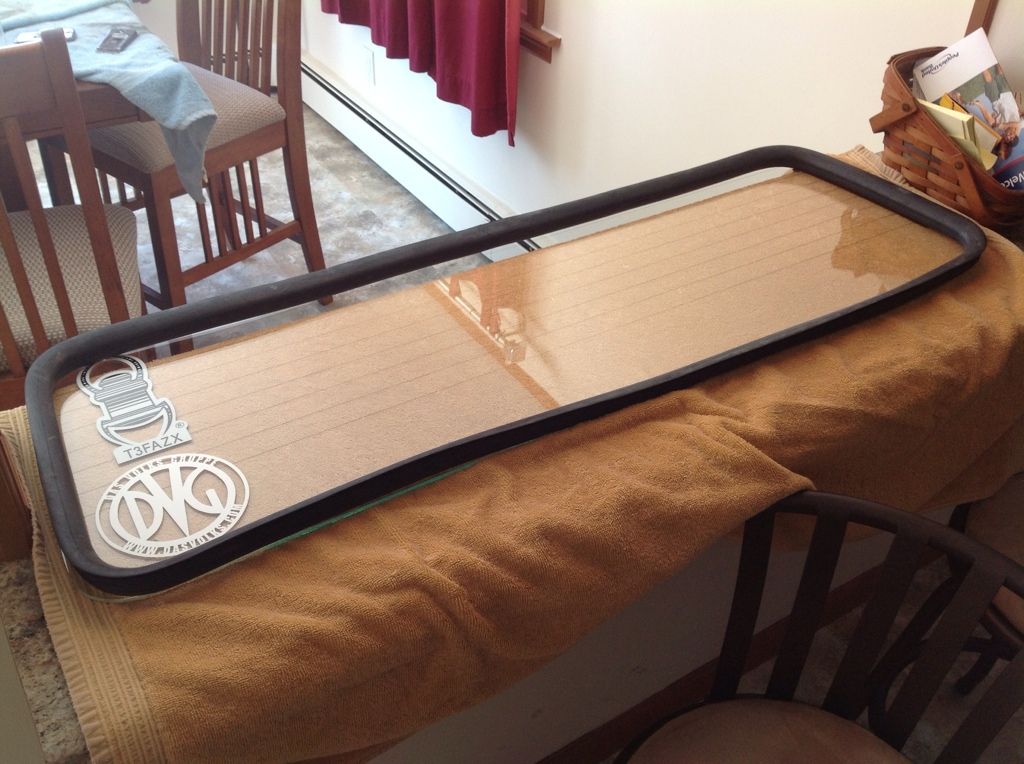
Working the glass into the seal
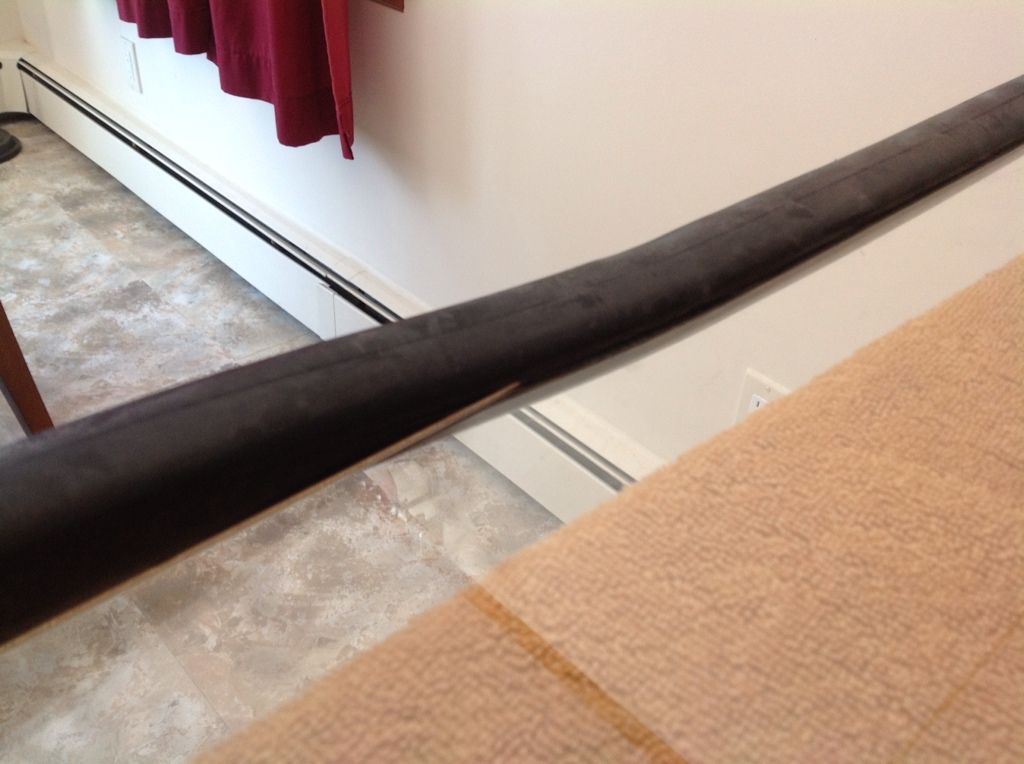
Use tape to hold the seal on every few inches. It likes to pop off, and you don't want to do this twice with raw fingertips!
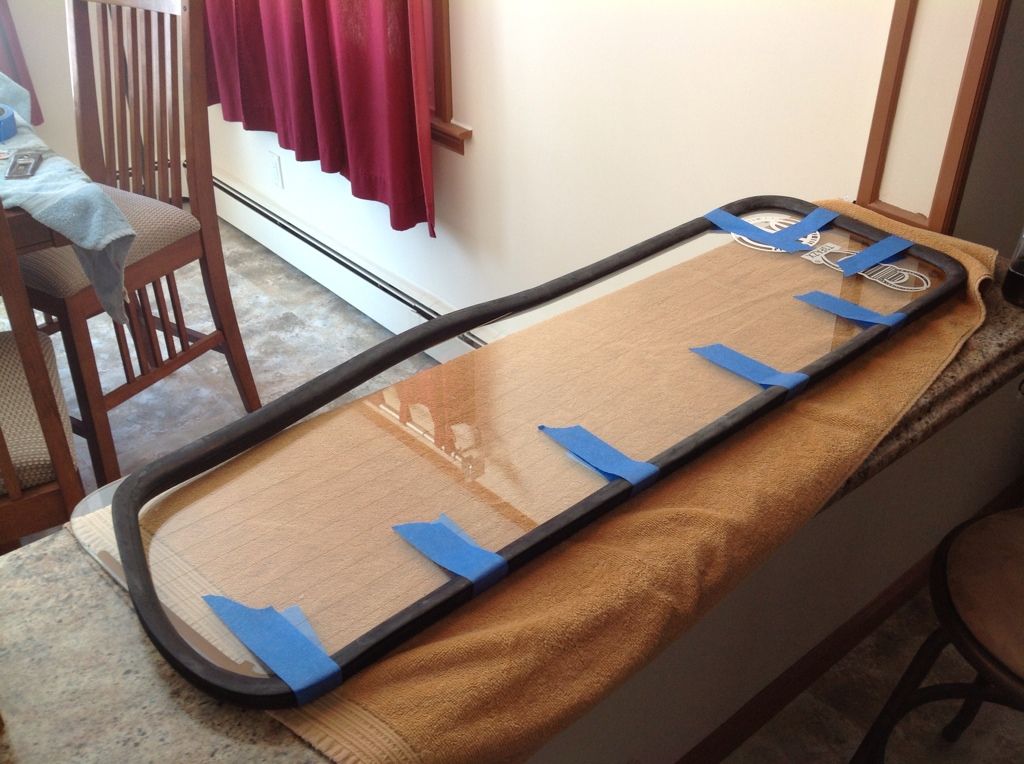
Seal on!
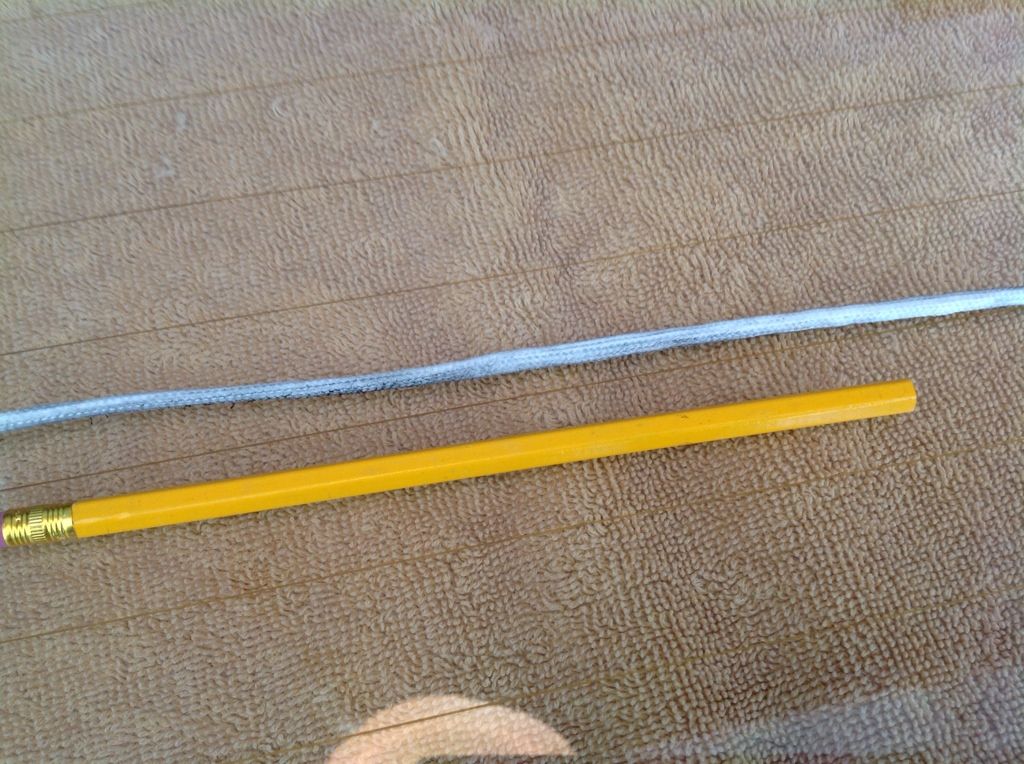
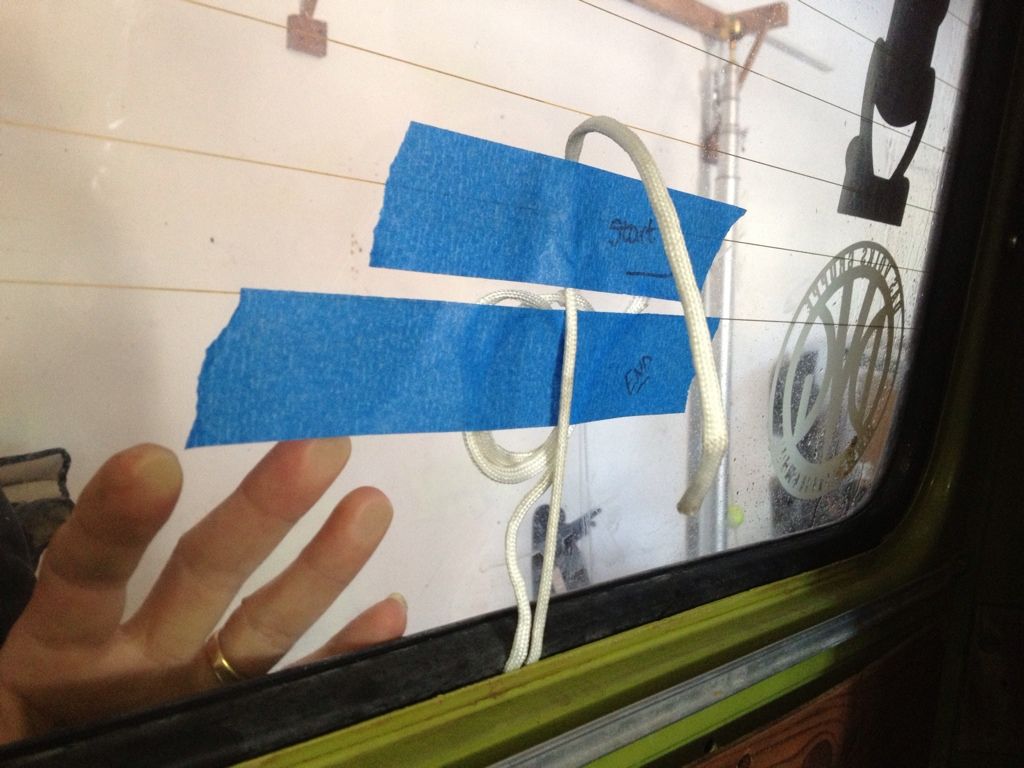
Someone on TS posted about rope thickness so I took this pic... 1/4" nylon. You can see the pencil for scale.
The rope goes in the grove cut on the inside of the window seal.
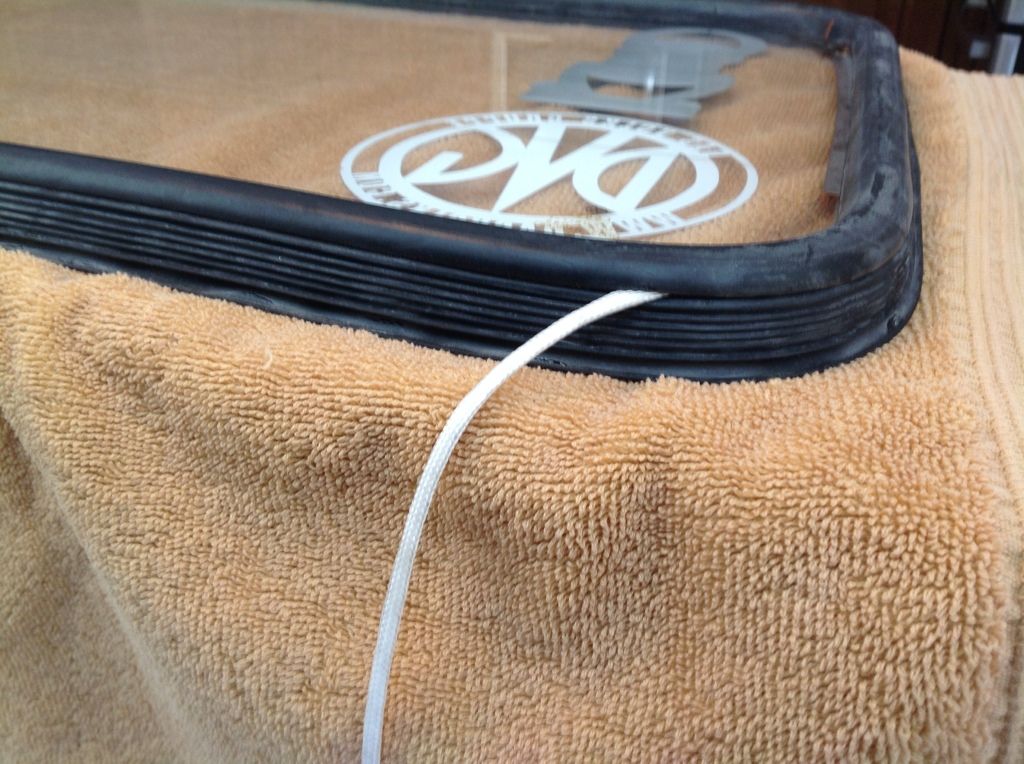
I tape the rope to the inside of the window and label them so I know which to pull first. This isn't usually an issue, but I've been going round the window twice with the rope and don't want to pull the inner-most rope out first...
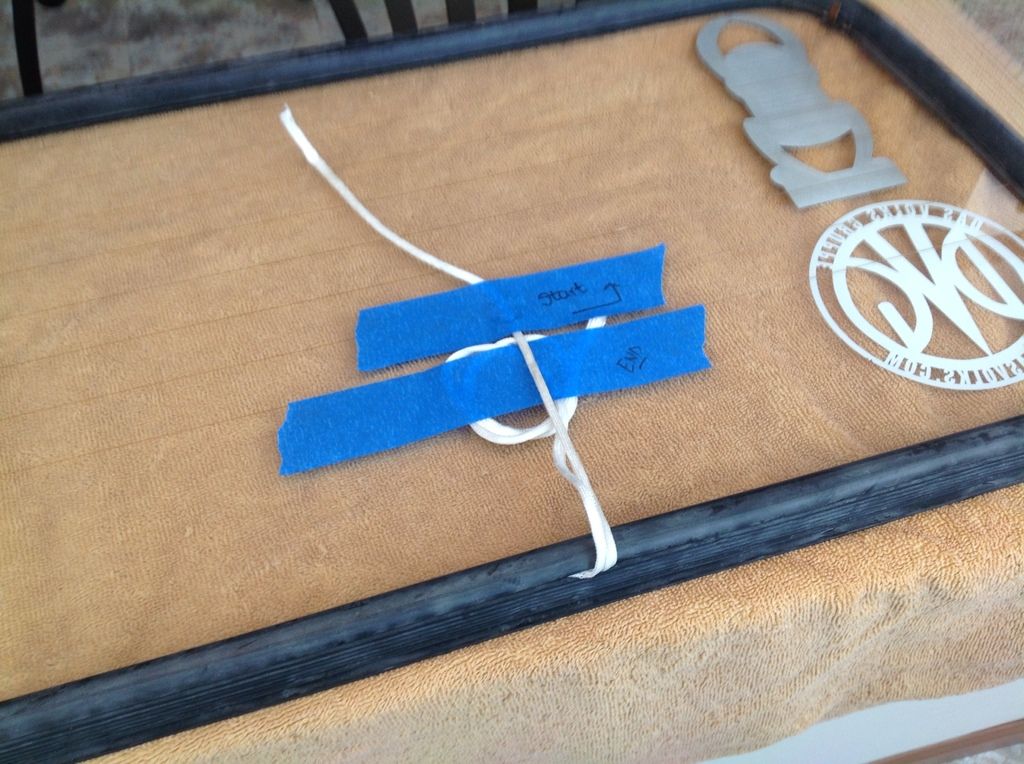
Here you can see why taping the rope in just saves you a set of hands
I spray the edges with a bit of Simple Green, just to help the window slide into the opening a bit better,
Then, I press the window into it's opening just enough for the seal to find its happy spot.
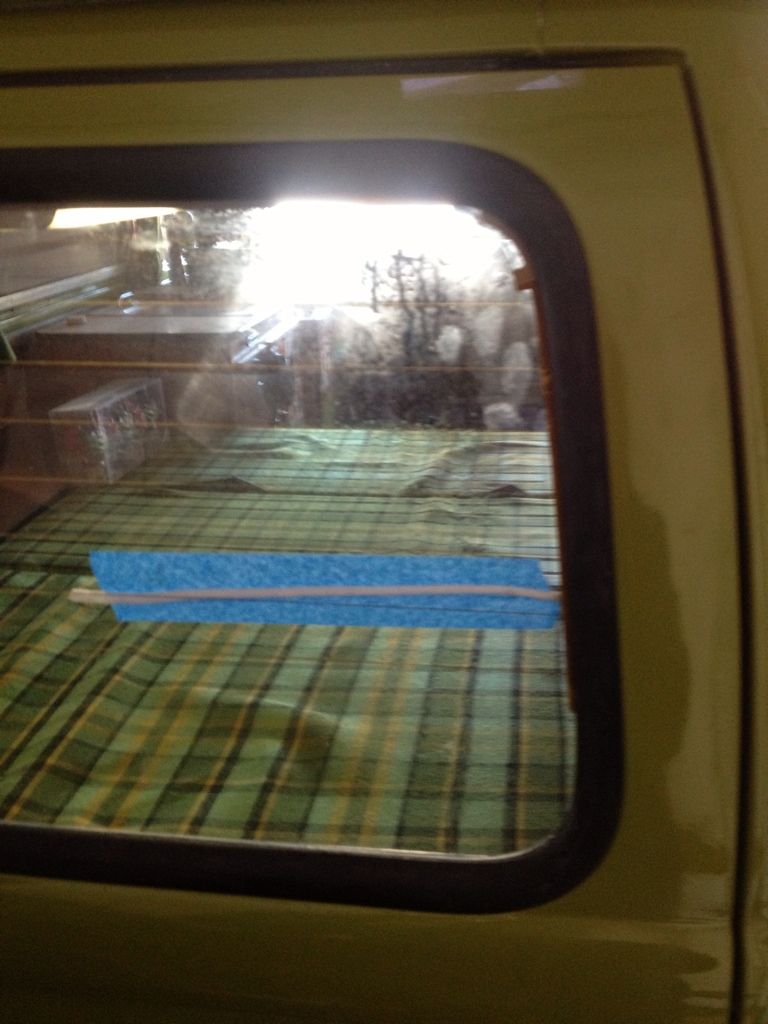
Then, pull the rope from the inside. Start with whichever end you had lay down last.
Video 1
Sometimes the first pass doesn't seat it perfectly. That's why the chance to have a second pull is a big help. I've also found that if a little lip gets tucked under I'll use a bit of simple green, and the edge of my drivers license to slip it flush with the opening.
Finish off with a good window cleaner, and Rainex.
FIN.

I took the back window, and spayed it down with simple green. I used a flat blade/scraper to remove not only most of the decals, but also the grime that had built up on the defroster element (which likely hasn't worked in years) as well as the grime around the edges that had become entombed between the glass and the old seal
This window is still available new, with the defrost element. I decided that the only real benefit to a new window would be the defrost, which I've not once reached for since I bought the bus. So the "must have"/benefit factor just didn't warrant the $100 expenditure. This window looks very good with no scratches so it wasn't a very difficult decision.
I do notice that there is a bit of a ghost image (not glue) but staining of the window where some of the decals once were. A google search and the Honda CIVIC forum said to try alcohol, stripper on a rag, or citrus. I'll post about which works.
Seal placed over the window
Working the glass into the seal
Use tape to hold the seal on every few inches. It likes to pop off, and you don't want to do this twice with raw fingertips!
Seal on!
Someone on TS posted about rope thickness so I took this pic... 1/4" nylon. You can see the pencil for scale.
The rope goes in the grove cut on the inside of the window seal.
I tape the rope to the inside of the window and label them so I know which to pull first. This isn't usually an issue, but I've been going round the window twice with the rope and don't want to pull the inner-most rope out first...
Here you can see why taping the rope in just saves you a set of hands
I spray the edges with a bit of Simple Green, just to help the window slide into the opening a bit better,
Then, I press the window into it's opening just enough for the seal to find its happy spot.
Then, pull the rope from the inside. Start with whichever end you had lay down last.
Video 1
Sometimes the first pass doesn't seat it perfectly. That's why the chance to have a second pull is a big help. I've also found that if a little lip gets tucked under I'll use a bit of simple green, and the edge of my drivers license to slip it flush with the opening.
Finish off with a good window cleaner, and Rainex.
FIN.

Re: Home away from Home, on wheels.
Nice work and write up Mike. I know the sticker thing may have been a bit unnerving...... but Im sure there will be many new stories to be had in the not so distant future!
Glenn wrote:I have to say, this "gruppe" is so much more than just a car club.
MrBreeze wrote: This is the DVG board. The threads flow as they flow.
Deal with it.
-
AoT
- Posts: 1029
- Joined: Fri Oct 17, 2008 8:09 pm
- First Name: Audrey
- Vehicle Year: 1974
- Model: Beetle
- Location: Ready for a road trip....
Re: Home away from Home, on wheels.
Seems like you've got all the snags figured out so I'll be by soon to do my bus!! 
Nice job on the whole project!
Nice job on the whole project!
Keep working at it and it gets done!!
-
ObnoxiousBlue
- Site Admin
- Posts: 1422
- Joined: Tue Sep 09, 2008 5:23 pm
- First Name: Mike
- Vehicle Year: 1964
- Model: Beetle
- Location: Above ground...
- Contact:
Re: Home away from Home, on wheels.
Door panels and kick panels coming soon.
Have to get a new set of reg/inspection stickers, which means a new inspection...
Which means I gotta put the wipers on first... Lol
Up next, wheels and tires, I think?
Have to get a new set of reg/inspection stickers, which means a new inspection...
Which means I gotta put the wipers on first... Lol
Up next, wheels and tires, I think?
-
ObnoxiousBlue
- Site Admin
- Posts: 1422
- Joined: Tue Sep 09, 2008 5:23 pm
- First Name: Mike
- Vehicle Year: 1964
- Model: Beetle
- Location: Above ground...
- Contact:
Re: Home away from Home, on wheels.
I need serious advice here for a minute...
I'm getting ready for my next "project" and am torn on which to do first.
I want to do my wheels/tires, bumpers, and also a few small interior repairs.
I don't NEED tires, but I do know I have the wrong tires.
Do I:
Powder the wheels, buy new tires.
Or:
Powder the bumpers and continue on with small shit?
-
EDNCAROL
- Posts: 763
- Joined: Wed Oct 01, 2008 12:25 pm
- First Name: ED
- Vehicle Year: 1974
- Model: Not Listed
- Location: East of Glenn West of Jimbo
Re: Home away from Home, on wheels.
Do the bumpers and small stuff. You say you don't need tires so hold off on powder coating the rims till you do. Sounds like it's time to up your insurance again!
Still Monkeying Around. Not afraid to tell you how I really feel.
Re: Home away from Home, on wheels.
EDNCAROL wrote:Do the bumpers and small stuff. You say you don't need tires so hold off on powder coating the rims till you do. Sounds like it's time to up your insurance again!
Agree with Ed..... Or maybe carol......
Do the bumpers so the outside is all sorted. In the meantime, put your good used tires up on cl. Trust me, people do buy them used. If they sell, there you go..... Incentive to buy the new ones. I'm doing the same thing right now with my 63s polished 5s.
Glenn wrote:I have to say, this "gruppe" is so much more than just a car club.
MrBreeze wrote: This is the DVG board. The threads flow as they flow.
Deal with it.
-
ObnoxiousBlue
- Site Admin
- Posts: 1422
- Joined: Tue Sep 09, 2008 5:23 pm
- First Name: Mike
- Vehicle Year: 1964
- Model: Beetle
- Location: Above ground...
- Contact:
Re: Home away from Home, on wheels.
Ordered my new tires today... Made some calls, and wound up ordering them from All Weather Tire in Huntington. I spoke to a guy there last week, and was pleased with his quote. Like a fool, I don't recall to whom I spoke. But called back today and spoke to someone else... Wo promptly told me that a185/R14 is missing a number... Needless today after a few minutes, and his trying to rush me to pay over the phone with a card, I found that he had intact found the WRONG tire. I told him to clarify and call me back.
I got the Hankook RA08 the coveted "bus tire" for $111 each mounted and balanced. I was going to buy them at BusDepot, but then is have to my roughy $10/ea for shipping plus mounting and balancing. The local route saves me at least $50.
They were a special order and won't be in for a week, so I have time to powder my rims.
Bumpers are next...
Re: Home away from Home, on wheels.
All Weather Tire kicks ass! They are by far the best place to get tires on the Island.
-
ObnoxiousBlue
- Site Admin
- Posts: 1422
- Joined: Tue Sep 09, 2008 5:23 pm
- First Name: Mike
- Vehicle Year: 1964
- Model: Beetle
- Location: Above ground...
- Contact:
Re: Home away from Home, on wheels.
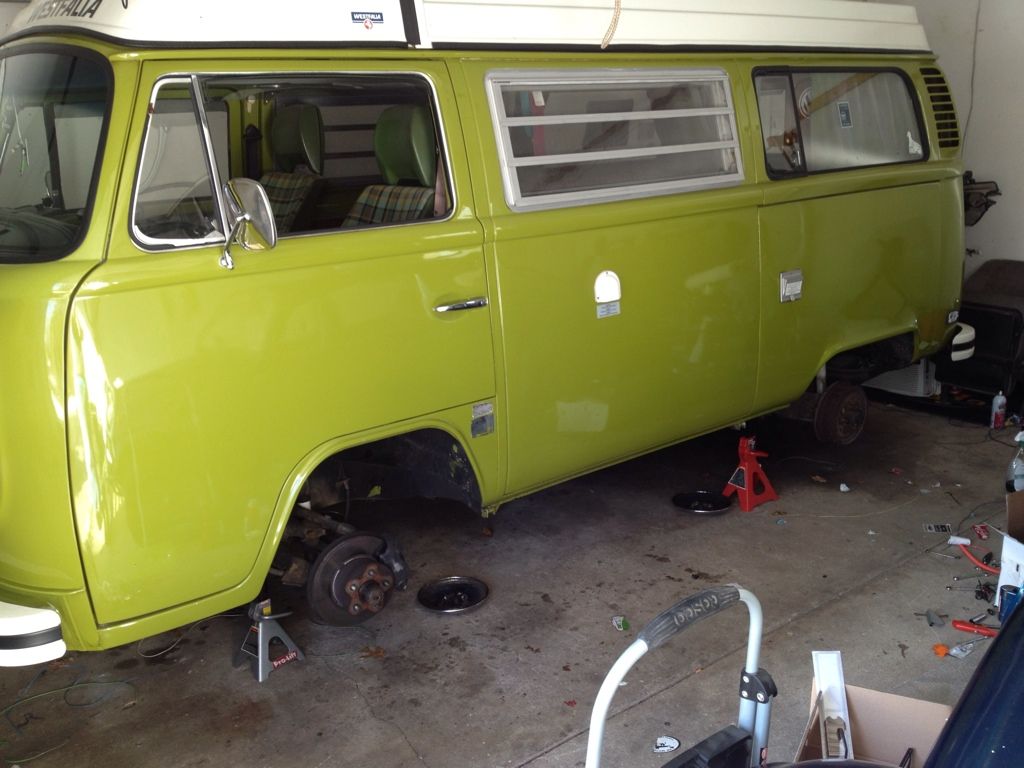
Took off the wheels, bringing them to have the tires removed tomorrow, then dropping the wheels off for a fresh coat of powder.
Installed my new wiper arms, and a new set of Bosch Excel+ wiper arms. I was about to grab the fancy "Icon" series, but realized they don't have an adapter for the bayonet style wiper arms that I got from Bus Depot.
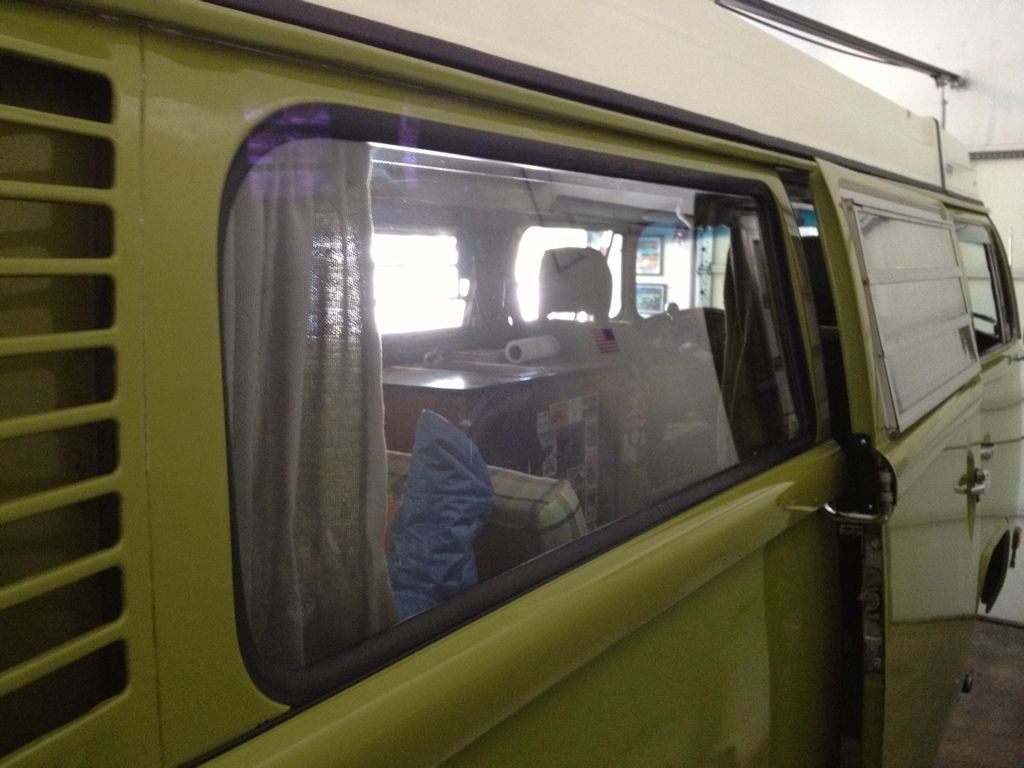
Then, I started removing stickers from my windows. It definitely gives the bus a much "cleaner" look. I spayed the windows down with Simple Green, and again used a scraper to just remove dirt that has coated the windows. Even with regular cleaning, I could see a fine film of dirt coming off on the blade.
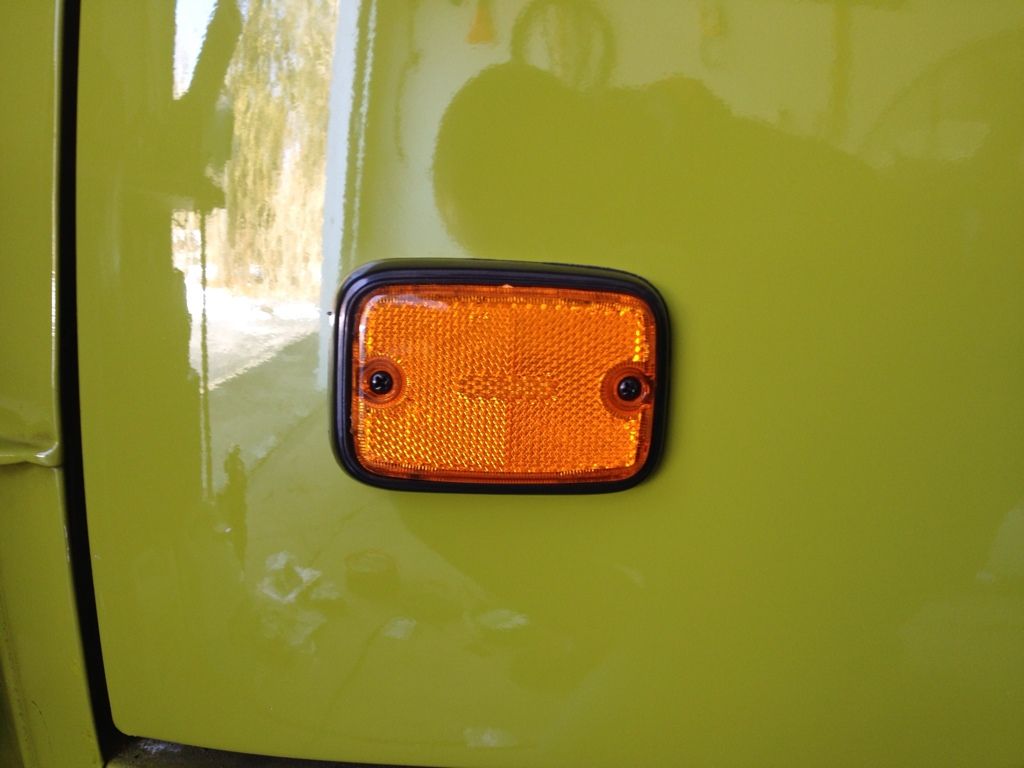
Taking a break, it's lunch time for the new puppy... New side marker lenses and reflectors after lunch!
Installed my new wiper arms, and a new set of Bosch Excel+ wiper arms. I was about to grab the fancy "Icon" series, but realized they don't have an adapter for the bayonet style wiper arms that I got from Bus Depot.
Then, I started removing stickers from my windows. It definitely gives the bus a much "cleaner" look. I spayed the windows down with Simple Green, and again used a scraper to just remove dirt that has coated the windows. Even with regular cleaning, I could see a fine film of dirt coming off on the blade.
Taking a break, it's lunch time for the new puppy... New side marker lenses and reflectors after lunch!
-
EDNCAROL
- Posts: 763
- Joined: Wed Oct 01, 2008 12:25 pm
- First Name: ED
- Vehicle Year: 1974
- Model: Not Listed
- Location: East of Glenn West of Jimbo
Re: Home away from Home, on wheels.
7 1/2 Hours and no updates? Mike must be busy printing up some more money!
Still Monkeying Around. Not afraid to tell you how I really feel.
-
ObnoxiousBlue
- Site Admin
- Posts: 1422
- Joined: Tue Sep 09, 2008 5:23 pm
- First Name: Mike
- Vehicle Year: 1964
- Model: Beetle
- Location: Above ground...
- Contact:
Re: Home away from Home, on wheels.
I was going to go install the reflectors, but chilled inside watching Burlesque and tending to the puppy...
Trying to decide if I should keep my "fake" impact strips.
The Westy models would have come with white bumpers, with white plastic caps over the bolts. The PO of my bus, glued a rubbery plastic trim in the bumper recess. I'm on the fence of go back to plastic caps, or put on the VW correct (though Westy incorrect) impact strips.
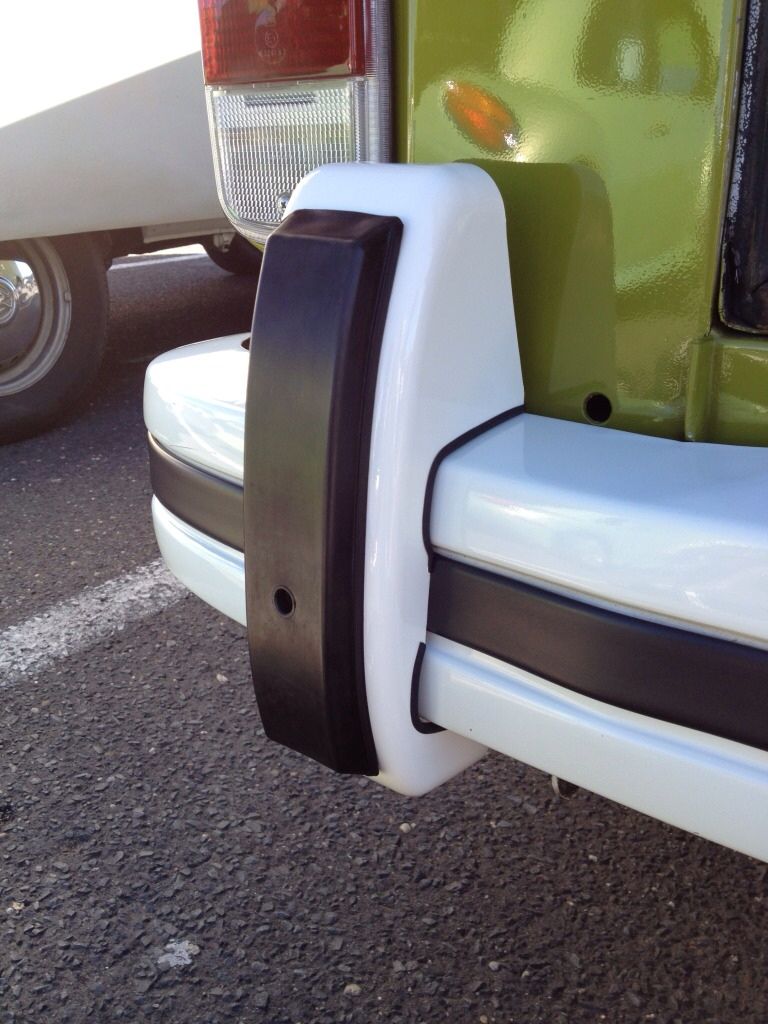
Here, you can see my "flat" strip, versus Jack's correct late bay impact strip...

Trying to decide if I should keep my "fake" impact strips.
The Westy models would have come with white bumpers, with white plastic caps over the bolts. The PO of my bus, glued a rubbery plastic trim in the bumper recess. I'm on the fence of go back to plastic caps, or put on the VW correct (though Westy incorrect) impact strips.
Here, you can see my "flat" strip, versus Jack's correct late bay impact strip...
-
EDNCAROL
- Posts: 763
- Joined: Wed Oct 01, 2008 12:25 pm
- First Name: ED
- Vehicle Year: 1974
- Model: Not Listed
- Location: East of Glenn West of Jimbo
Re: Home away from Home, on wheels.
Mike why not get the bumper bolts powder coated with the bumpers and see how it looks when you put it back together ? It can't cost that much more. Probably cheaper than new impact strips Here's one more idea get the powder coater to do the impact strip area and bumper bolts in black and the rest of the bumper in white.
Still Monkeying Around. Not afraid to tell you how I really feel.
-
ObnoxiousBlue
- Site Admin
- Posts: 1422
- Joined: Tue Sep 09, 2008 5:23 pm
- First Name: Mike
- Vehicle Year: 1964
- Model: Beetle
- Location: Above ground...
- Contact:
Re: Home away from Home, on wheels.
I figured if I were going to so the impact strip look, I'd do it right.
I've read mixed reviews on Bus Depots new impact strips, and OG ones can sometimes be a trick to come by. Added, that over riders clearanced for an impact strip is a dealer option, unlike the factory supplied overriders which (like mine) go all the way to the bumper. Solid have to cut the overriders, or put a "slit" in the rubber impact strip to receive the overriders.
I've been trying to pull off ALOT of the "fluff" from the bus to get rid of the cluttered/overdone look. Just not sure if the strip is part of that.
-
Big_kid
Re: Home away from Home, on wheels.
Screw what's "right" or "correct", and do what YOU like. It's YOUR bus, do what YOU want to!
-
ObnoxiousBlue
- Site Admin
- Posts: 1422
- Joined: Tue Sep 09, 2008 5:23 pm
- First Name: Mike
- Vehicle Year: 1964
- Model: Beetle
- Location: Above ground...
- Contact:
Re: Home away from Home, on wheels.
Dropped the wheels off at the Powdercoater. I decided to use Action this time, since I wasn't thrilled with Renu. Based on his having been a bit sloppy on the bottom of the dash, missing a small spot with the media blasting, but more importantly the bad attitude, and foul mouth that the brat working his front desk had.
He pointed out the "gouges" inside the rim where the old trim rings were. He is unsure if the marks are in the paint or down into the metal of the rim. If its into the rim and the powder won't hide the marks, then I'll be putting trim rings back on. If its not, then I think I'll leave them off.
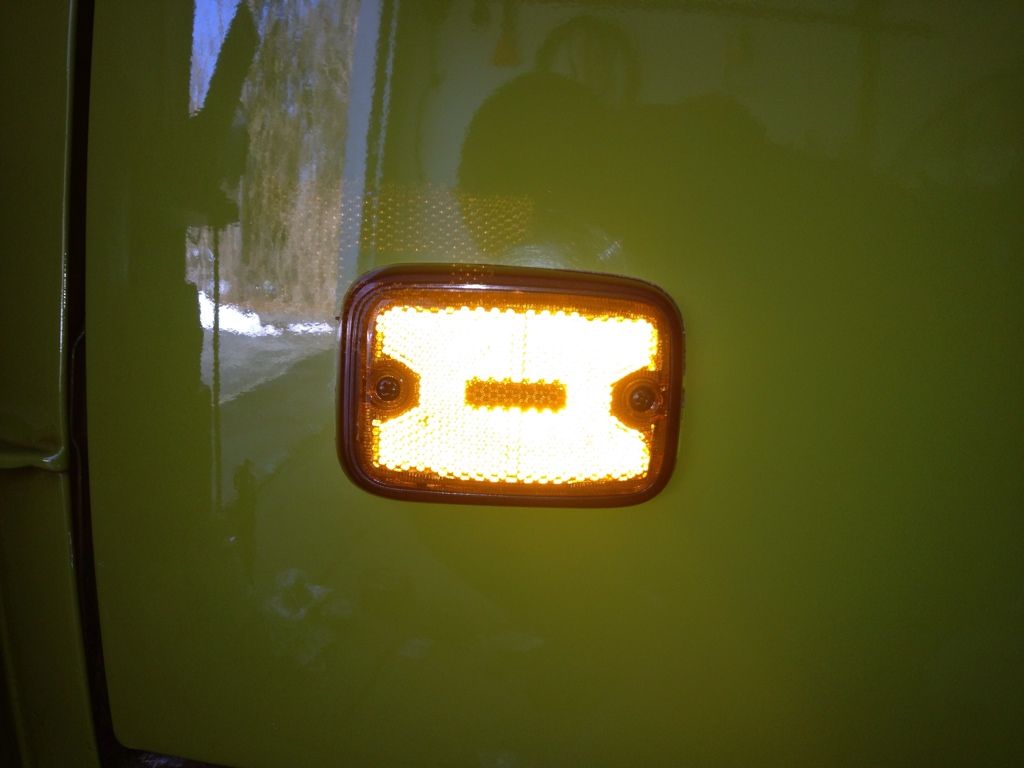
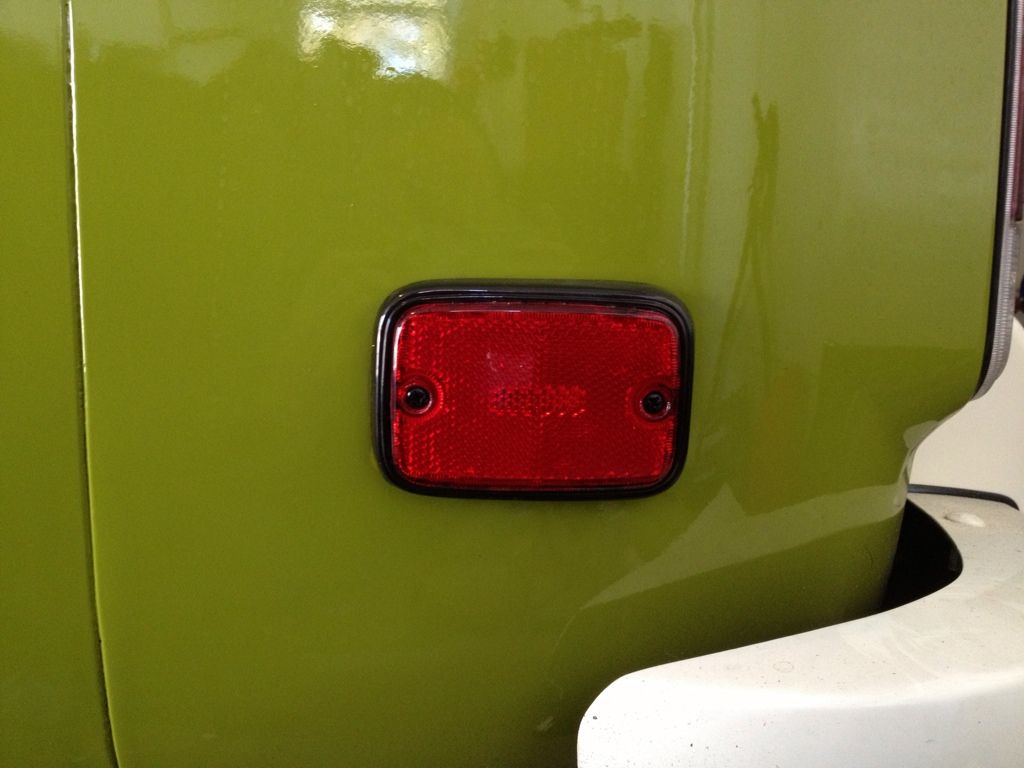
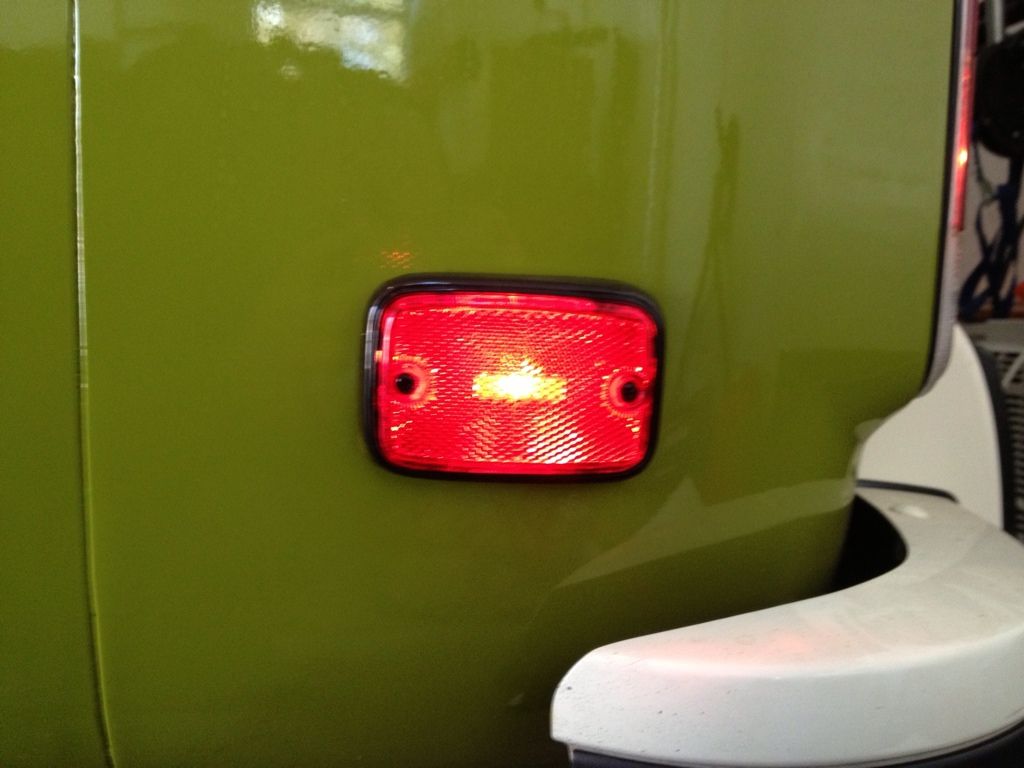
More baby steps... Installed the new front reflectors and rear side marker lenses. I used a light silver metallic paint on the front reflector's bases. Post on TS suggest that this makes the reflector appear "brighter"
I also removed the steering column cover and repaired the trigger wire for my windscreen washer motor.
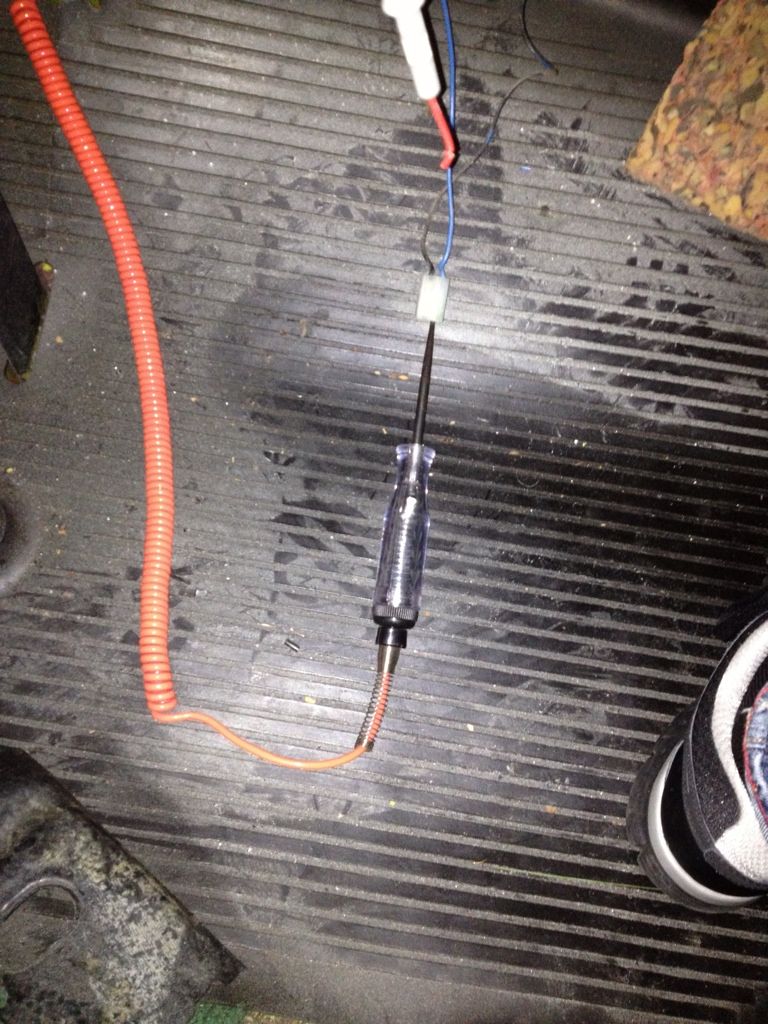
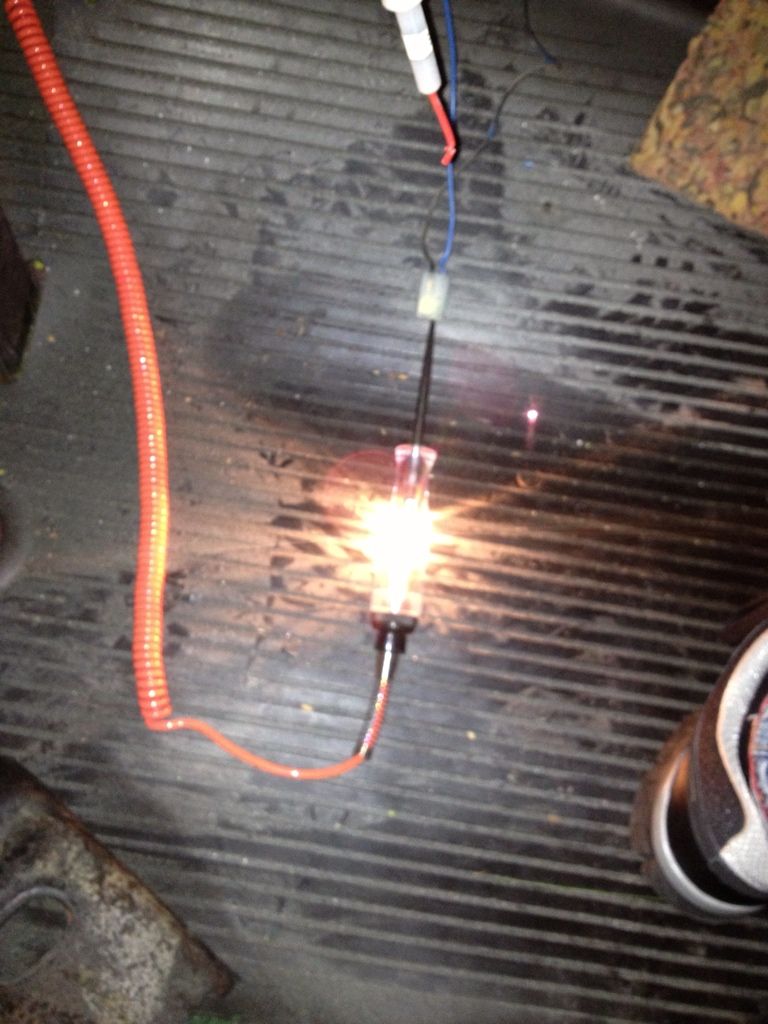
Then, I connected the motor directly to 12V and was happy to hear it come to life. I plugged it up to the bottle and found that it just lets washer fluid pour right out when the motor and hoses are lower than the canister. I then held the hose higher in the air, with the motor mounted in its spot, but found just the same. The motor SOUNDS healthy. But isn't pumping fluid up. Not sure why yet.
Finished up with cleaning the passenger side rear window of its old faded stickers, and let the bus run for a few. It's spitting oil out the tailpipe, news I wasn't happy to see. I'm not sure how we'll deal with that yet.
I know that opening this engine will mean a whole can of worms.
He pointed out the "gouges" inside the rim where the old trim rings were. He is unsure if the marks are in the paint or down into the metal of the rim. If its into the rim and the powder won't hide the marks, then I'll be putting trim rings back on. If its not, then I think I'll leave them off.
More baby steps... Installed the new front reflectors and rear side marker lenses. I used a light silver metallic paint on the front reflector's bases. Post on TS suggest that this makes the reflector appear "brighter"
I also removed the steering column cover and repaired the trigger wire for my windscreen washer motor.
Then, I connected the motor directly to 12V and was happy to hear it come to life. I plugged it up to the bottle and found that it just lets washer fluid pour right out when the motor and hoses are lower than the canister. I then held the hose higher in the air, with the motor mounted in its spot, but found just the same. The motor SOUNDS healthy. But isn't pumping fluid up. Not sure why yet.
Finished up with cleaning the passenger side rear window of its old faded stickers, and let the bus run for a few. It's spitting oil out the tailpipe, news I wasn't happy to see. I'm not sure how we'll deal with that yet.
I know that opening this engine will mean a whole can of worms.
-
ObnoxiousBlue
- Site Admin
- Posts: 1422
- Joined: Tue Sep 09, 2008 5:23 pm
- First Name: Mike
- Vehicle Year: 1964
- Model: Beetle
- Location: Above ground...
- Contact:
Re: Home away from Home, on wheels.
Just installed my new washer pump. Works great, got a little hint from a fellow bus owner on TS to read up in the Bentley on how to adjust the nozzles/direction. So now, they spray right where they should!
I have electric washers again!
Also installed the metal dash defrost vents. Still waiting for my plastic inserts from JustKampers.
I have electric washers again!
Also installed the metal dash defrost vents. Still waiting for my plastic inserts from JustKampers.
Re: Home away from Home, on wheels.
Are you powder coating the rims silver or stock white ?
I'm not an air cooled snob , I like them all !
Brown wrote:Tom is right!
-
ObnoxiousBlue
- Site Admin
- Posts: 1422
- Joined: Tue Sep 09, 2008 5:23 pm
- First Name: Mike
- Vehicle Year: 1964
- Model: Beetle
- Location: Above ground...
- Contact:
Re: Home away from Home, on wheels.
Silver, not all Westys came with white.

-
EDNCAROL
- Posts: 763
- Joined: Wed Oct 01, 2008 12:25 pm
- First Name: ED
- Vehicle Year: 1974
- Model: Not Listed
- Location: East of Glenn West of Jimbo
Re: Home away from Home, on wheels.
Tom wrote:Are you powder coating the rims silver or stock white ?
ObnoxiousBlue wrote:Silver, not all Westys came with white.
I thought you were going with Peabody Green ? What happened ?
Still Monkeying Around. Not afraid to tell you how I really feel.
-
ObnoxiousBlue
- Site Admin
- Posts: 1422
- Joined: Tue Sep 09, 2008 5:23 pm
- First Name: Mike
- Vehicle Year: 1964
- Model: Beetle
- Location: Above ground...
- Contact:
Re: Home away from Home, on wheels.
Lol green wheels?! Eeeiiiwww.
Metallic silver it is.
Depending on if the marks come out from the old trim rings, may or may not put on a new set of trim rings I bought.
I'd love to get a nice set of OG hubcaps. But everything I see is kinked, has rust or road rash. It's not as simple as just rechriming them, seeing as I'd need a straight set to chrome. Guess it'll be a repop set...
-
EDNCAROL
- Posts: 763
- Joined: Wed Oct 01, 2008 12:25 pm
- First Name: ED
- Vehicle Year: 1974
- Model: Not Listed
- Location: East of Glenn West of Jimbo
Re: Home away from Home, on wheels.
As long as your nuts are covered it's all good !
Still Monkeying Around. Not afraid to tell you how I really feel.
-
ObnoxiousBlue
- Site Admin
- Posts: 1422
- Joined: Tue Sep 09, 2008 5:23 pm
- First Name: Mike
- Vehicle Year: 1964
- Model: Beetle
- Location: Above ground...
- Contact: